Installing a Hyper-V VALT Virtual Appliance
Contents
Download the Hyper-V Appliance
- Click on the link below to download the Hyper-V virtual appliance:
- Extract ValtHyperV.zip.
Load the Template on Hyper-V
- Open Hyper-V Manager.
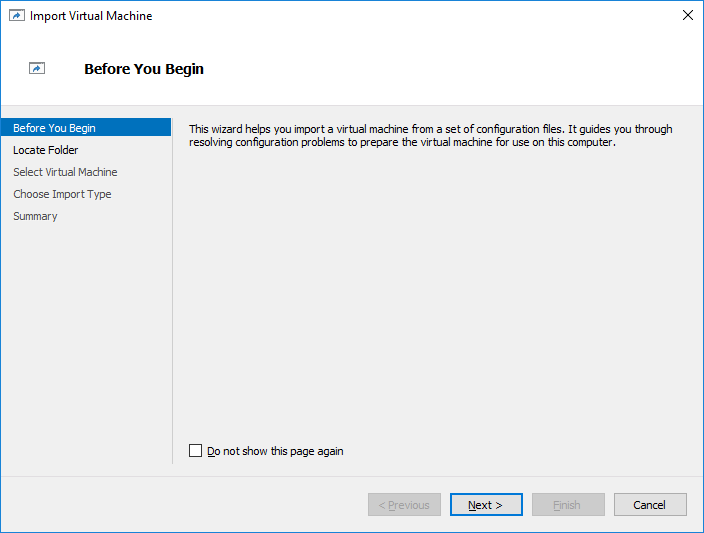
- Right click on your Hyper-V Server and select Import Virtual Machine from the menu.
-
- Click Next.
-
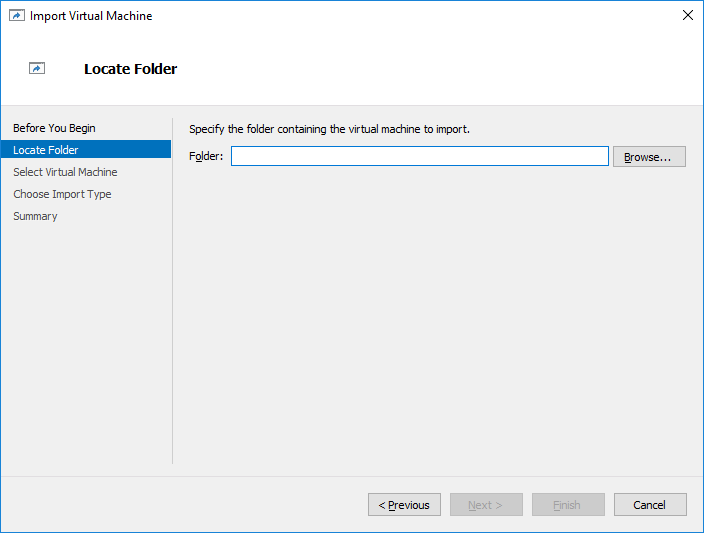
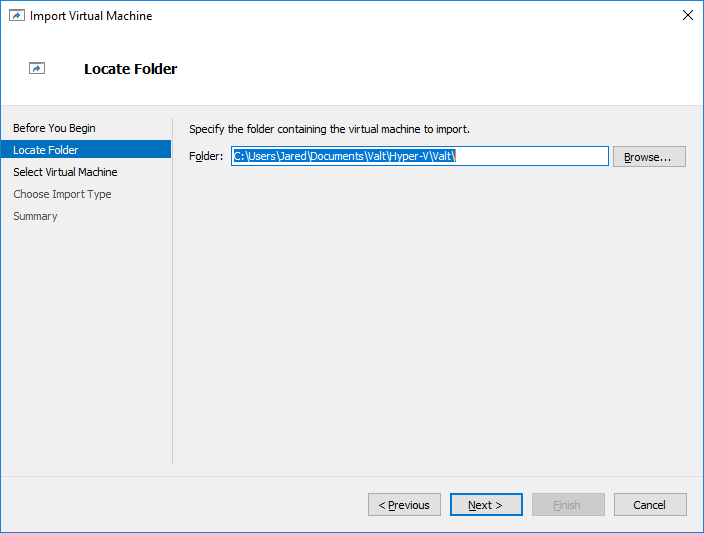
- Click Browse.
-
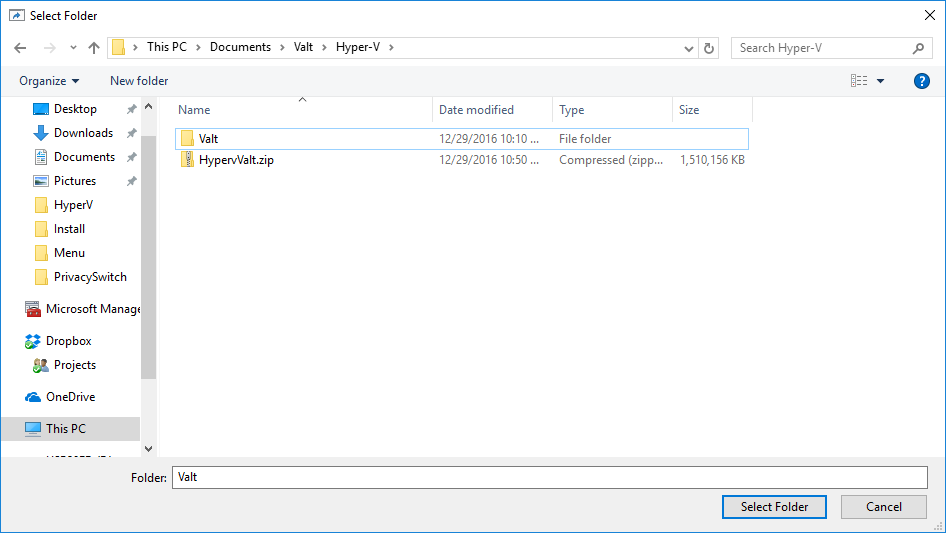
- Browse to the folder where you extracted the zip file, and click on it.
-
- Click Select Folder.
- Click Next.
-
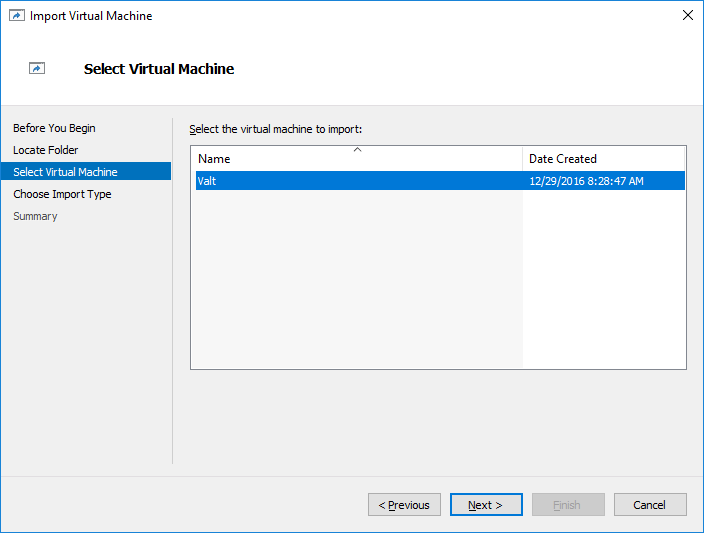
- Select the Virtual Machine to import.
-
- Click Next
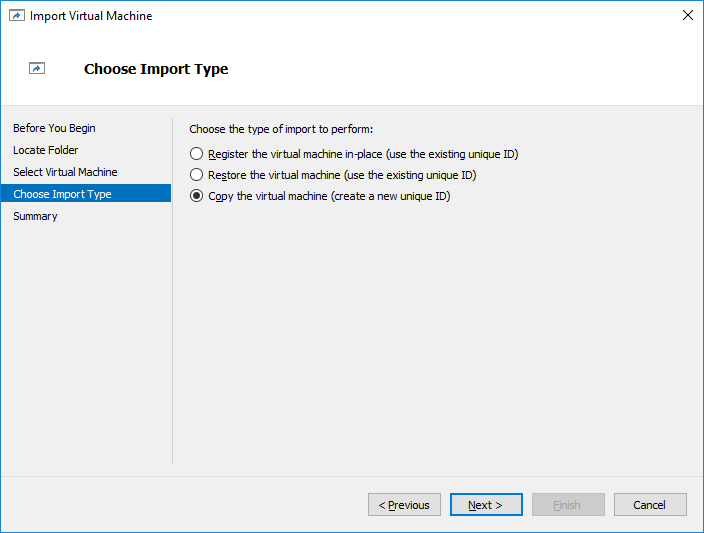
- Select Copy the Virtual Machine.
-
- Click Next.
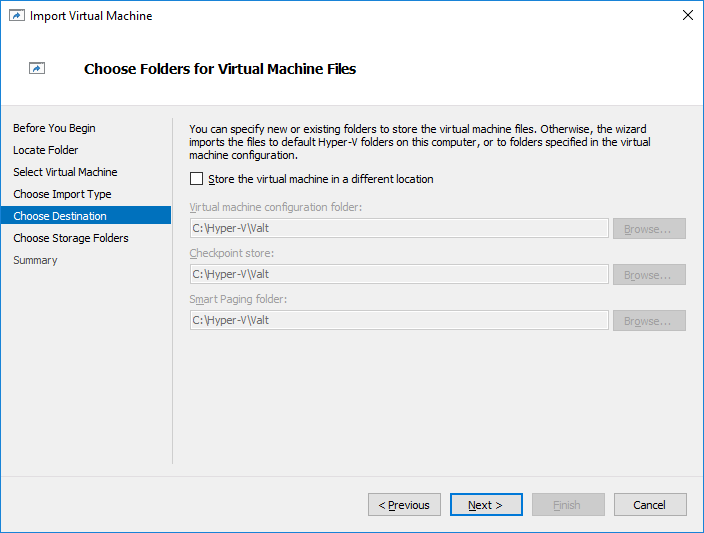
- Review the values for the Virtual Machine Configuration Folder, Checkpoint Store, and Smart Paging Folder.
- If changes need to be made, check the box for Store the virtual machine in a different location.
- Fill the appropriate values in each of these fields.
- Click Next.
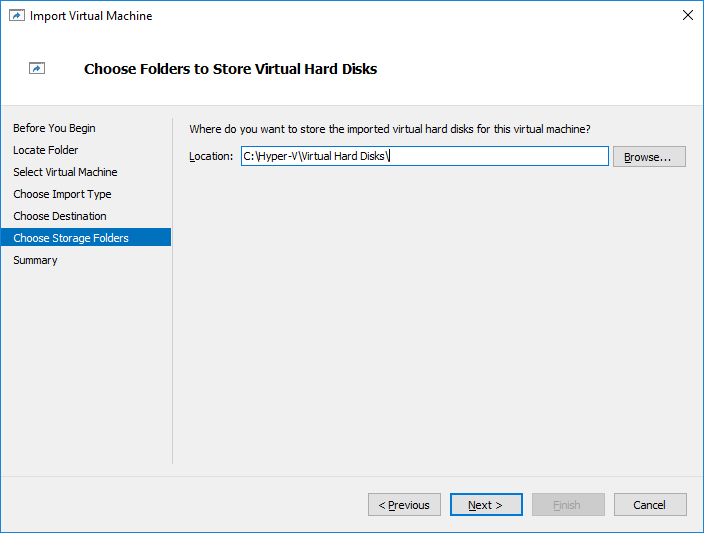
- Review the values for the location to store the virtual hard disks. If changes need to be made, update the value.
-
- Click Next.
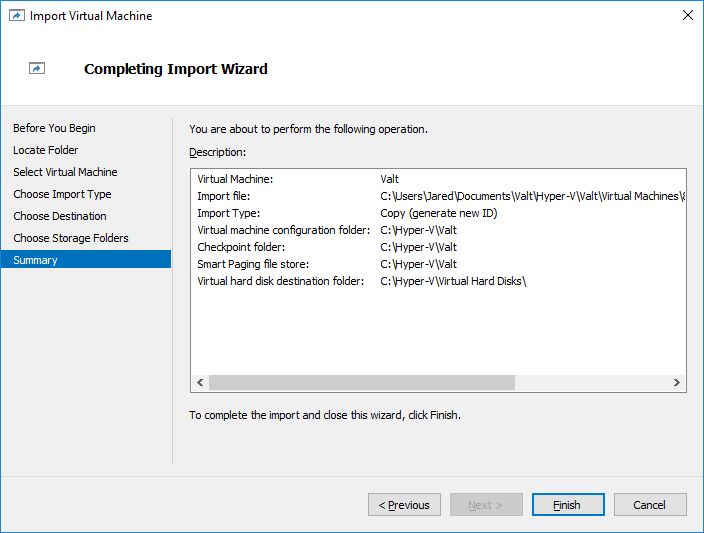
- Review the final configuration.
-
- If everything is correct, click Finish.

Configure Virtual Hardware
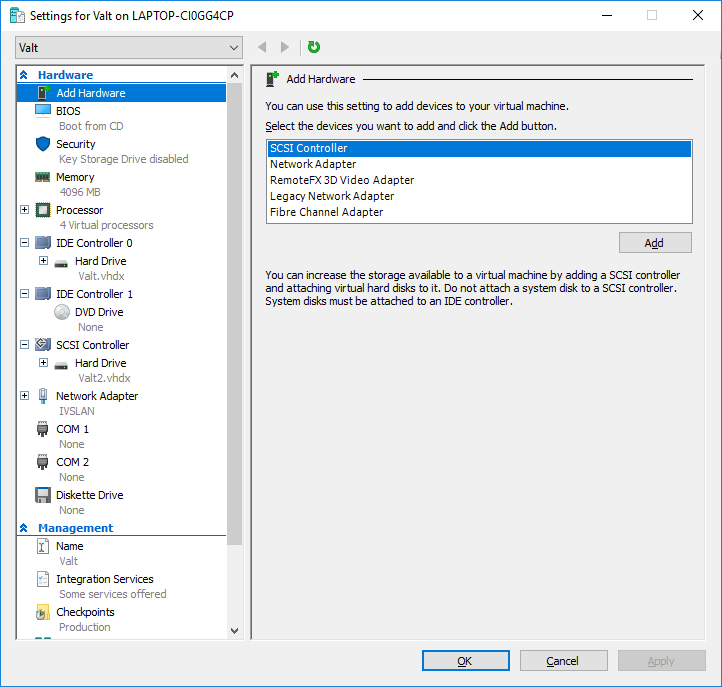
- Right click on the virtual machine in Hyper-V Manager.
- Select Settings from the menu.
-
- Adjust the memory and CPU of the appliance to support the number of cameras. The table below contains IVS' recommended specs.
Cameras Cores Memory 5 4 8 GB 15 8 16 GB 25 16 32 GB 50 32 64 GB
Click OK once all changes have been made.
You can also adjust the size of the data drive. The default size is 2 TB. If you adjust the size of the virtual drive, you will also need to adjust the size of the partition.
Configure IP Address
You must complete these steps, even if you have already specified an IP address for the server or want to use DHCP. This will configure the VALT software with the correct IPs.
For more in depth information on network configuration options, see the Command Line Menu Guide.
- Access the VALT Server Command Line Menu.
- This menu is presented automatically at the VALT server terminal. It can also be accessed via ssh by running the following command from the prompt:
sudo /usr/local/valt/bin/Menu
-

- This menu is presented automatically at the VALT server terminal. It can also be accessed via ssh by running the following command from the prompt:
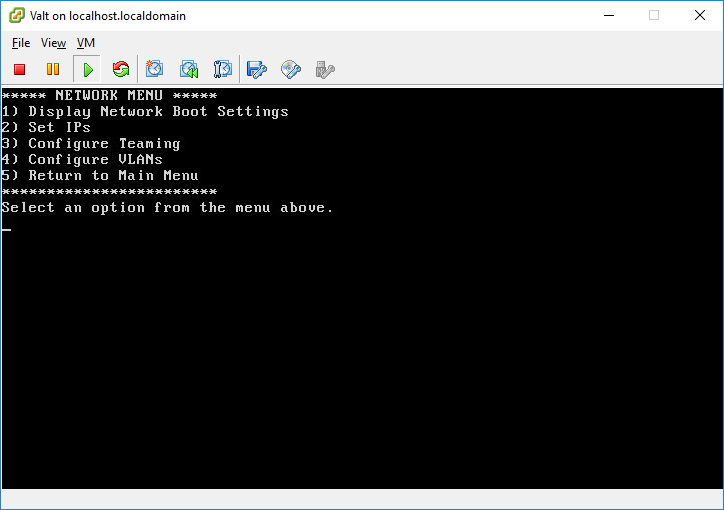
- Enter Option 1 for Network Configuration.
-
- Enter Option 2 for Set IPs.
-
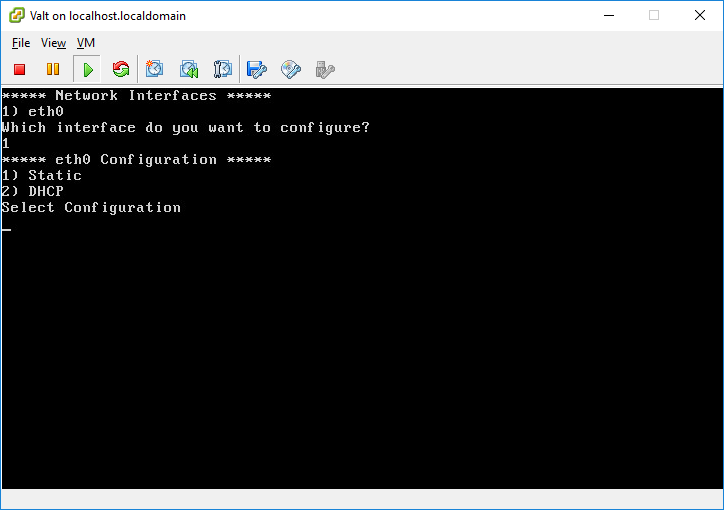
- Select your interface from the options listed.
-
- Select Static or DHCP.
- For this example we will select DHCP
-
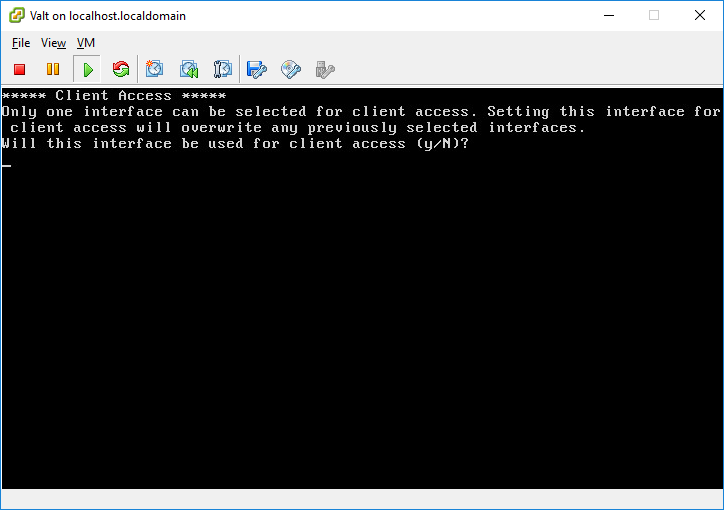
- Type Y when to configure this interface for client access.
-
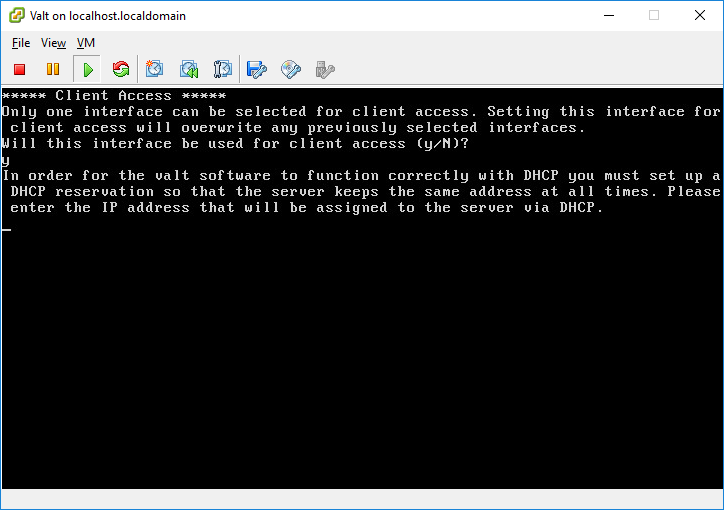
- Enter the IP Address of the interface when prompted.


IP Address changes will not take effect until the server has been rebooted.
Configure a unique machine id
- Access the VALT Server Command Line Menu.
- Choose Option 6 to drop to a shell
- Type the following and press enter:
sudo rm /etc/machine-id
- Type the following and press enter:
sudo sytemd-machine-id-setup
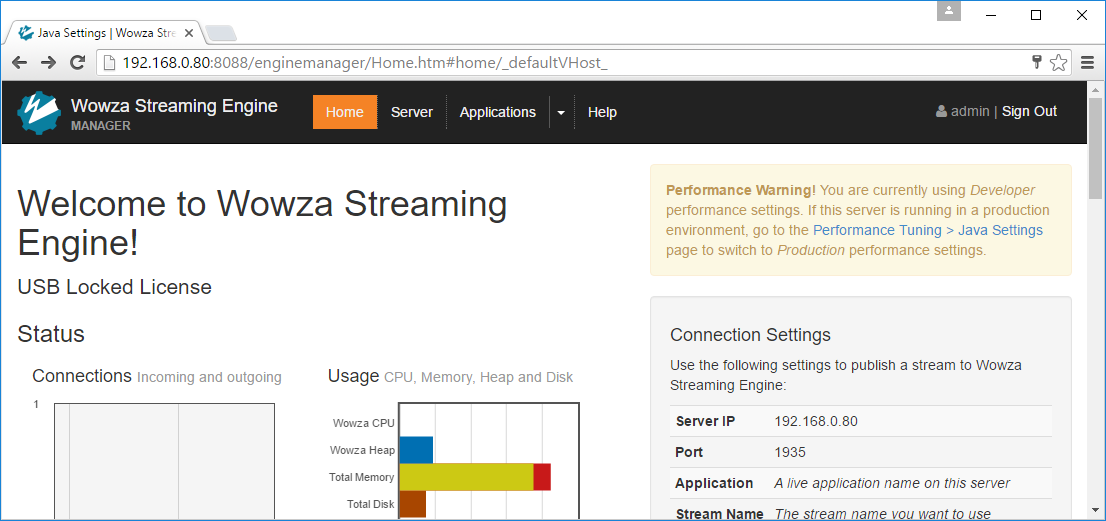
Install the Wowza Streaming Engine License
- Open a web browser and navigate to http://IPAddress:8088
- Replace IPAddress with the IP Address of the server.
-
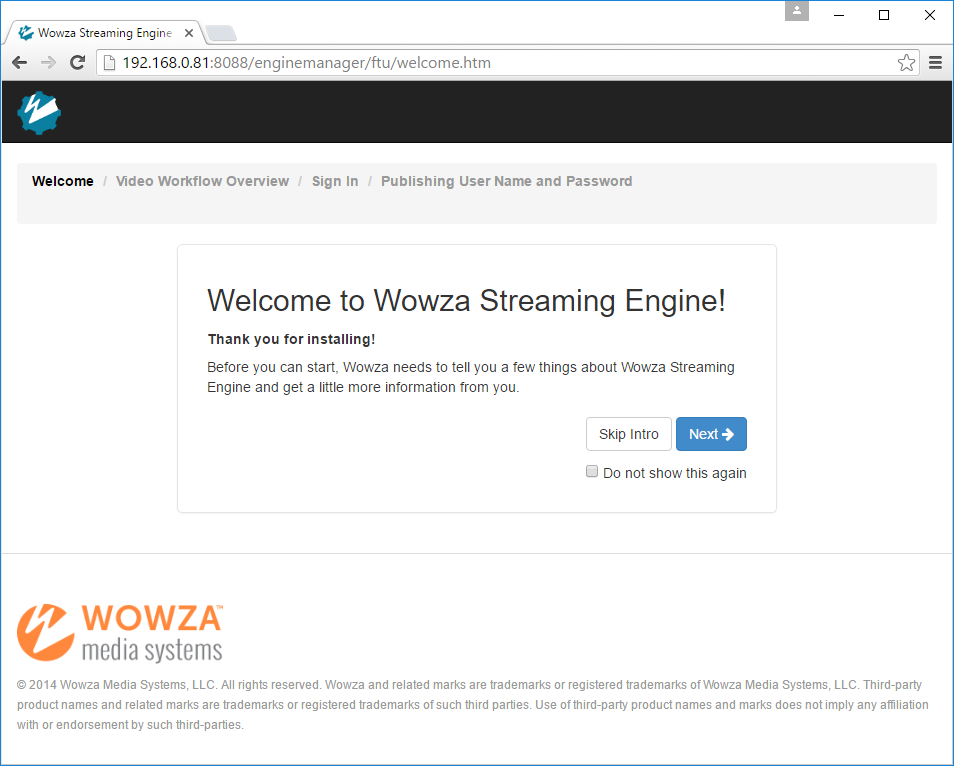
- Click Skip Intro.
-
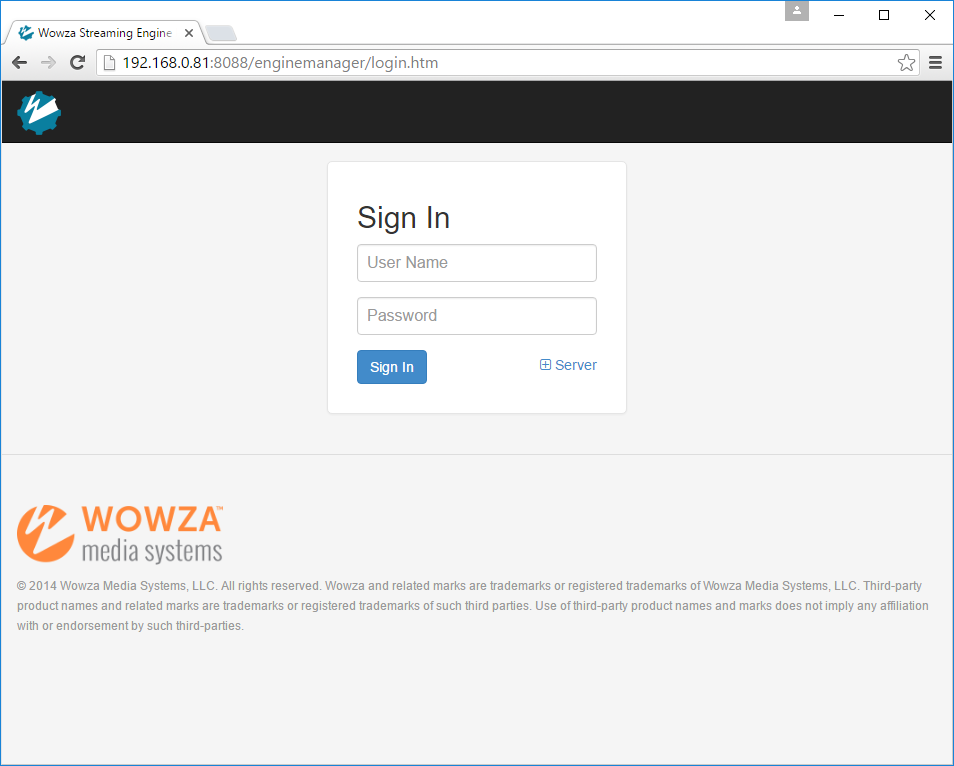
- Sign in using the username and password defined earlier for Wowza.
-
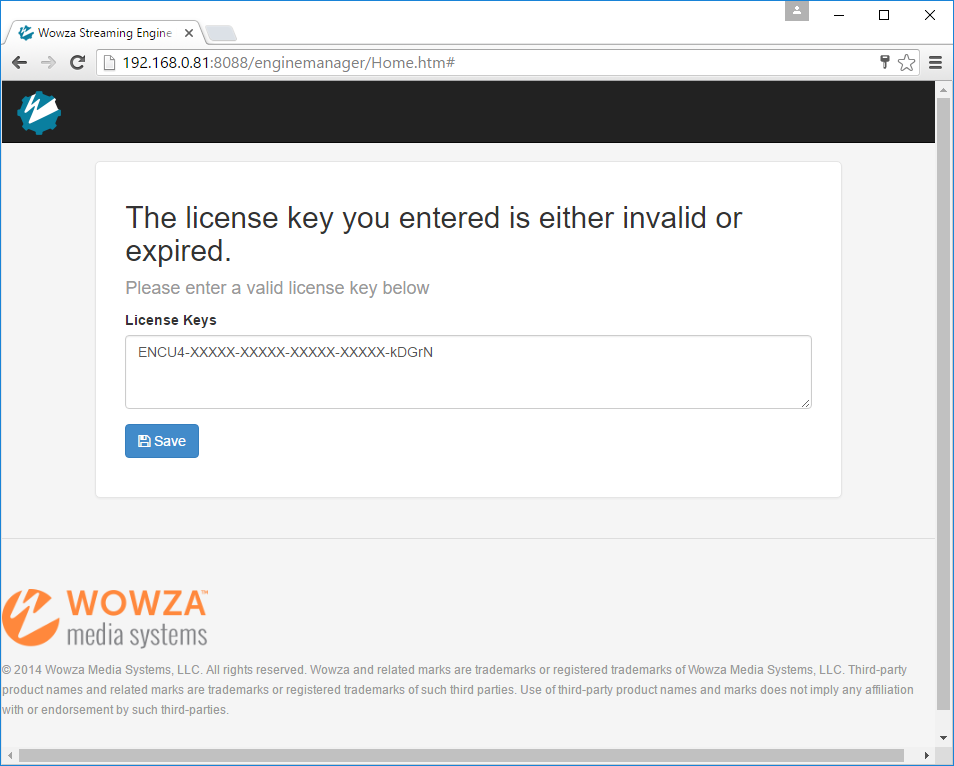
- Copy and paste the Wowza License Key into the box provided.
- If you are not prompted for a key:
- Click on the Server tab.
- Click the Edit button.
- Copy and paste the Wowza License Key into the box provided.
- You cannot use a Wowza USB Key with Hyper-V. You must use an non-usb Wowza license.
- If you are not prompted for a key:
- Click Save.
- You will be returned to the sign in page.
- If you are not returned to the sign in page, click Sign Out in the upper right corner of the page.
- Sign back in to the Wowza web console.
- If you are returned to the license page, the license was not accepted.
- Check to make sure the USB key is inserted.
- Check to make sure there are no typos or leading or trailing spaces.
- Reboot the server
-
- If you are returned to the license page, the license was not accepted.
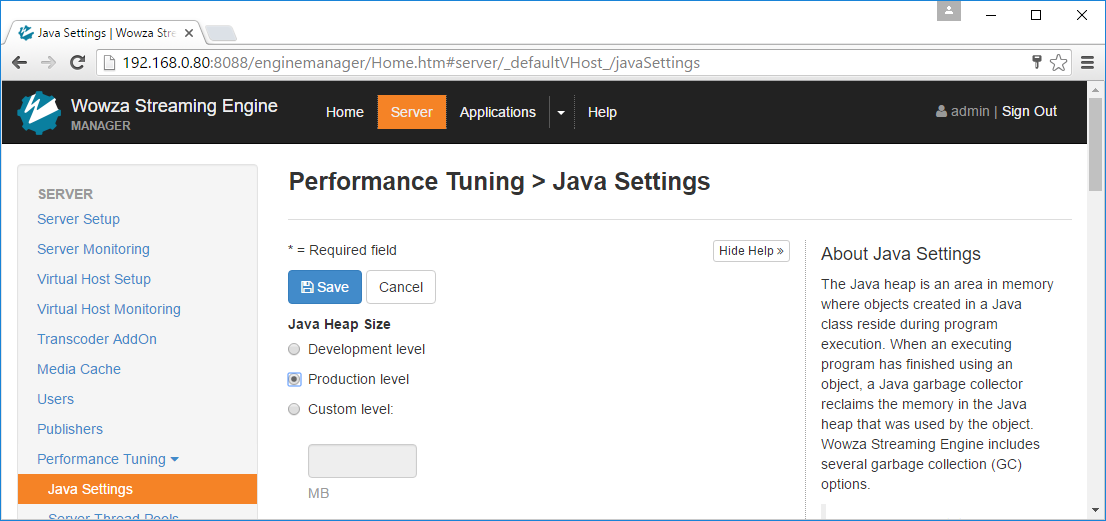
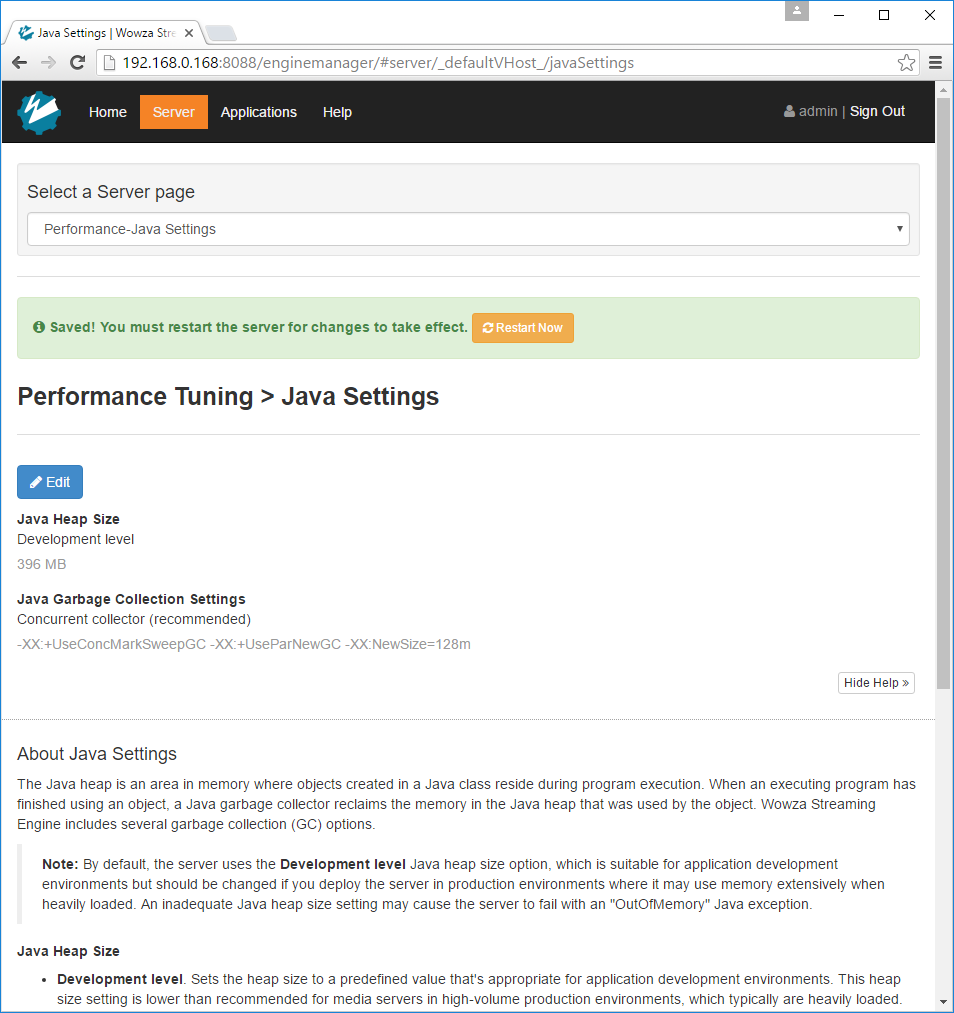
- Click on Performance Tuning > Java Settings.
-
- Click Edit.
-
- Select Production Level.
- Click Save.
-
- You will be prompted to restart, click Restart Now.


Install the VALT Camera License
- Access the VALT Server Command Line Menu.
- This menu is presented automatically at the VALT server terminal. It can also be accessed via ssh by running the following command from the prompt:
sudo /usr/local/valt/bin/Menu
-
- This menu is presented automatically at the VALT server terminal. It can also be accessed via ssh by running the following command from the prompt:
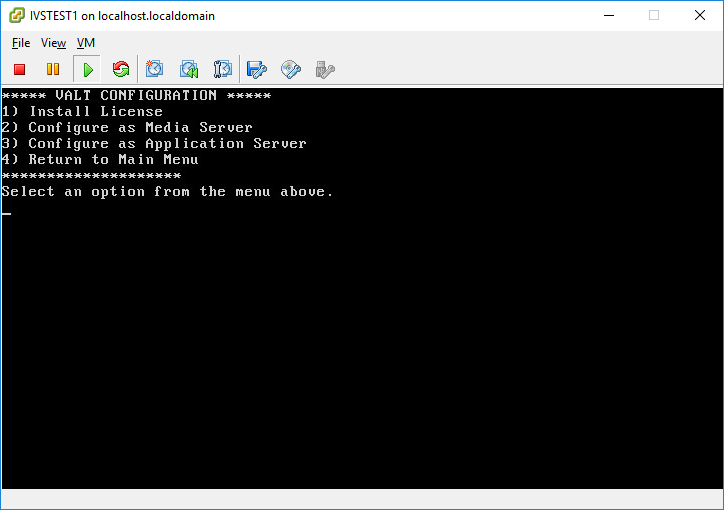
- Enter Option 3 for Valt Configuration.
-
- Enter Option 1 for Install License.
-
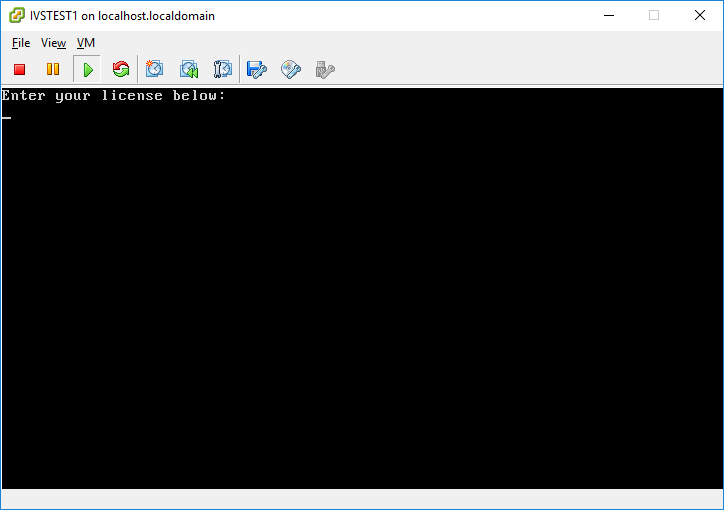
- Enter your license provided by IVS, and press Enter.
- You will be returned to the menu.
Set the Timezone
- Connect to the VALT appliance via SSH or from the terminal menu, exit to the shell.
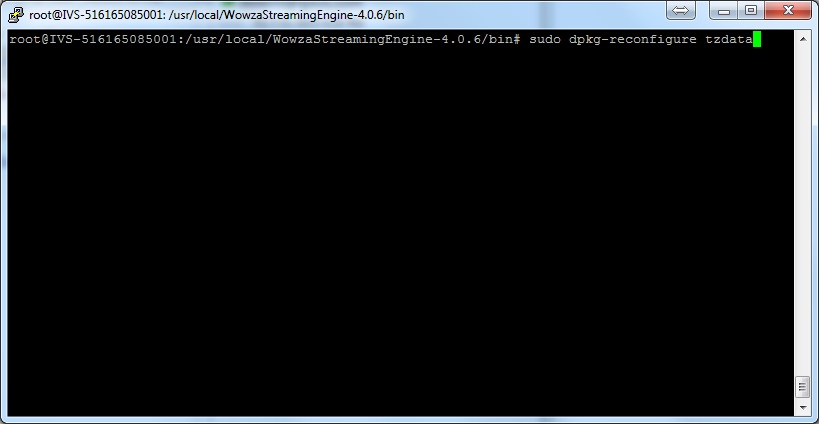
- From the command line, type in the following, and press Enter:
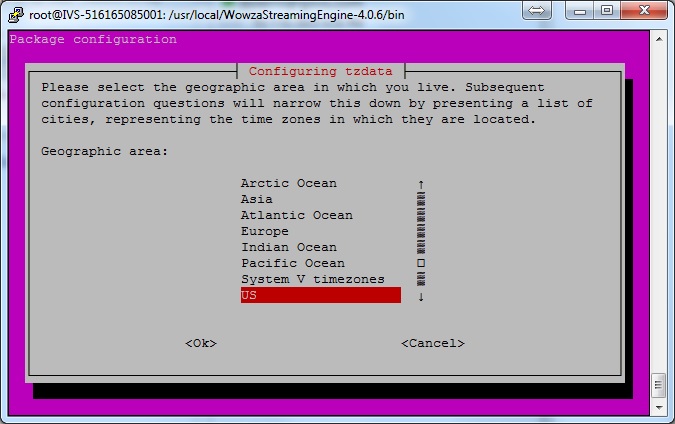
sudo dpkg-reconfigure tzdata
-
- Select your Country.
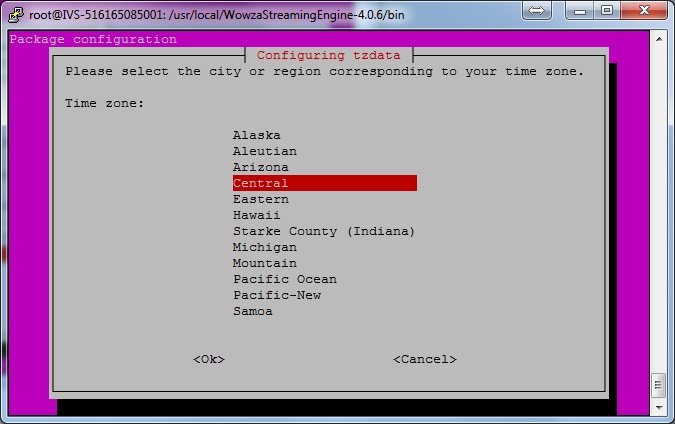
-
- Select your Time Zone.
-
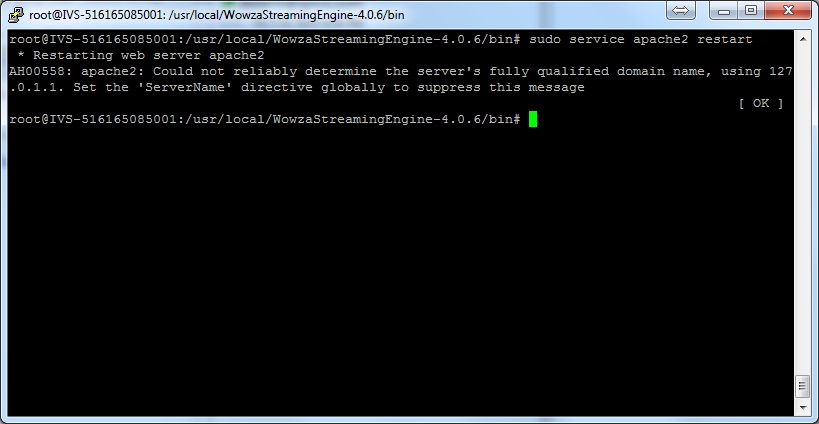
- From the command line, type in the following, and press Enter:
sudo service apache2 restart
- From the command line, type in the following, and press Enter:
sudo service WowzaStreamingEngine restart
-
Accessing VALT from a Web Broweser
Note that you should use the IP address you used from when you configured the IP address up above
- Open a web browser
- Type the IP address, or domain name of your VALT server into the URL bar
- If you do not know your IP address or domain name, ask your local VALT admin.
- You should now be at your VALT login screen
-