Difference between revisions of "Resize Partition"
IVSWikiBlue (talk | contribs) |
IVSWikiBlue (talk | contribs) |
||
| Line 10: | Line 10: | ||
#: {{img | file = Resize3.png}} | #: {{img | file = Resize3.png}} | ||
# Quit parted: <pre>quit</pre> | # Quit parted: <pre>quit</pre> | ||
| − | # Resize the File System: <pre>sudo resize2fs /dev/sbd1</pre> | + | # Resize the File System: <pre>sudo resize2fs -p /dev/sbd1</pre> |
# Mount the VALT Data Storage Drive: <pre>sudo mount -a</pre> | # Mount the VALT Data Storage Drive: <pre>sudo mount -a</pre> | ||
#: {{img | file = Resize5.png}} | #: {{img | file = Resize5.png}} | ||
# Start the Wowza Streaming Engine: <pre>sudo service WowzaStreamingEngine start</pre> | # Start the Wowza Streaming Engine: <pre>sudo service WowzaStreamingEngine start</pre> | ||
Revision as of 07:14, 1 September 2022
Typically this process will only need to be performed on a Valt virtual appliance after allocating additional space to the virtual disk.
- Stop the Wowza Streaming Engine:
sudo service WowzaStreamingEngine stop
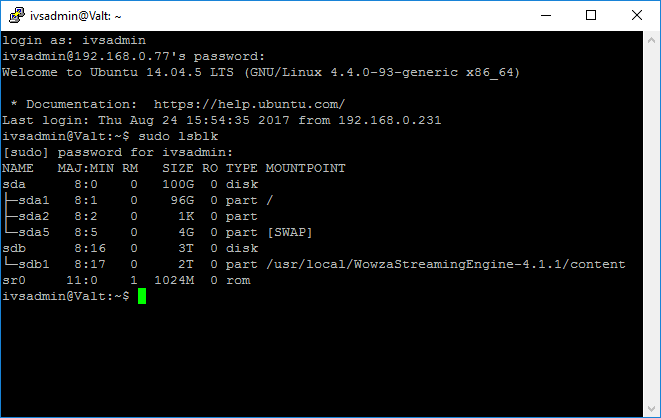
- Identify the VALT Data Storage device:
sudo lsblk
- Unmount the VALT Data Storage Drive:
sudo umount /usr/local/WowzaStreamingEngine-4.7.1/content
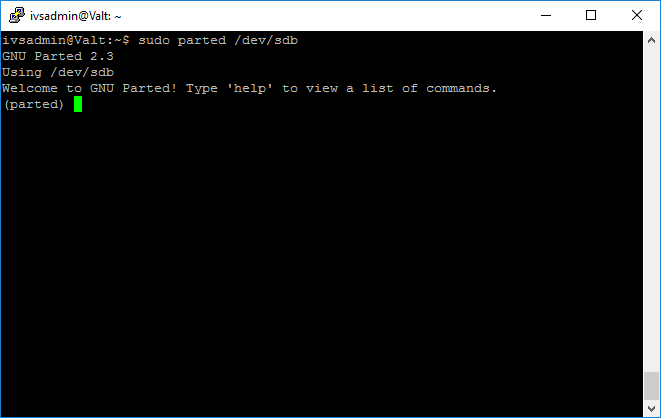
- Run parted:
sudo parted /dev/sdb
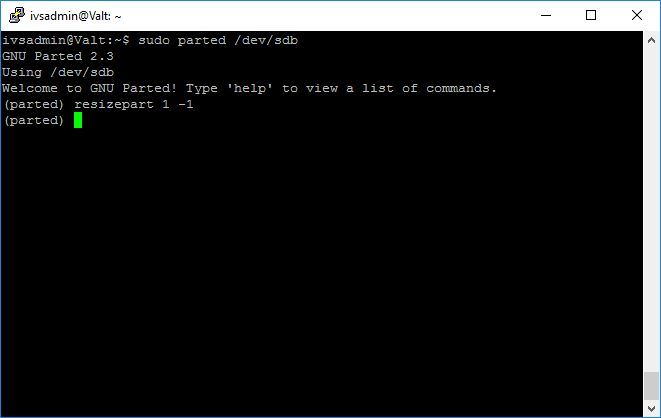
- Resize the partition:
resizepart 1 -1
- Quit parted:
quit
- Resize the File System:
sudo resize2fs -p /dev/sbd1
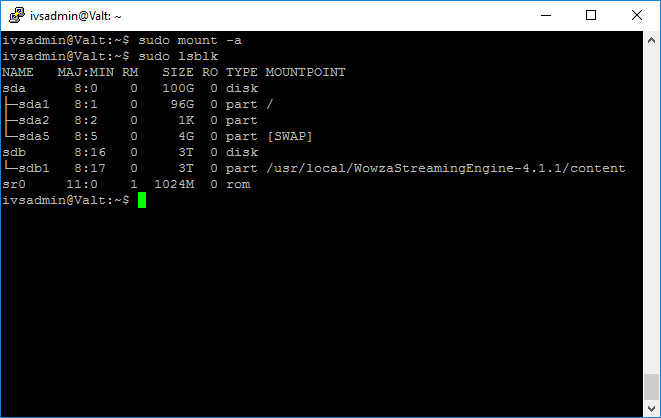
- Mount the VALT Data Storage Drive:
sudo mount -a
- Start the Wowza Streaming Engine:
sudo service WowzaStreamingEngine start


