Difference between revisions of "5525 Wall Mount Instructions"
IVSWikiBlue (talk | contribs) |
IVSWikiBlue (talk | contribs) |
||
| Line 10: | Line 10: | ||
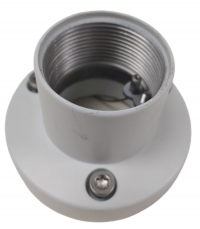
#Using a T20 bit, tighten down the screw located inside the pendant kit. | #Using a T20 bit, tighten down the screw located inside the pendant kit. | ||
#:[[File:ScrewLock.png|250px|link=https://ipivs.com/wiki/images/d/de/ScrewLock.png]] | #:[[File:ScrewLock.png|250px|link=https://ipivs.com/wiki/images/d/de/ScrewLock.png]] | ||
| + | #Locate the mounting plate. | ||
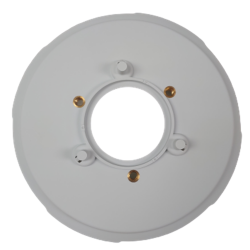
| + | #:"This part comes packed with the AXIS M5525." | ||
| + | #:[[File:5525 Disk.png|250px|link=https://ipivs.com/wiki/images/f/f8/5525_Disk.png]] | ||
| + | # | ||
| + | #:[[File:|250px|link=]] | ||
| + | # | ||
| + | #:[[File:|250px|link=]] | ||
| + | # | ||
| + | #:[[File:|250px|link=]] | ||
Revision as of 11:52, 17 August 2020
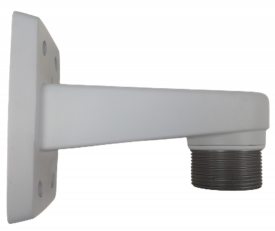
- Locate the AXIS T91E61 Wall Mount.
- This is the recommended wall mount by IVS. Verify the model of your mount here
- Locate the AXIS T94A01D Pendant Kit.
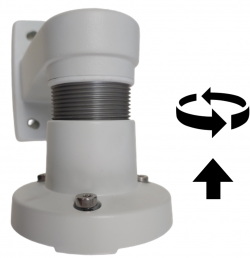
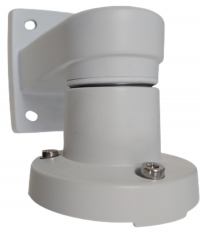
- Connect the two parts and tighten them together by hand.
- Continue tightening, by hand, until you cannot rotate the pendant kit anymore.
- Using a T20 bit, tighten down the screw located inside the pendant kit.
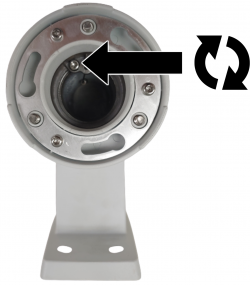
- Locate the mounting plate.
-
- [[File:|250px|link=]]
-
- [[File:|250px|link=]]
-
- [[File:|250px|link=]]
