Difference between revisions of "Template:Accessing Your VALT POC System"
IVSWikiBlue (talk | contribs) |
IVSWikiBlue (talk | contribs) |
||
| Line 6: | Line 6: | ||
}} | }} | ||
| − | <div class=" | + | |
| + | <div class="section">You will be brought to the login screen.</div> | ||
{{img | file = POC Login Screen.png | width = }} | {{img | file = POC Login Screen.png | width = }} | ||
| + | |||
{{img with key - width | file = VALT admin admin.png | width = | list = | {{img with key - width | file = VALT admin admin.png | width = | list = | ||
| Line 22: | Line 24: | ||
</table> | </table> | ||
}} | }} | ||
| + | |||
<div class="floating_card">You can find more information on using the VALT application, including user guides and training videos [[ VALT_Manual | Click Here]]</div> | <div class="floating_card">You can find more information on using the VALT application, including user guides and training videos [[ VALT_Manual | Click Here]]</div> | ||
Revision as of 12:38, 2 December 2022
How to Access the POC System
- Connect to the IVS_Demo Wifi as provided by the wireless access point in the VALT POC Camera Station.
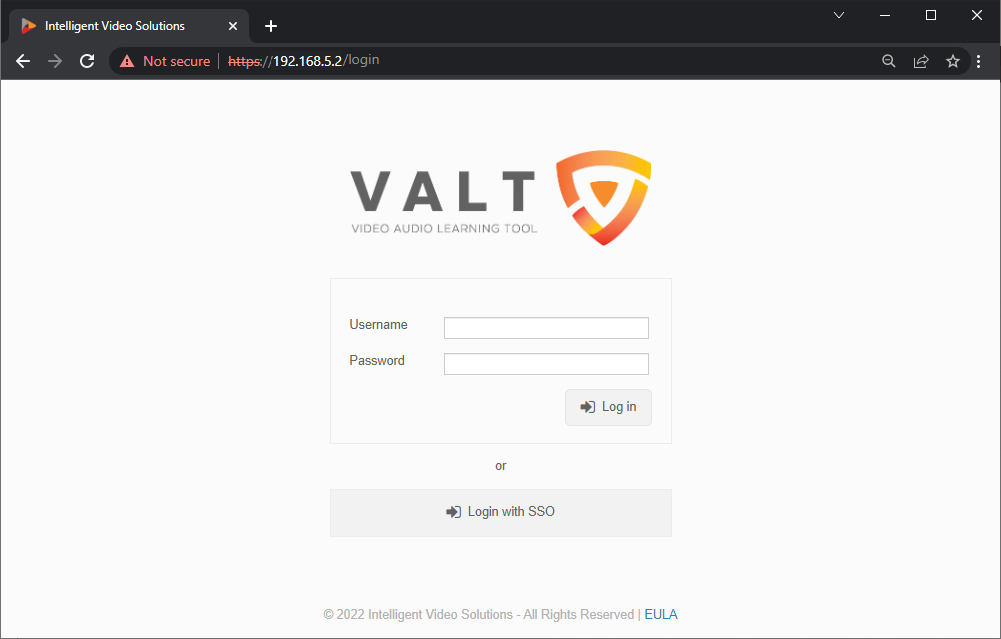
- Open up a web browser (Chrome, Firefox, Internet Explorer, Safari) and point it to the IP address of the VALT server.
Note: The default IP address for the VALT POC appliance is 192.168.5.2
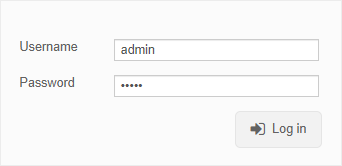
You will be brought to the login screen.
You can find more information on using the VALT application, including user guides and training videos Click Here


