Difference between revisions of "Add a USB Key to a VM"
IVSWikiBlue (talk | contribs) |
IVSWikiBlue (talk | contribs) |
||
| Line 1: | Line 1: | ||
{{Article | content = | {{Article | content = | ||
There are two types of Wowza licenses. By default, IVS will provide a Wowza license key and a USB key. The steps below are to add the USB key to the VM. If you want to use the VM in a highly available environment, IVS can provide a license-only key that does not require a USB key. Please make sure to request this at the time of order. | There are two types of Wowza licenses. By default, IVS will provide a Wowza license key and a USB key. The steps below are to add the USB key to the VM. If you want to use the VM in a highly available environment, IVS can provide a license-only key that does not require a USB key. Please make sure to request this at the time of order. | ||
| + | |||
| + | {{hr}} | ||
# Right click on the Virtual Machine in vSphere Client. | # Right click on the Virtual Machine in vSphere Client. | ||
Latest revision as of 13:30, 3 May 2024
There are two types of Wowza licenses. By default, IVS will provide a Wowza license key and a USB key. The steps below are to add the USB key to the VM. If you want to use the VM in a highly available environment, IVS can provide a license-only key that does not require a USB key. Please make sure to request this at the time of order.
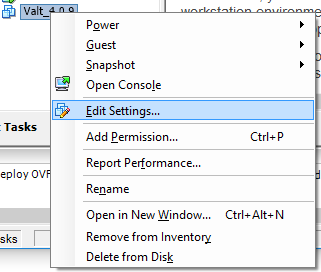
- Right click on the Virtual Machine in vSphere Client.
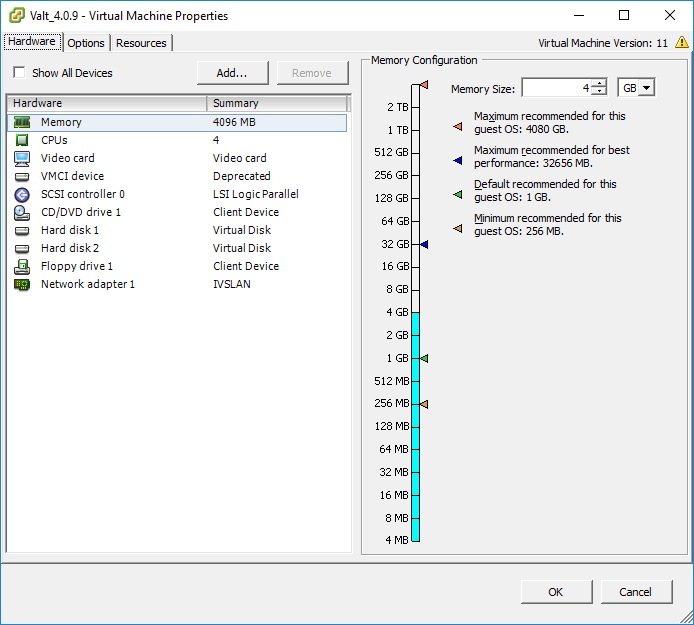
- Select Edit Settings from the menu.
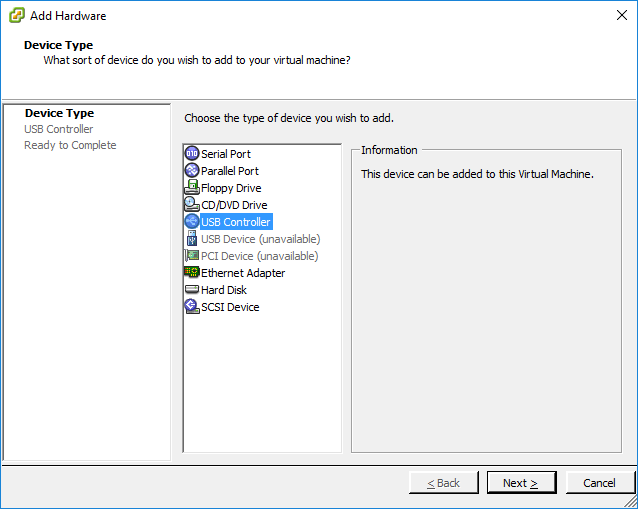
- Click Add.
- Select USB Controller.
- Click Next.
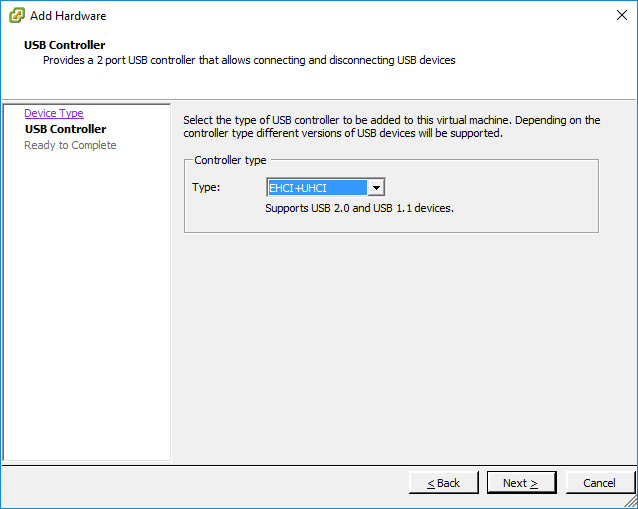
- Select EHCI+UHCI.
- Click Next.
- Click Finish.
- Click Add.
- Select USB Controller.
- Click Next.
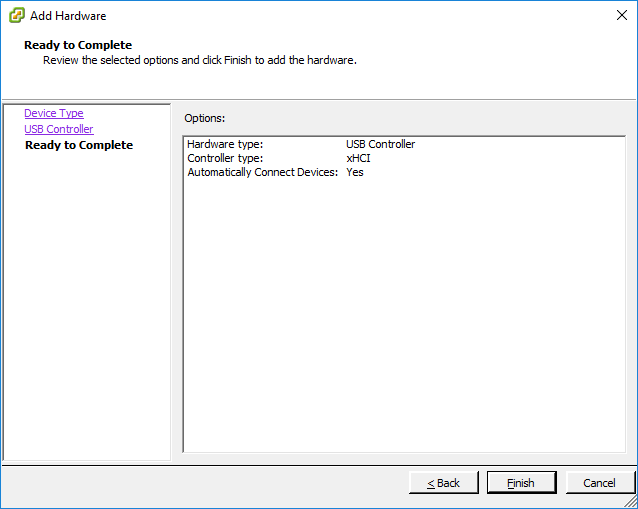
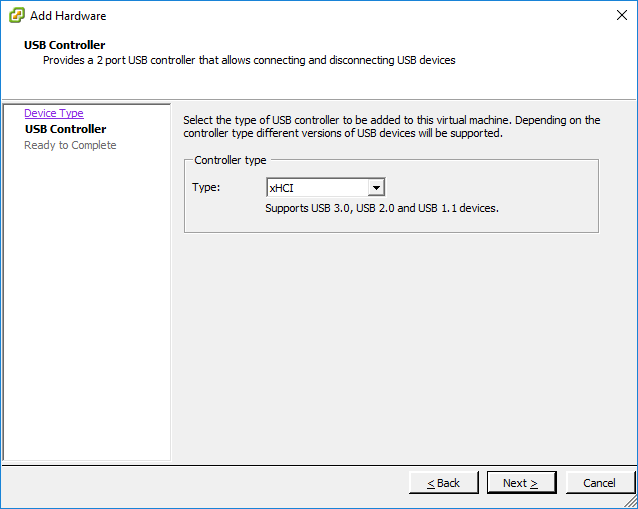
- Select xHCI.
- Click Next.
- Click Finish.
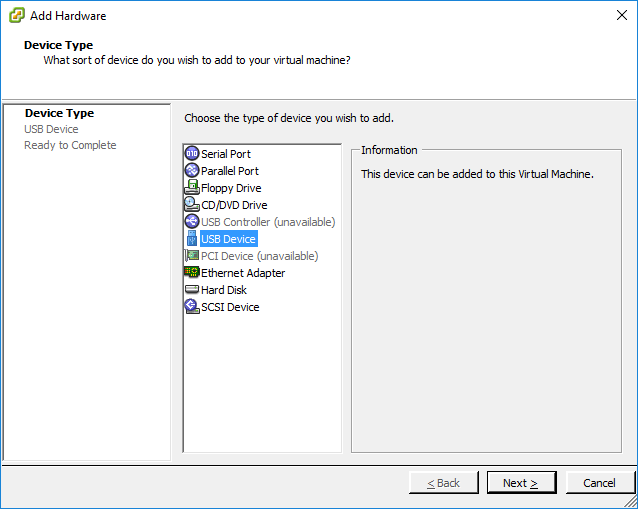
- Click Add.
- Select USB Device.
- Click Next.
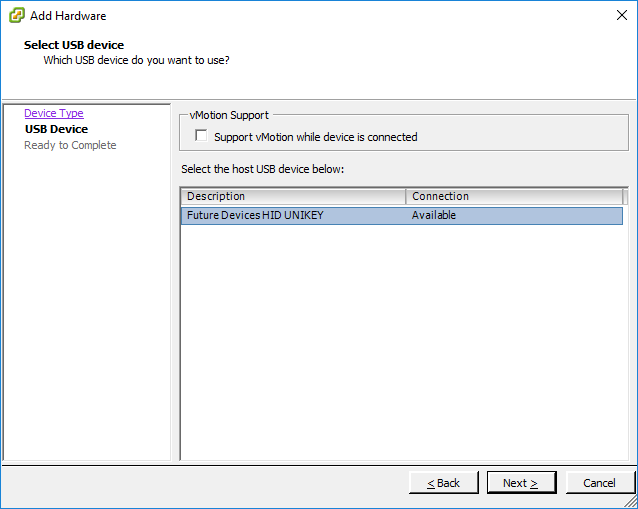
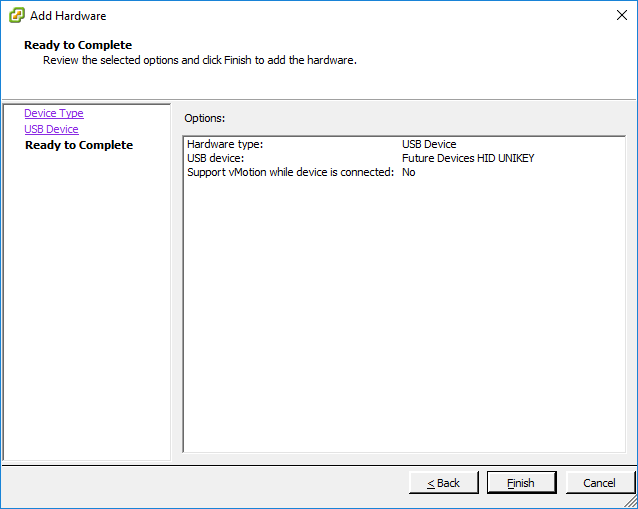
- Select Future Devices HID UNIKEY.
- Click Next.
- Click Finish.
- Click OK.
