Difference between revisions of "Installing IVS Beam Software"
IVSWikiBlue (talk | contribs) |
IVSWikiBlue (talk | contribs) m |
||
| Line 25: | Line 25: | ||
[[File:IPad5.PNG|400x300px]] | [[File:IPad5.PNG|400x300px]] | ||
| − | + | :{|border="1" style="border-collapse:collapse" | |
| − | {| | ||
|- | |- | ||
|style="width:150px;"|Server Address | |style="width:150px;"|Server Address | ||
| Line 40: | Line 39: | ||
| | | | ||
|} | |} | ||
| + | |||
| + | :Note: If you are utilizing SSL, you must have a cert signed by a trusted CA in order to connect an iOS device. | ||
| + | |||
7) Touch Sync User Data | 7) Touch Sync User Data | ||
Revision as of 10:42, 25 August 2016
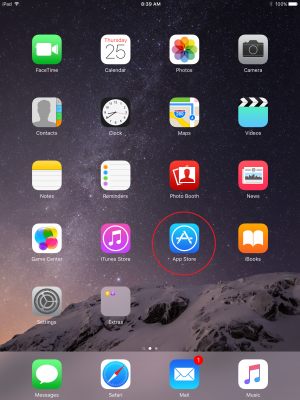
1) Open the App Store by touching the icon on your iPad or iPhone
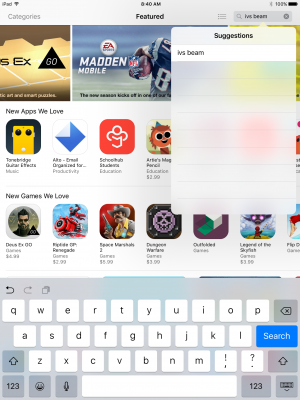
2) Touch the search field in the upper right corner and type in IVS Beam
3) Touch Search
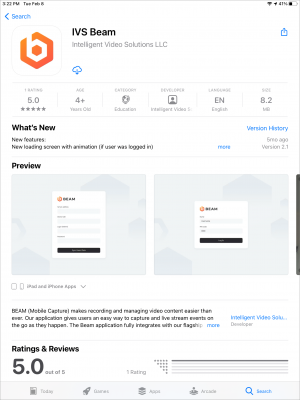
4) Touch the cloud icon to download the app.
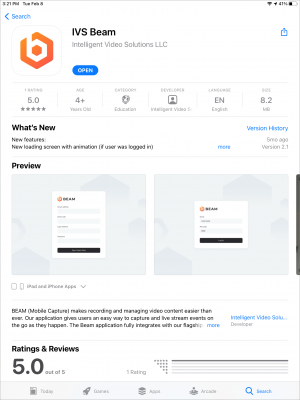
5) After the installation is complete, touch OPEN to open the app.
6) You will be prompted to enter the Server Address, Device UID, username and password.
Server Address Enter the IP address or FQDN of the server. It must be entered as http://192.168.0.81 or https://192.168.0.81 if you are using SSL Device UID You can obtain this by pulling up the iPad device on the server. Username Password
- Note: If you are utilizing SSL, you must have a cert signed by a trusted CA in order to connect an iOS device.
7) Touch Sync User Data
8) You will now be prompted to enter your username. This should be the username of the individual that will be utilizing the device, as that is the user the videos will be stored under. The user can log out and another user can log in at any time.
9) Enter the username
10) Touch Login
The app is now configured. Please see the IVS Beam Software User Guide for additional instructions.
