Difference between revisions of "Template:VALT Server Migration"
IVSWikiBlue (talk | contribs) (→On the Old Server) |
IVSWikiBlue (talk | contribs) (→On the New Server) |
||
| Line 13: | Line 13: | ||
=On the New Server= | =On the New Server= | ||
| − | # Type in the following, then press Enter | + | # Type in the following, then press Enter: <pre>mysql -uivsadmin -p valt</pre> |
# Type in the password to MySQL. | # Type in the password to MySQL. | ||
#:{{img | file = ValtMigrationMysqlLogin.jpg}} | #:{{img | file = ValtMigrationMysqlLogin.jpg}} | ||
| − | # Type: <pre>DROP database | + | # Type: <pre>DROP database valt;</pre> |
#:{{img | file = ValtMigrationDropDb.jpg}} | #:{{img | file = ValtMigrationDropDb.jpg}} | ||
| − | # Type:<pre>CREATE database | + | # Type:<pre>CREATE database valt;</pre> |
#:{{img | file = ValtMigrationCreateDb.jpg}} | #:{{img | file = ValtMigrationCreateDb.jpg}} | ||
# Type in the following, then press Enter: <pre>exit </pre> | # Type in the following, then press Enter: <pre>exit </pre> | ||
| − | # Type in the following, then press Enter '''(Since Ubuntu 18.04 ivsadmin is the MySQL login user)''': <pre>mysql - | + | # Type in the following, then press Enter '''(Since Ubuntu 18.04 ivsadmin is the MySQL login user)''': <pre>mysql -uivsadmin -p valt < valt.sql</pre> |
# Enter the password for MySQL. | # Enter the password for MySQL. | ||
#: {{img | file = ValtMigrationMysqlV3.jpg}} | #: {{img | file = ValtMigrationMysqlV3.jpg}} | ||
| − | # Type in the following, then press Enter '''(Since Ubuntu 18.04 ivsadmin is the MySQL login user)''': <pre>mysql - | + | # Type in the following, then press Enter '''(Since Ubuntu 18.04 ivsadmin is the MySQL login user)''': <pre>mysql -uivsadmin -p valt -e "UPDATE wowza SET address = 'NewServerIP'"</pre> |
# Enter the password for MySQL. | # Enter the password for MySQL. | ||
#: {{img | file = ValtMigrationSetWowzaIp.jpg}} | #: {{img | file = ValtMigrationSetWowzaIp.jpg}} | ||
Revision as of 09:32, 2 August 2022
Note: Change IP's in the below commands to match the IP's of the new and old server
On the Old Server
It is beneficial to stop the apache service on the old server to prevent further recording of videos on it
- Type in the following, then press Enter:
sudo chmod 777 -R /usr/local/WowzaStreamingEngine/content/
- Type in the following, then press Enter:
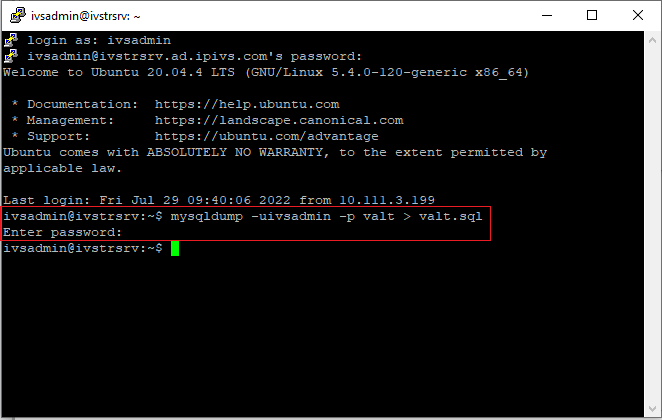
mysqldump -uivsadmin -p valt > valt.sql
- Enter mysql password
- Type in the following, then press Enter:
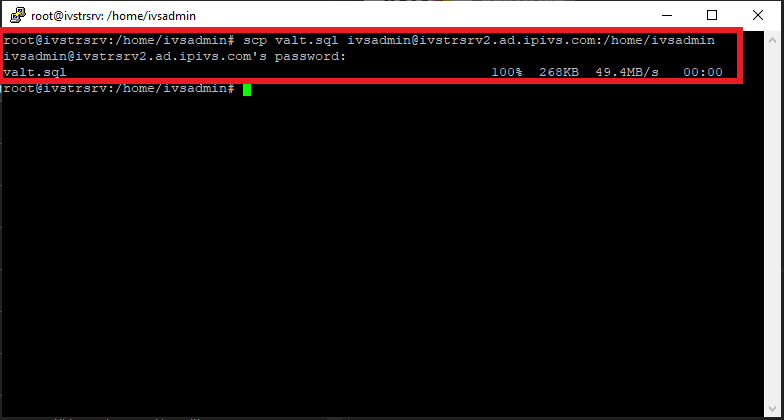
scp valt.sql ivsadmin@NewServerIP:/home/ivsadmin/
- Enter password for ivsadmin.
On the New Server
- Type in the following, then press Enter:
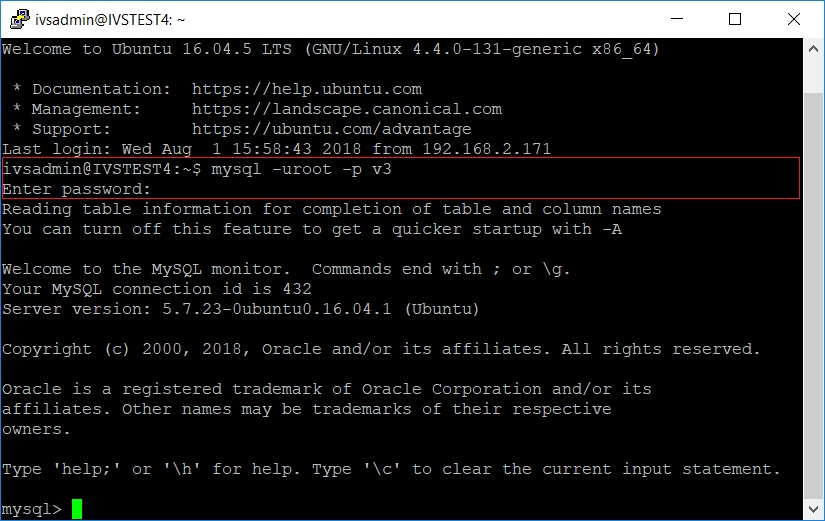
mysql -uivsadmin -p valt
- Type in the password to MySQL.
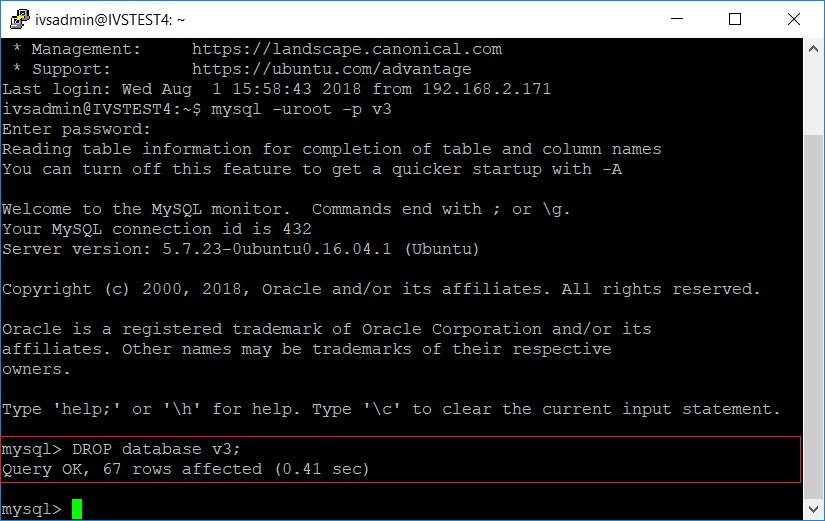
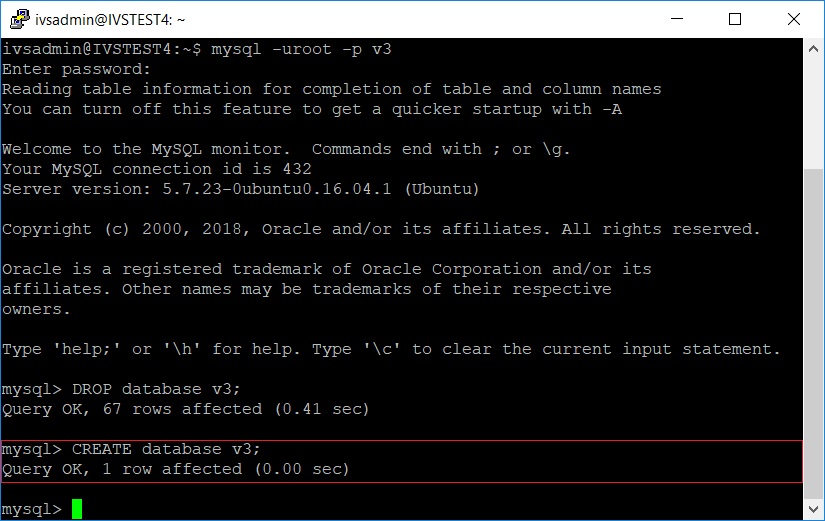
- Type:
DROP database valt;
- Type:
CREATE database valt;
- Type in the following, then press Enter:
exit
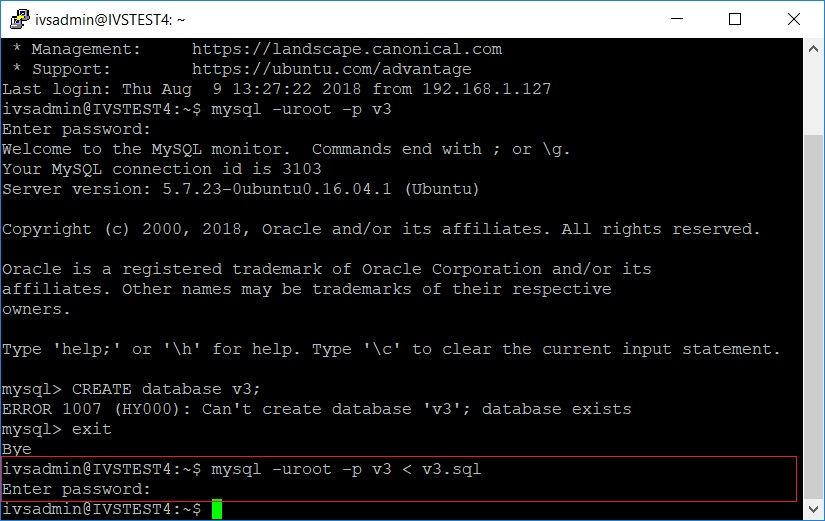
- Type in the following, then press Enter (Since Ubuntu 18.04 ivsadmin is the MySQL login user):
mysql -uivsadmin -p valt < valt.sql
- Enter the password for MySQL.
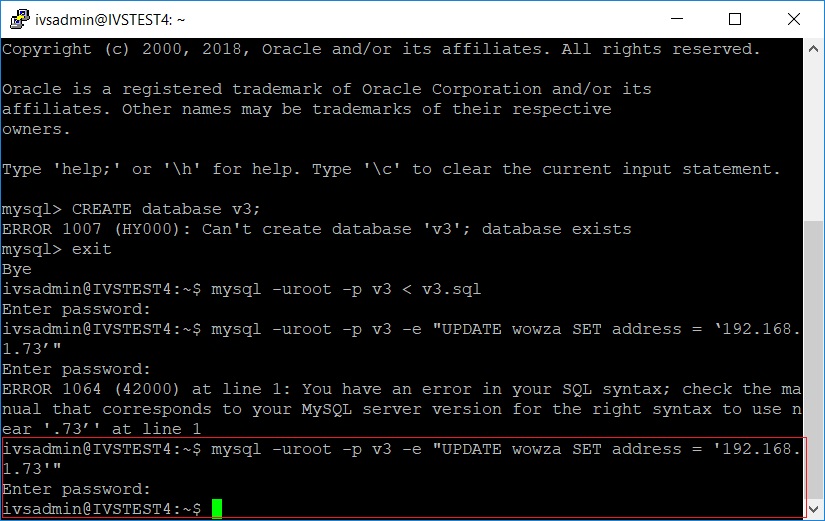
- Type in the following, then press Enter (Since Ubuntu 18.04 ivsadmin is the MySQL login user):
mysql -uivsadmin -p valt -e "UPDATE wowza SET address = 'NewServerIP'"
- Enter the password for MySQL.
