Difference between revisions of "Video Decoder"
IVSWikiBlue (talk | contribs) |
(No difference)
|
Revision as of 12:53, 1 April 2020
Contents
Required Parts And Tools
- Axis T8705 Unit
- Anchors and Screws
- Drill bit and drill
- Phillips head drill bit or Phillips head screwdriver
- Cat5/6 Patch Cable (1ft-3ft recommended)
- HDMI cable for customer's monitor (HDMI to DVI or Display Port, if necessary)
Installation Instructions
- First, determine whether our customer prefers it to be mounted to the wall behind the monitor, or to the back of the monitor itself.
- Using a stud finder, ensure there aren’t any studs where we'd like to mount the decoder. Make a mark where the mount will be screwed to the wall.
- Using the drill bit, drill the screw marker and place the anchor inside.
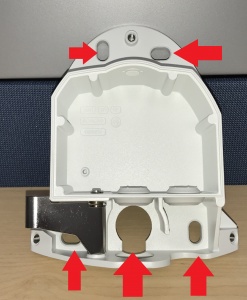
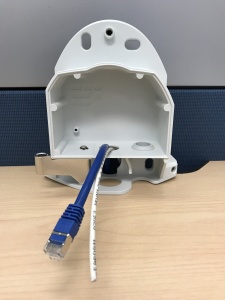
- Mount the base to the wall using the screw associated with the anchor. Attach the T8705 to the base.
- Plug the HDMI cable into the Decoder, then into the monitor.
- Plug the network cable into the Decoder, then into the network jack.
- Plug in the power cable for the Decoder.
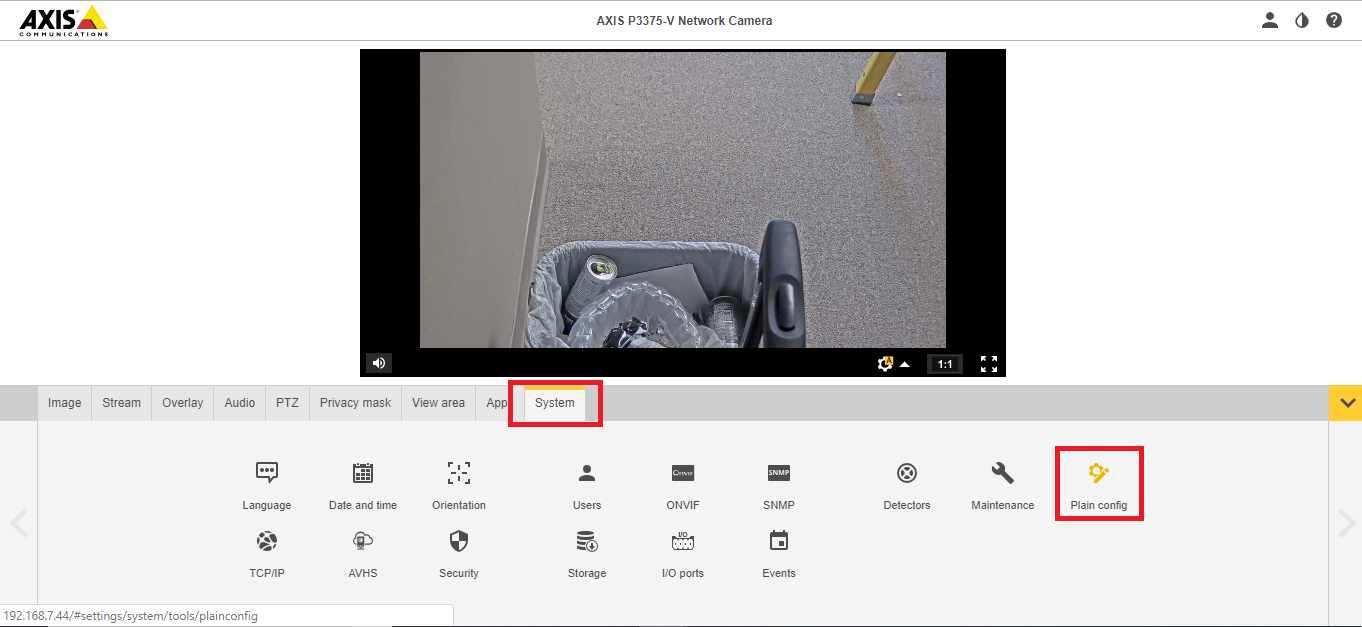
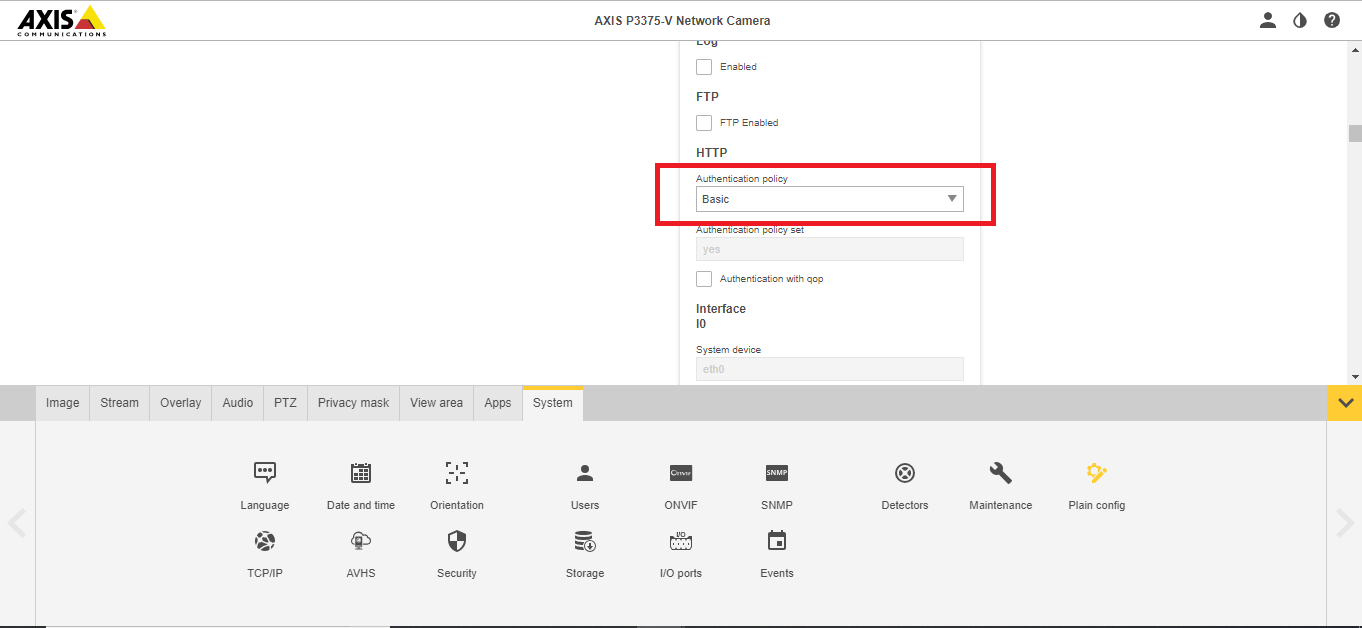
The Cameras' authentication must be set to Encrypted or Digest
Decoder Configuration
You will need to access the Decoder, either over the network or directly from your laptop.
- ) On the Video Sources tab, click "Add Camera".
- ) Add the name, IP, username, and password of the cameras one at a time.
- ) On the Display tab, select Multiview for Multimode, and the appropriate view matrix for View.
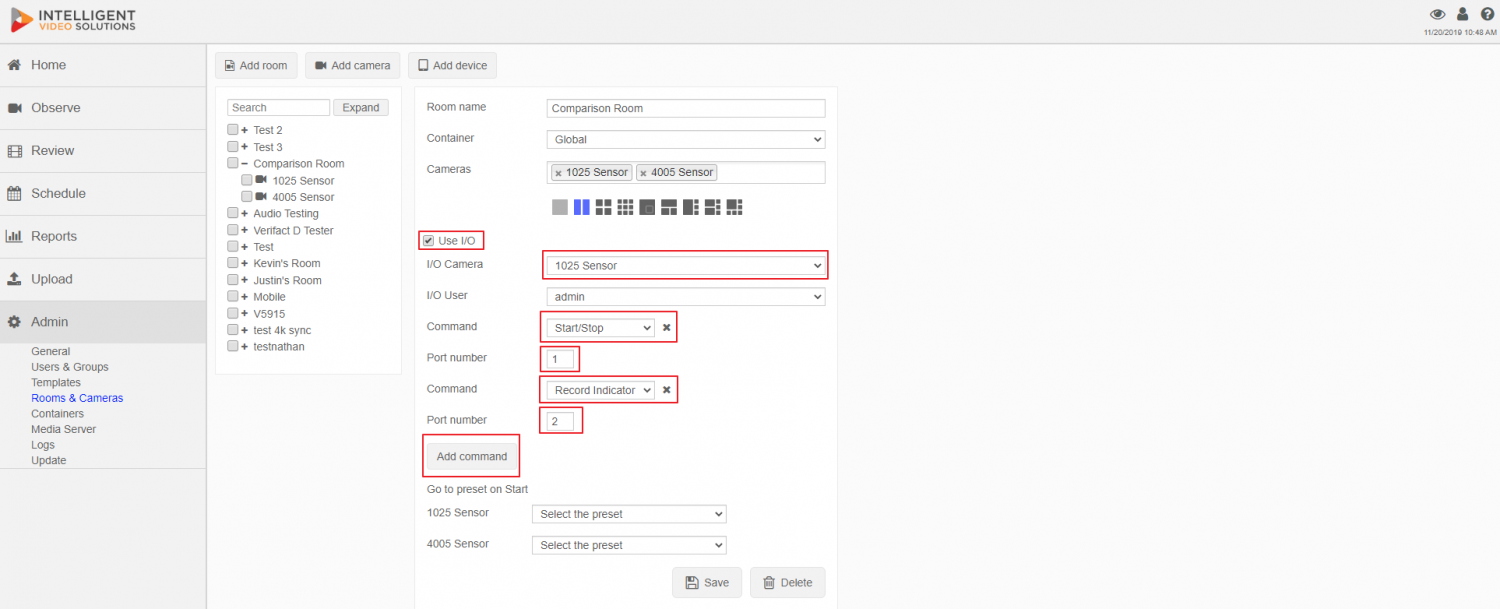
In the User Groups make sure the I/O User's group has video access to every group
Camera Configuration
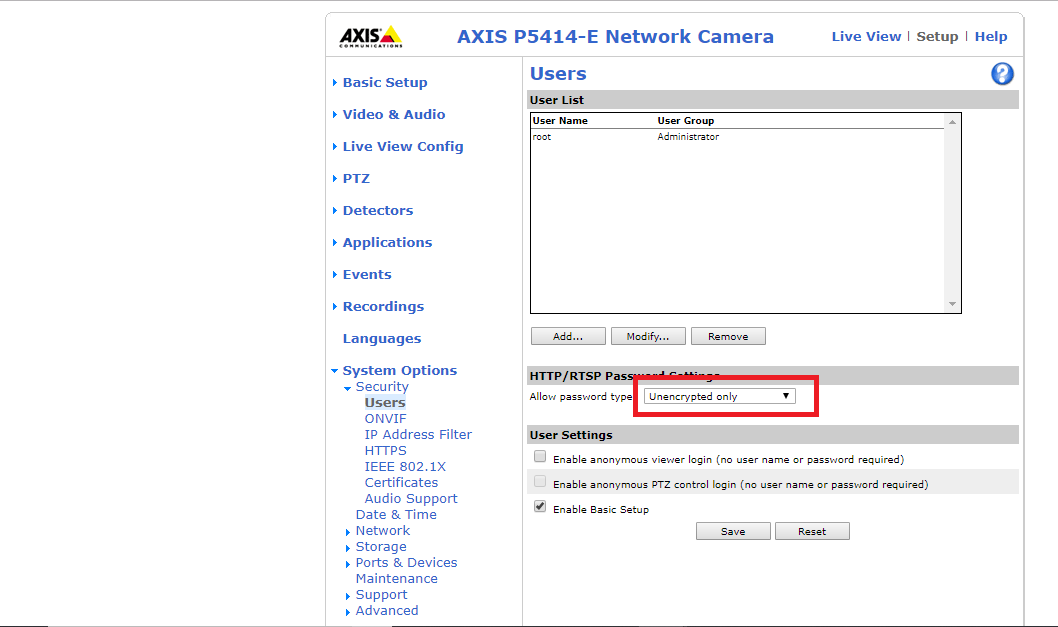
- ) Navigate to the IP of the camera.
- ) (In the old navigation view) Go to Setup in the top right; then System Options.
- ) For Allow Password Type, select Unencrypted Only.
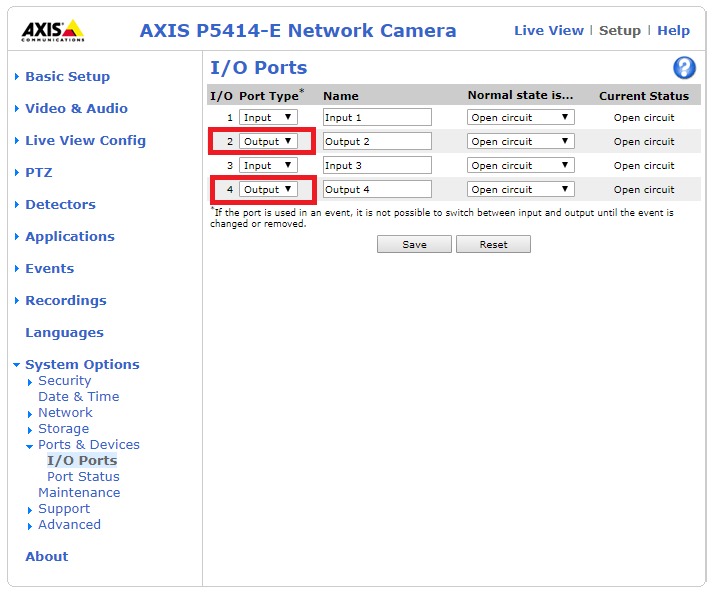
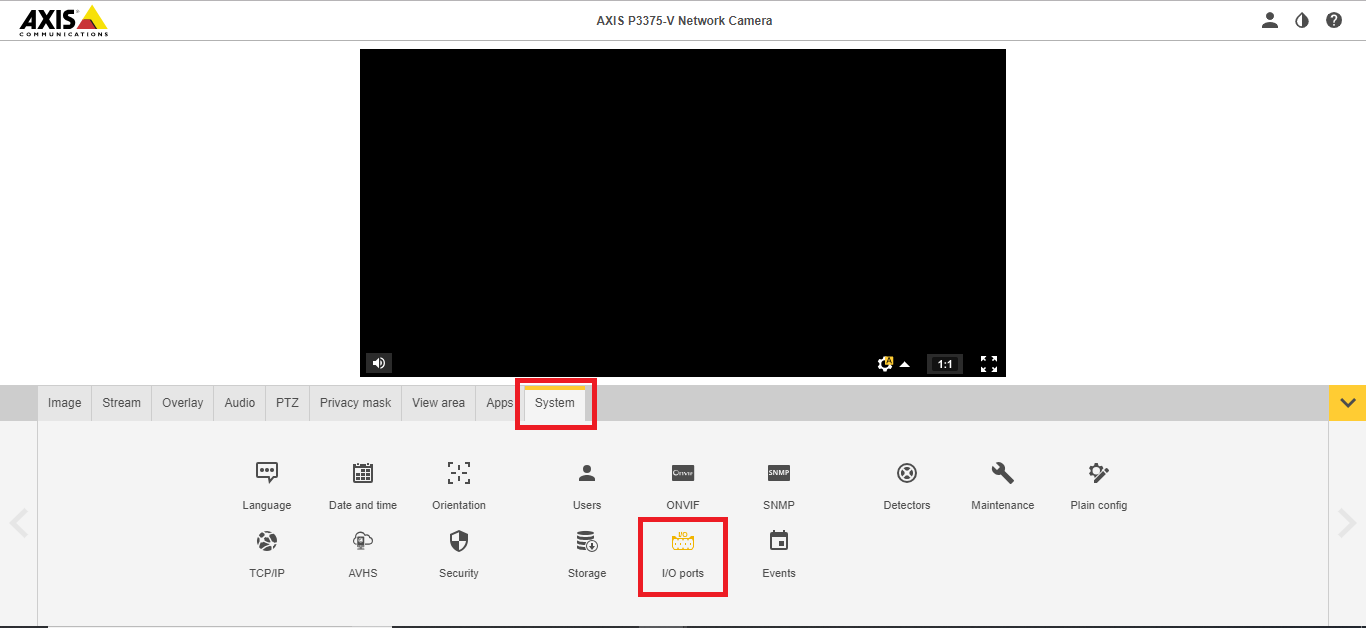
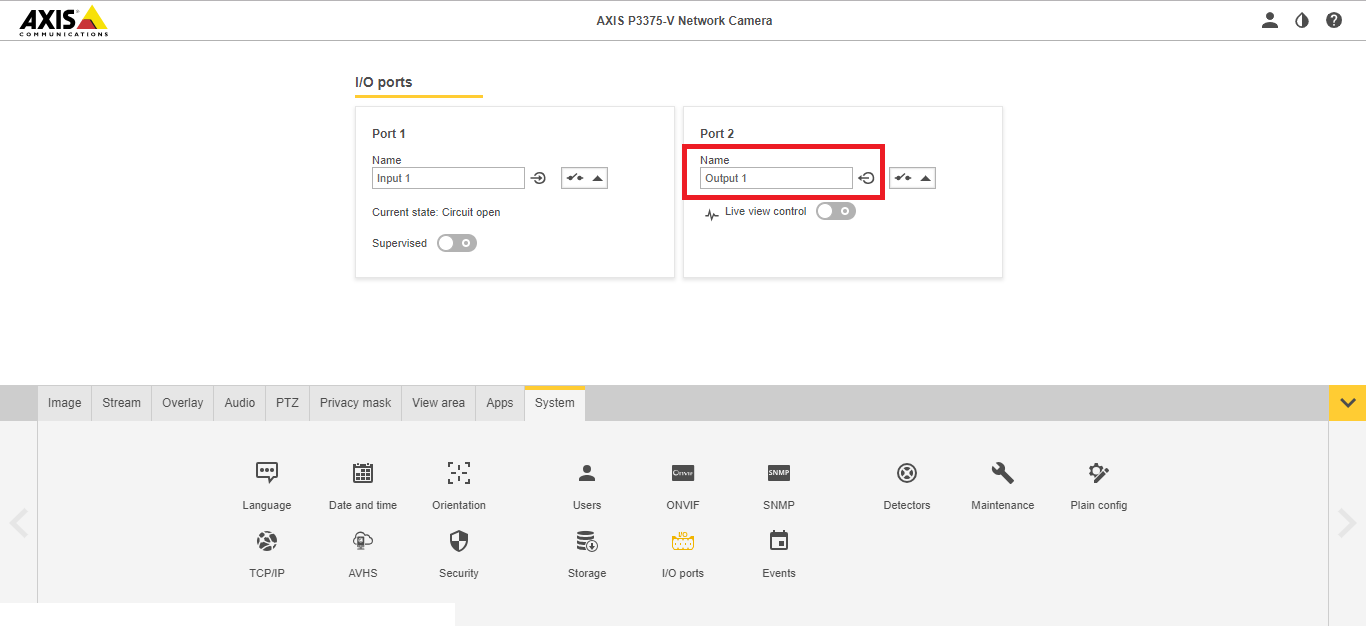
- ) Navigate to Ports & Devices.
- ) Change Ports 2 & 4 to Output (if it hasn't already been done).


