Initial Configuration of a Valt Appliance
Revision as of 16:19, 15 December 2016 by IVSWikiBlue (talk | contribs) (→Configuring an IP Address)
Contents
Contents of the Box
- Valt Appliance (Tower or Rack Mount Server)
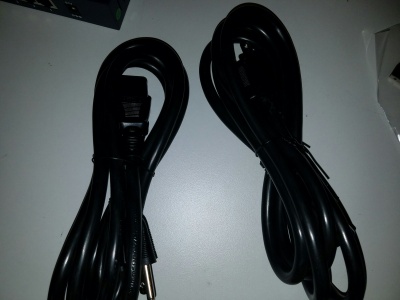
- Power Cord
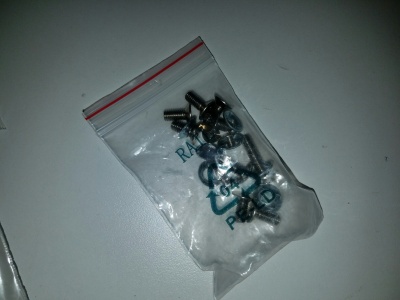
- Mounting Screws
- Wowza USB Key
- Label
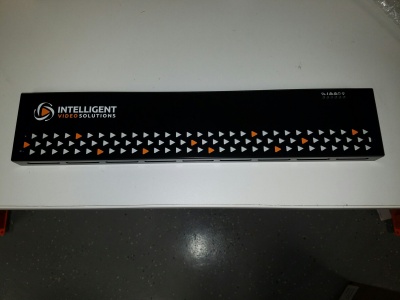
- Bezel (Rack mount servers only)
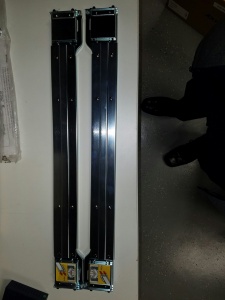
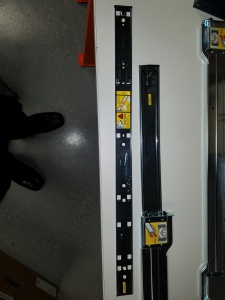
- Rails (Rack mount servers only)
Unboxing the Appliance
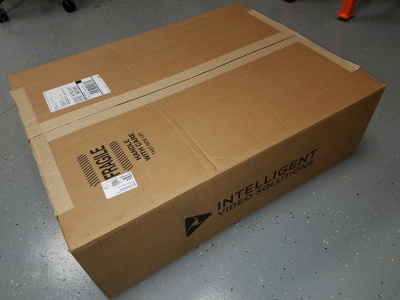
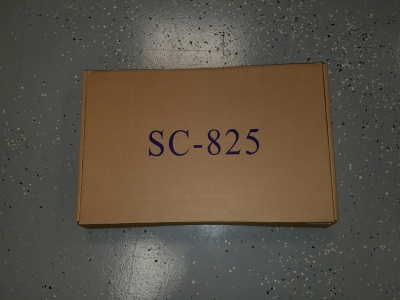
- Open the box using a box cutter or other cutting implement.
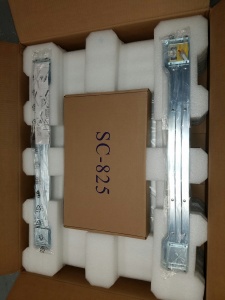
- Remove the small cardboard box and set it aside. This box contains the power cord, mounting screws, label, and bezel. It may also contain the Wowza USB Key.
- Remove the rails from the foam packing material and set them aside for installation into the rack. (Rack mount server only)
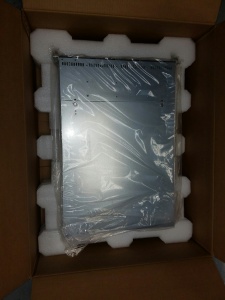
- Remove the foam packing material
- Remove the server from the box and carefully remove it from the plastic bag
- If the server is rack mounted, proceed to Rack Mounting the Appliance, otherwise skip to physical connections.
Rack Mounting the Appliance
Valt appliances come in four different form factors.
- Tower
- 1U Small Form Factor
- 1U Server
- 2U Server
This section applies only to the 1U Server and 2U Server form factors. The tower appliance is not designed to be mounted in a server rack. The 1U Small Form Factor appliance can be mounted in a rack by simply attaching the rack ears to the rack (round or square hole) using your own rack screws. The rack mount server form factors contain rails and are designed to fit a standard square hole, four post rack.
- Remove the rails from the plastic bags they were shipped in.
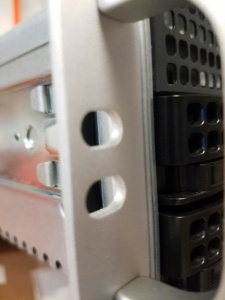
- Connect both the front and the back of each rail to your rack. The rails should clip in with relative ease. Each rail is labeled either left or right. Make sure to mount each rail on the correct side when facing the front of the rack.
- Extend both rails.
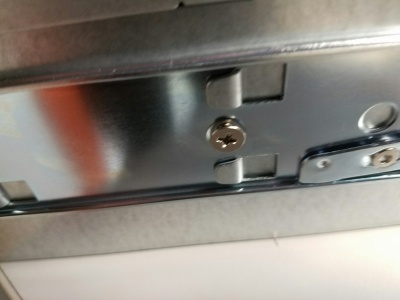
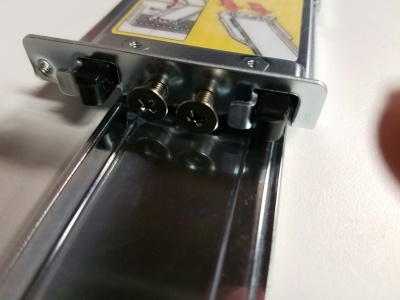
- Depress the clip on the inner most rail on each side and slide the inner rails completely out of the outer rail.
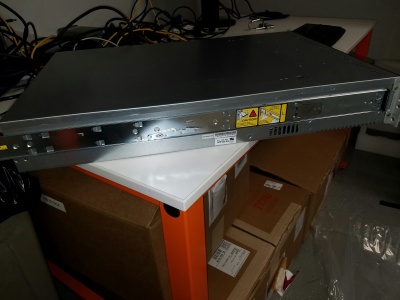
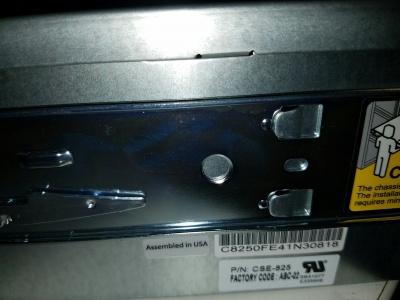
- Attach the inner rail to the server using the tabs located on the side. The inner rail should click in once attached properly.
- Screw the optional mounting screw into each rail.
- With the assistance of another person, slide the server into the rack. The inner rails should line up with the outer rails and slide back in.
- Once the server has been slid fully into the rack, you can screw in the optional mounting screws to hold it in place.
Physical Connections
- After rack mounting the server, connect one end of a network cable to the primary NIC and and the other end to your switch.
- Plug the Wowza USB key into any available USB port. (This may have already been done before shipment)
- Connect a monitor to the VGA port
- Connect a USB keyboard to any available USB port.
- Connect the power cords to the back of the server, then plug both cords into an available outlet.
- The server will begin booting up as soon as power is provided.
Configuring an IP Address
For more in depth information on network configuration options, see the Valt Command Line Menu page.
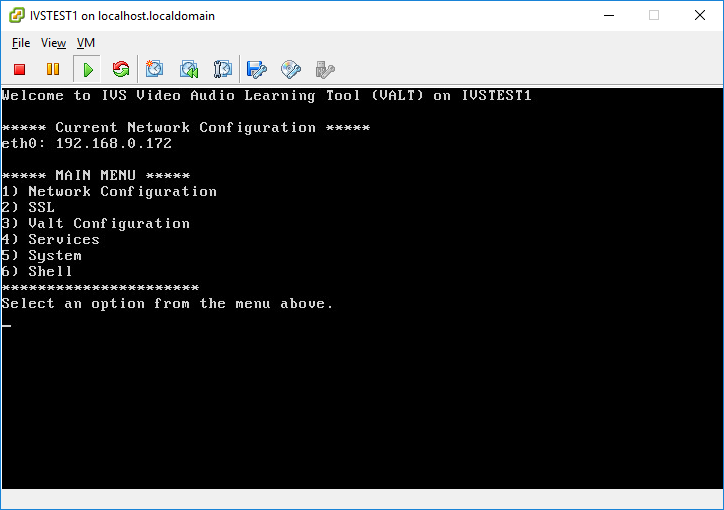
- Access the Valt Server Command Line Menu.
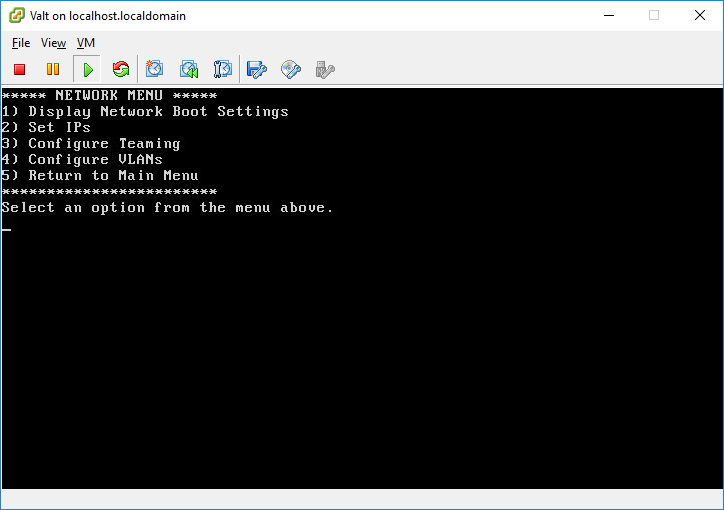
- Enter Option 1 for Network Configuration
- Enter Option 2 for Set IPs
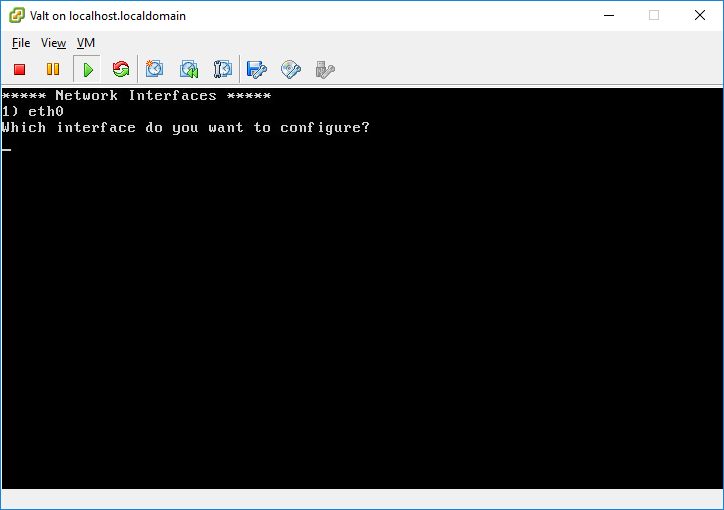
- Select your interface from the options listed.
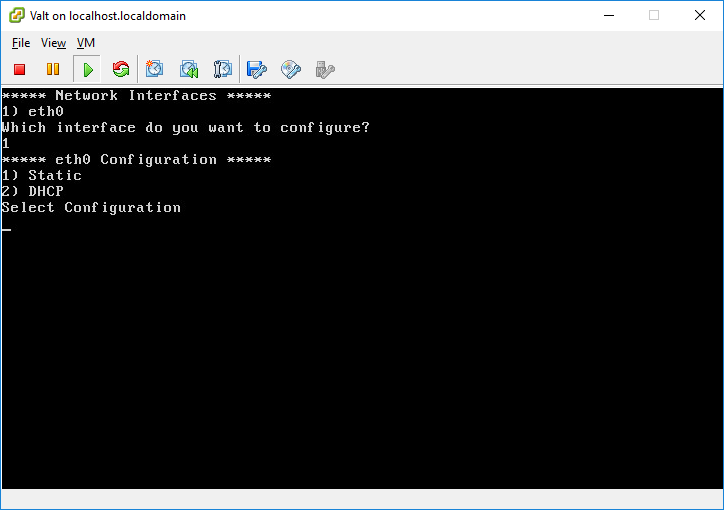
- Select Static or DHCP.
- For this example we will select DHCP
-
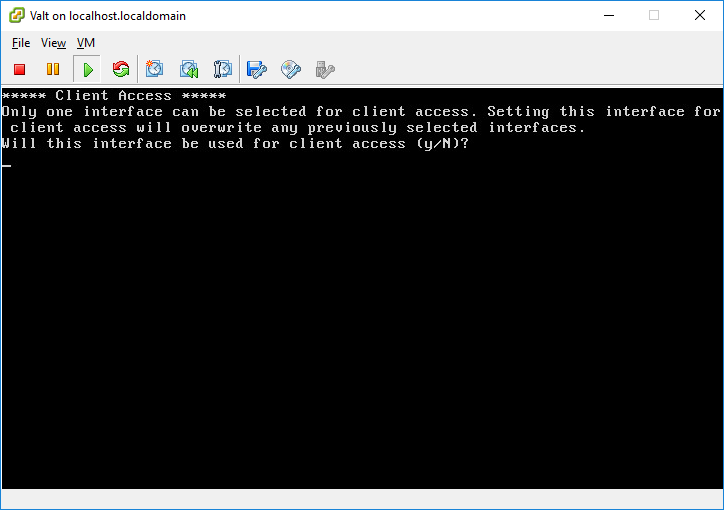
- Type Y when to configure this interface for client access.
-
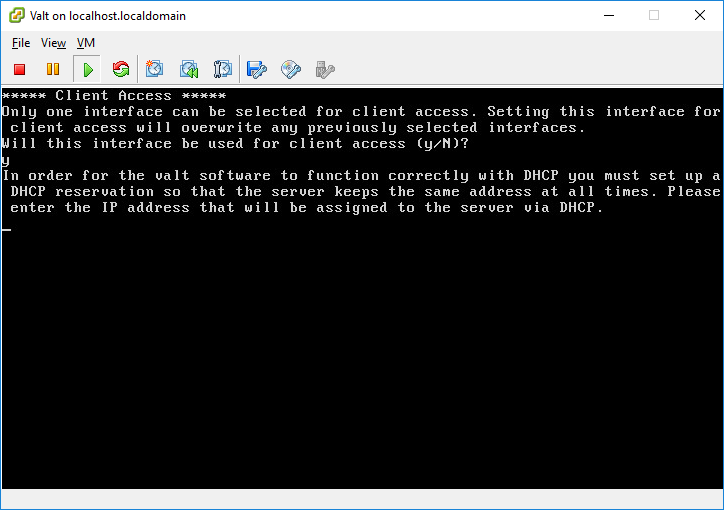
- Enter the IP Address of the interface when prompted.
IP Address changes will not take effect until the server has been rebooted.
