Template:VALT 6 Manual - Observe Back
Contents
Intro
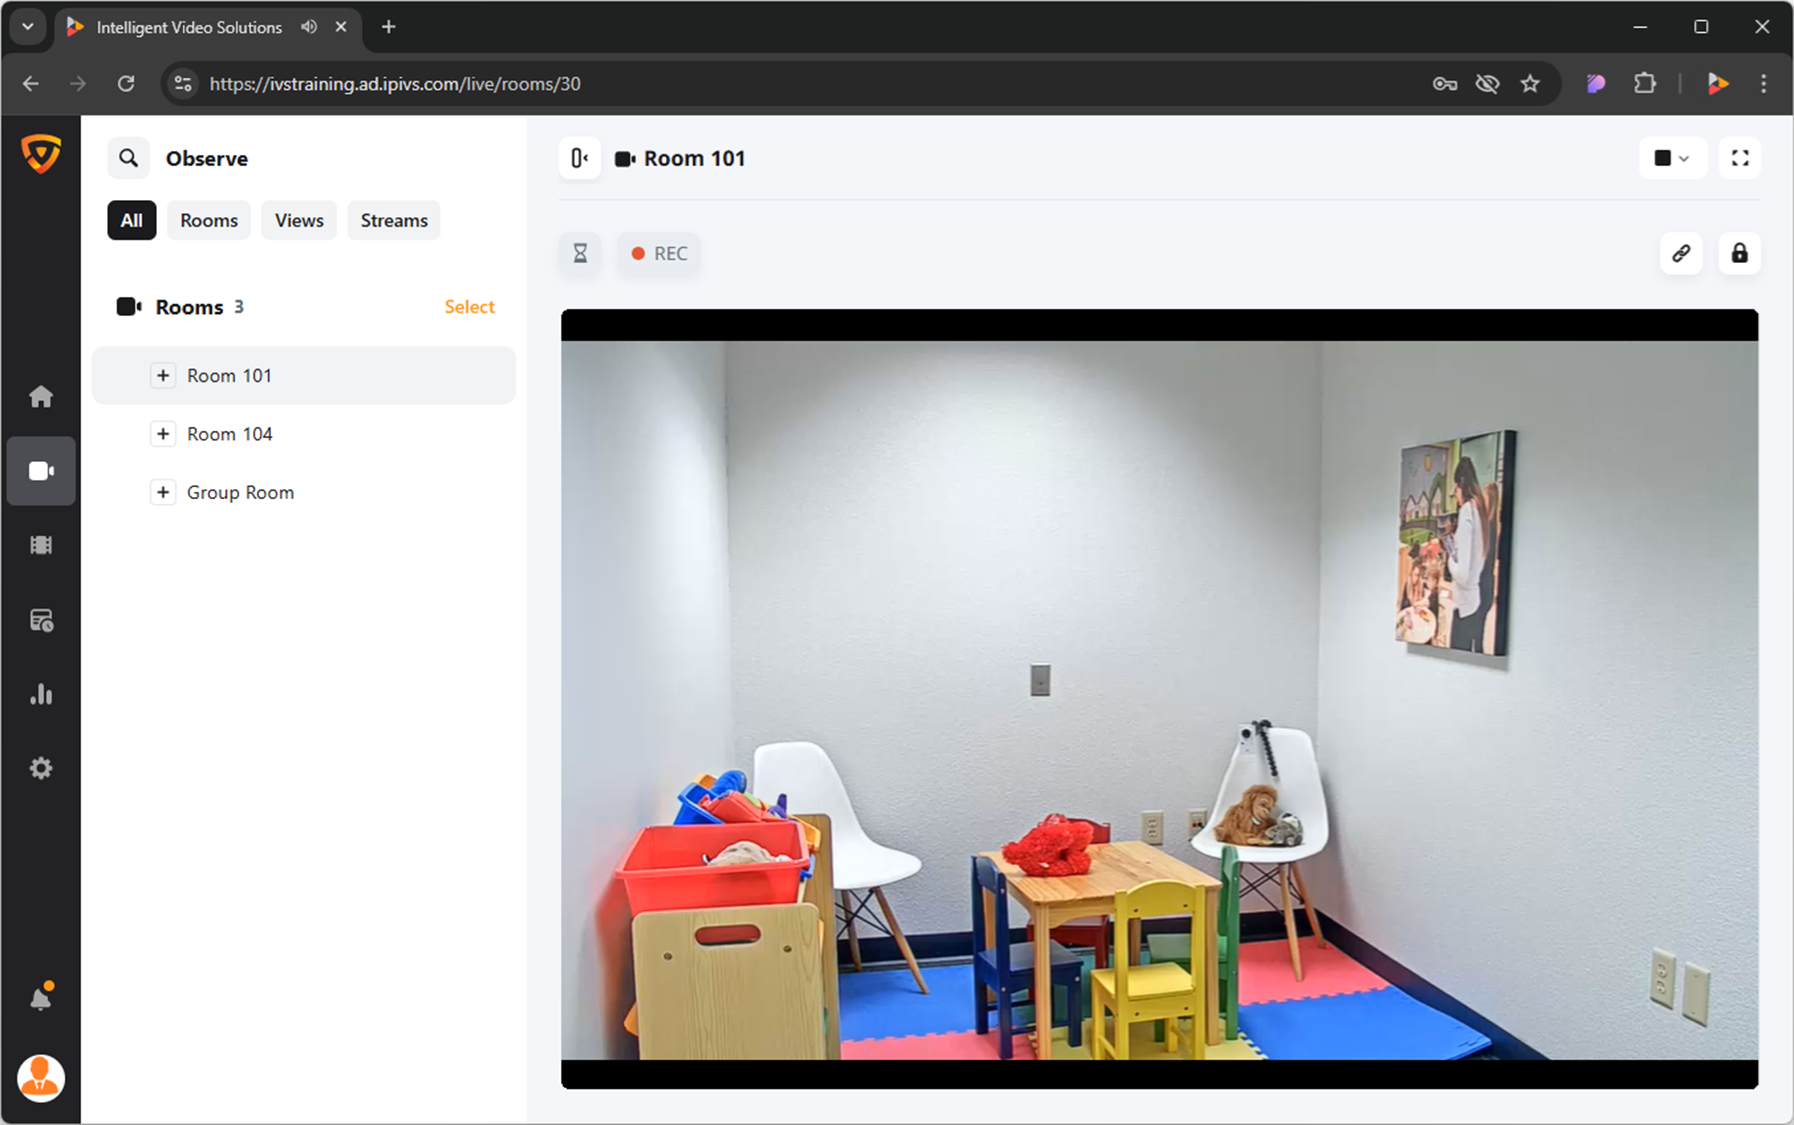
The Observe section is where live observation and recording takes place. On this page you can find the rooms, and streams that you have access to.
Here you will be able to do the following:
⚠Not all features may be applicable for your application.
- Perform live observation
- Start and stop recordings
- Control Pan/Tilt/Zoom cameras
- Talkback into a room
Live Observation
Search & Filter
In many cases, an application may have so many rooms and views that it can be tedious to scroll to find what you are looking for.
VALT has the ability to search and filter through the items you have access to.
Clicking the ![]() Search icon will open up a search dialog box that allows a user to search for devices and rooms.
Search icon will open up a search dialog box that allows a user to search for devices and rooms.
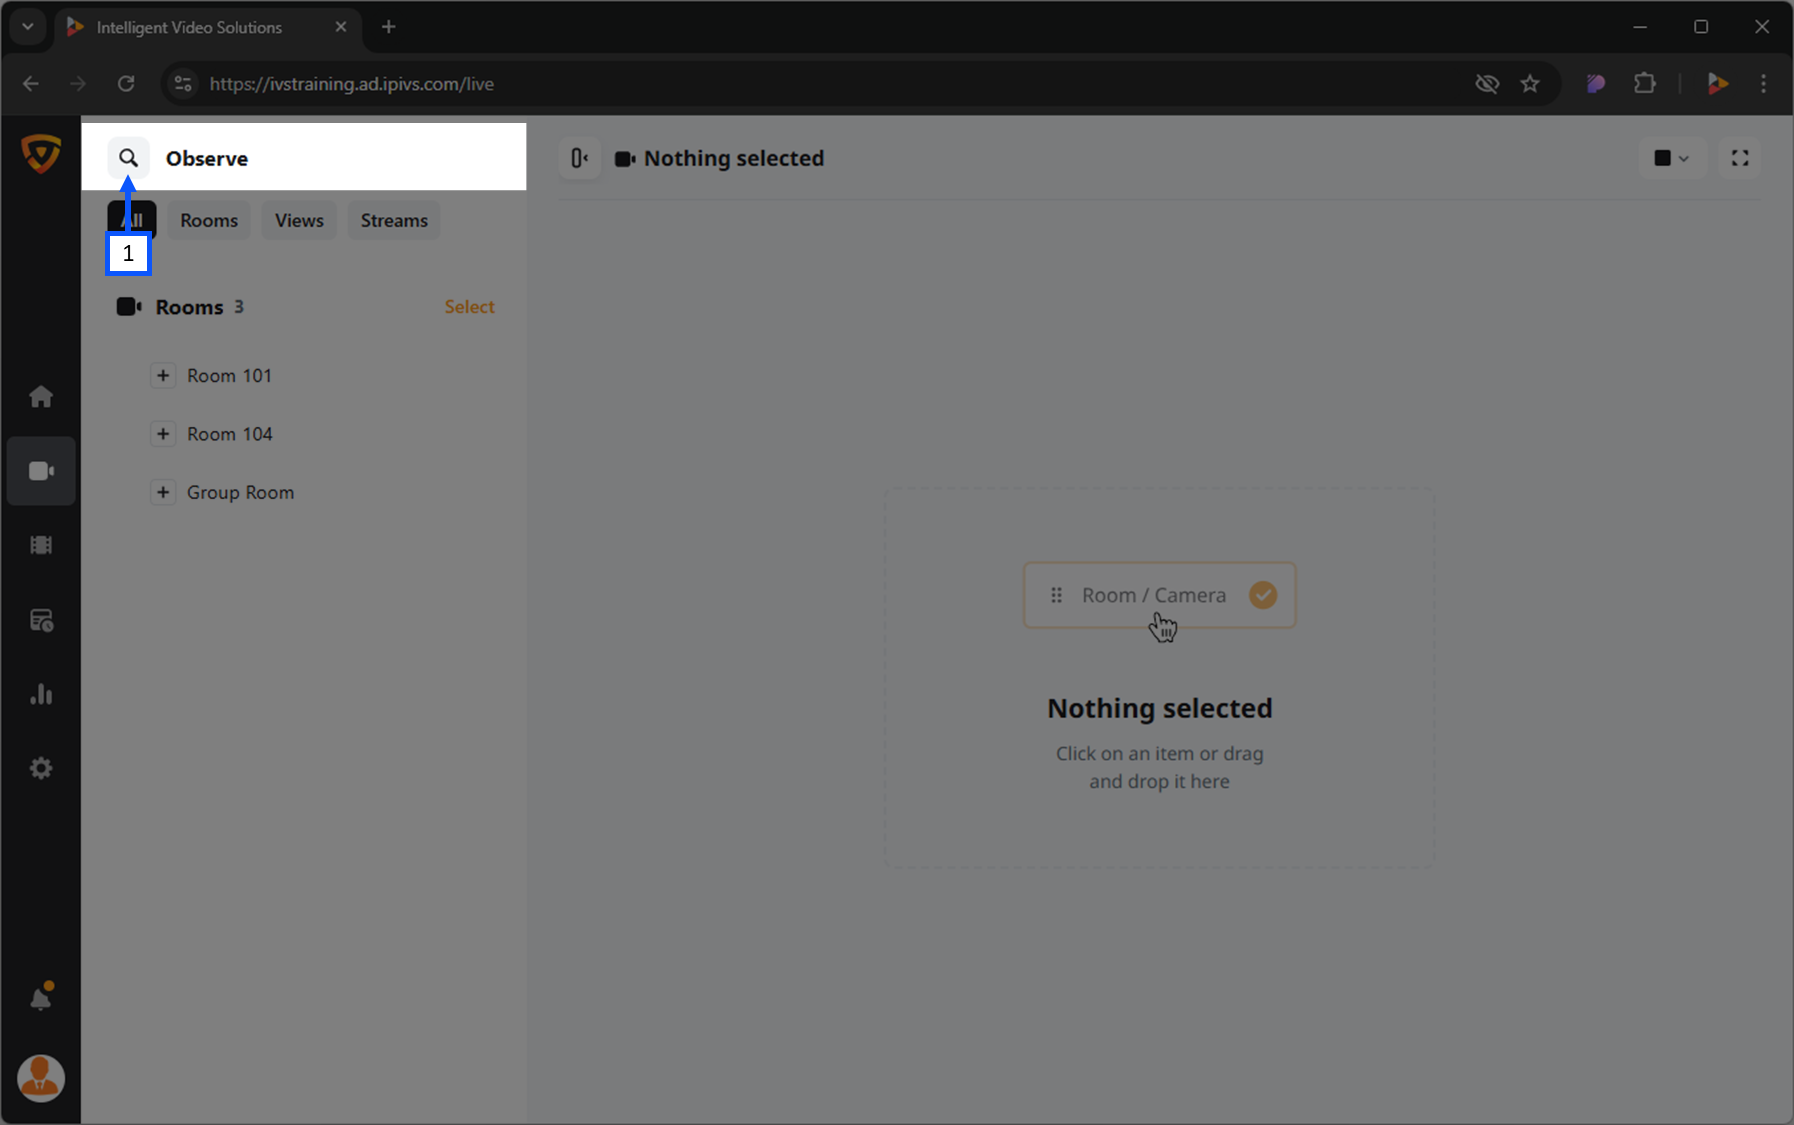
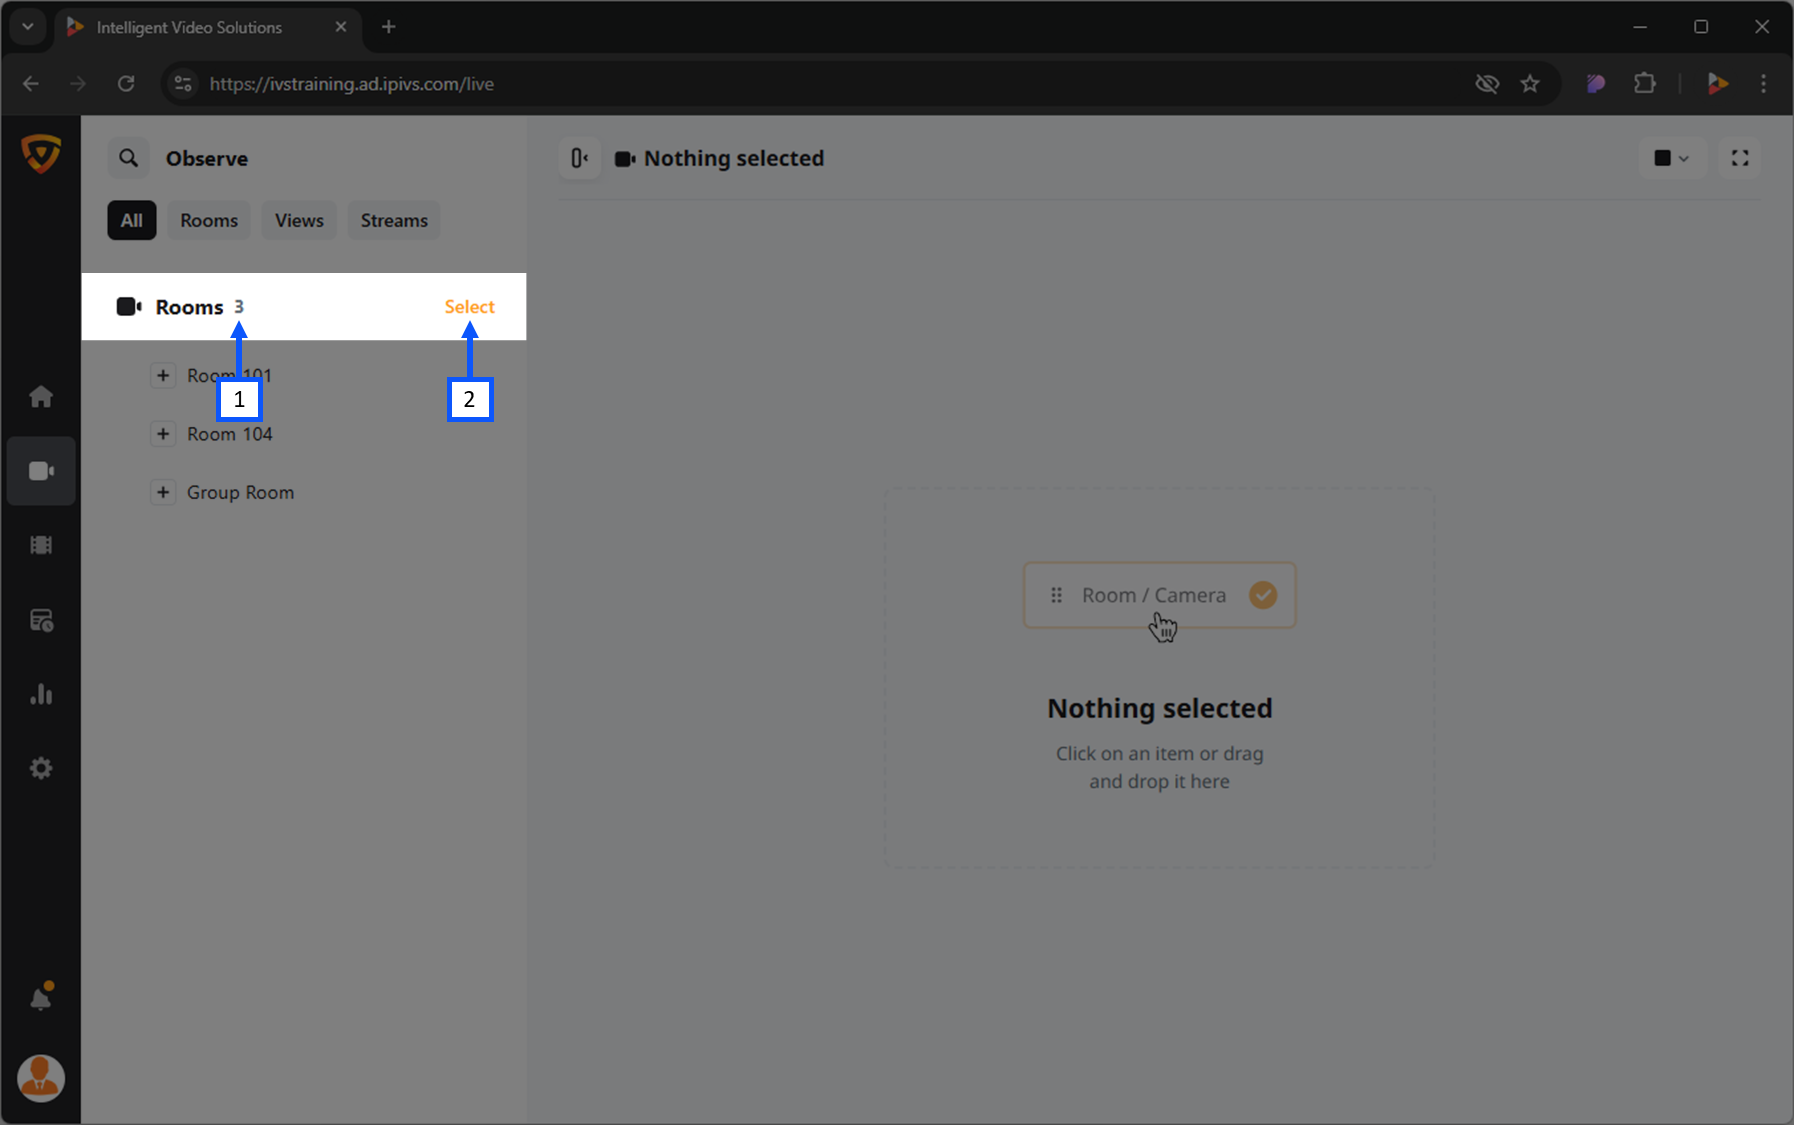
Search for a Room/Device/Stream
- Click the
 Search icon in the top left corner.
 - Type the name of the room, device, or stream you are looking for.
- Look under Rooms for the search results.

Try it out!
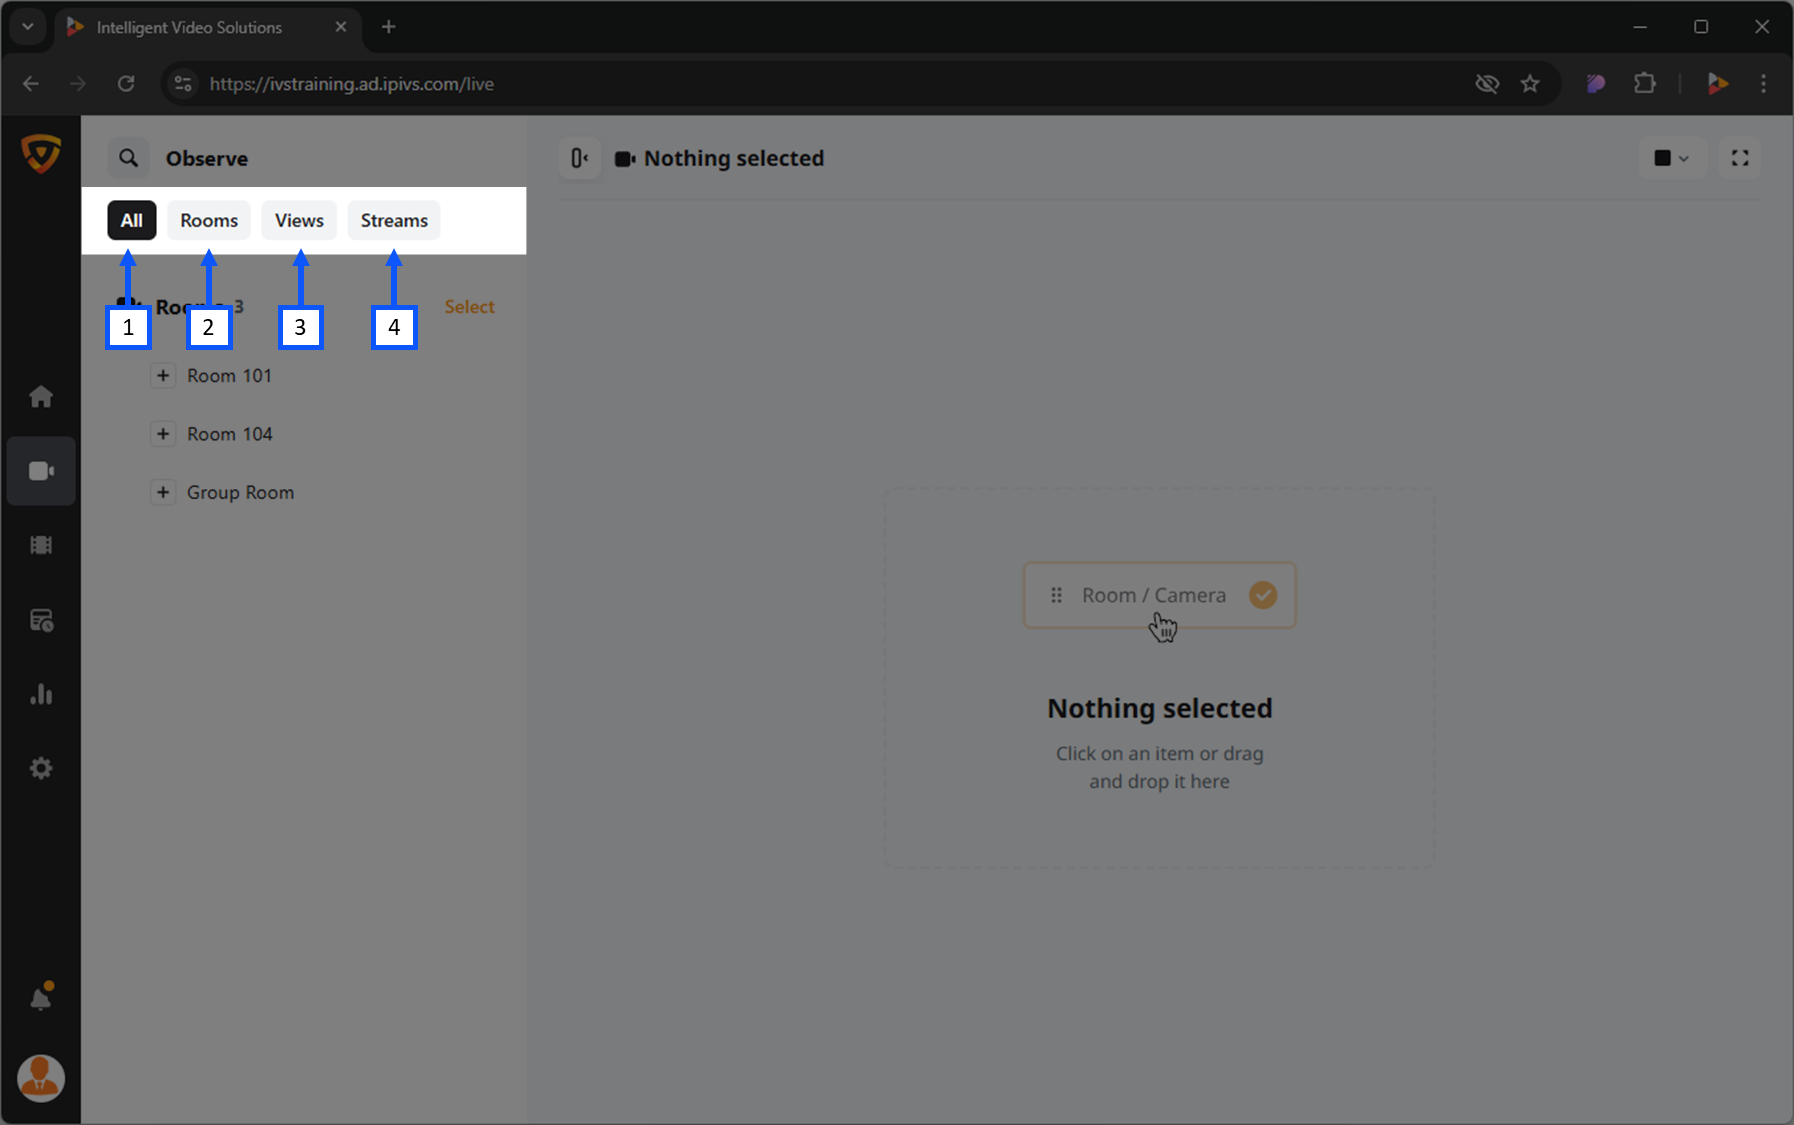
- All
- Rooms
- Views
- Streams
Open a Room
- Locate the room from the list.
- Click on the name of that room.
Open a Stream
- Locate a room that contains the desired stream.
- Expand the room by clicking the + Expand icon.
- Click on the name of the stream.
Create Sharing Link
- Click on the
 Share Settings icon.
 - Select an expiration for the sharing link.
- No expiration (default)
- Will never expire but can manually be removed later.
- End after date
- Select a date when the link will no longer be valid.
- End after period
- Specify duration of time for which the link will be valid (Days/Hours).
- Click the New Share Link.
Try it out!
Copy Sharing Link
- Click on the Share Settings icon.
- Click the Copy Link button.
Remove Sharing Link
- Click the Share Settings icon.
- Click the
 Trash icon.
Locking
Lock a Room
Unlock a Room
Matrix Views
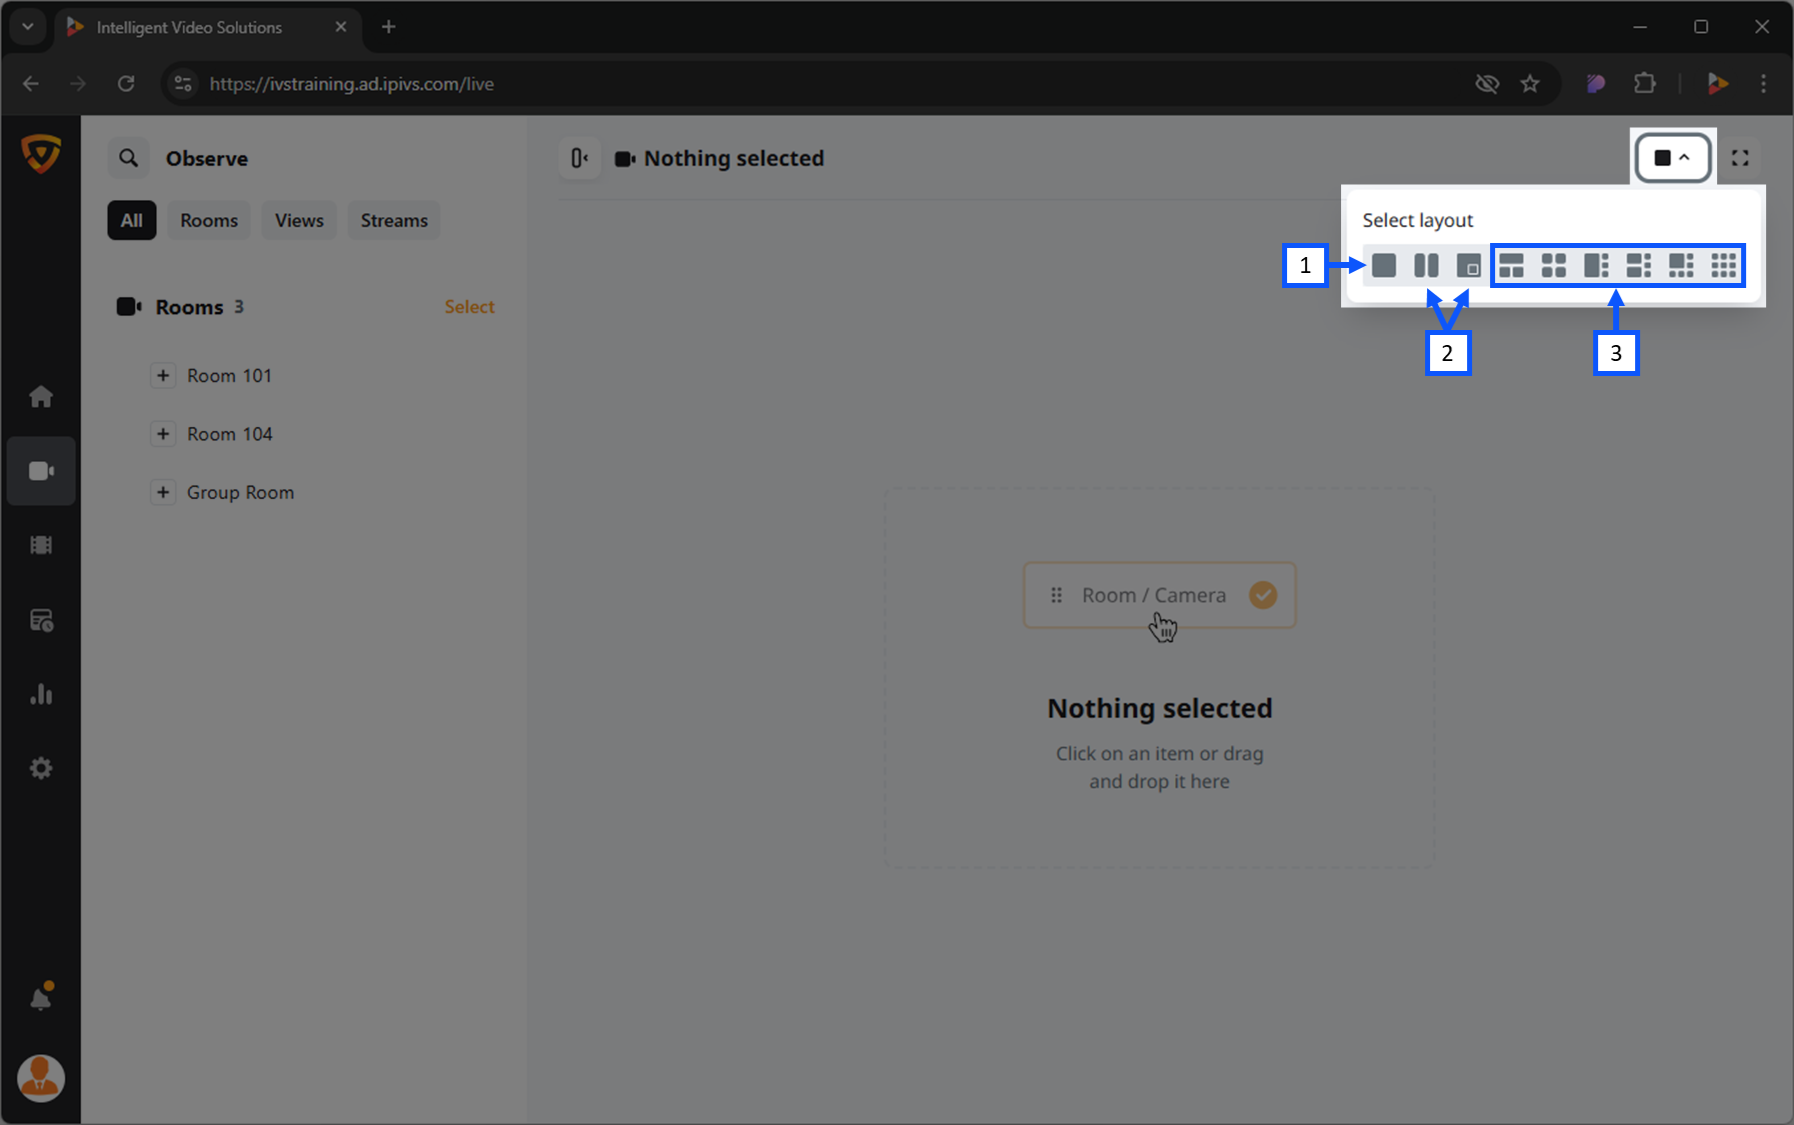
- Single camera view
- Dual camera views
- Additional camera views (up to 9)
Fullscreen Mode
Hide Left Panel
To make more room for the camera feed section, one can hide the left panel.

- Hide left panel
- Matrix view selector
- Full screen
Here is an example of the left bar being hidden.
Try it out!
Here is an example with a video feed loaded.

Recording
Recording Settings
Information
Information templates within VALT are used to tie searchable & reportable information to videos. A template(s) is assigned to a user group, where when that user starts or schedules a recording their set of templates will automatically get assigned to the associated recording(s).
Evaluation
An evaluation templates is typically used during a recording, or after a recording is completed (rarely accessed or completed at the beginning of a recording). An evaluation form acts much like an information form in that it is used to tie a single set of information into the recording. The big difference between an evaluation and information form is that numeric values can be assigned to the fields within an evaluation form. This allows scoring to be done on each item and the overall form. Evaluation also allow unique reports to be run against them that are based on score %.
Sharing
Sharing allows you to share videos with users or user groups that would normally not have access to the video.
Author
The author section can be used to change the author of the recording. The VALT system assigns access to the recording based on the author so changing the author will change who can see the live and recorded video.
Retention
By default, every recording has a retention rule assigned to it based on the author that recorded the video. The retention rule determines how long the video will be saved for before it is automatically deleted from the system.
Start a Recording
Prepare a Recording
Recording Options
Pause a Recording
The pause function pauses an in progress recording until resume is pressed.
Resume a Recording
Stop a Recording
Select
The Select option allows users to Start Multiple Recordings and Stop Multiple Recordings recordings in multiple rooms.
- Number of Rooms
- Select
Start Multiple Recordings
Try it out!
- Click Select, next to Rooms.
- Check the rooms in which you would like to initiate a recording.
- Checking the box next to Rooms will select/deselect all rooms.
- In the bottom left, click the
 REC icon.
 - Fill out the required fields in the information template.
- Click the REC button at the bottom of the form.
Stop Multiple Recordings
- Click Select, next to Rooms.
- Check the rooms in which you would like to stop the recording.
- Checking the box next to Rooms will select/deselect all rooms.
- In the bottom left, click the
 Stop icon.
 - Click the Confirm button.