Deprecated Page - Installing Williams Talkback on Axis Cameras with STM-1
Required Parts And Tools
- Axis P5414-E

- Williams Talkback System WTX75

- Williams RX224 Receiver

- 22/2 audio cable
- Fish Tape or Glow Rod

- Electrical Tape
- Wire Stripper
Installation Instructions
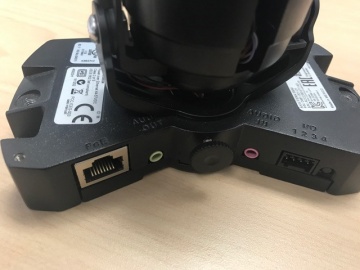
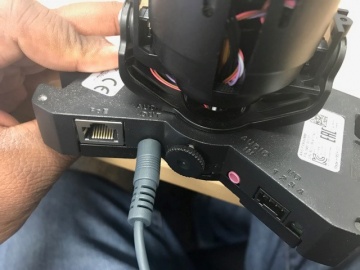
- Once your camera is installed, locate the AUDIO OUT 3.5mm jack on your camera. In most cases, it is clearly labeled on the camera and/or the GREEN 3.5mm jack on the camera.
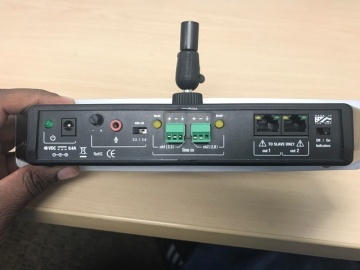
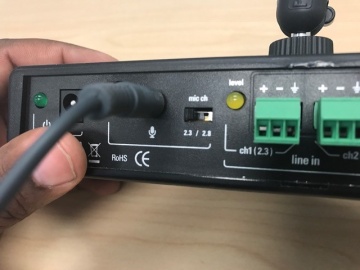
- Depending on the location of the camera (Wall mount) and placement of the WTX75 in the room, you may or may not need to use glowrods or fish tape. You may also need to use the 22/2 audio cable to add more length to your cable. In this step, you want to run your 3.5mm cable from the camera to your WTX75. One end of the 3.5mm cable plugged into the AUDIO OUT of the camera, into the AUDIO IN of the WTX75 (PINK in color. See pics).
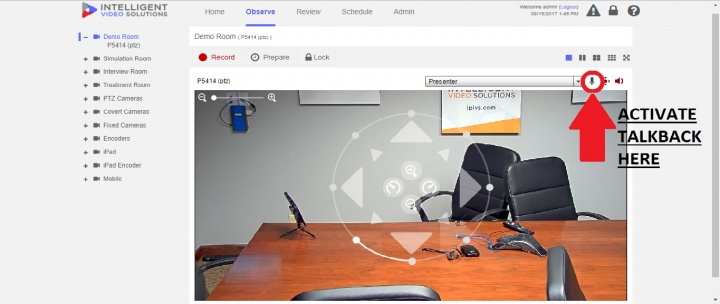
- Once audio is plugged in, locate your nearest power outlet to power the WTX75. You may need to use 18/2 cable to add length to the power cable. Ensure that when splicing in the 18/2 to the power, that the red jacket of the 18/2 is spliced into the cable with the dashed white lines on the power supply. Ensure your WTX75 and RX224 are set to the same channel. Test the talkback unit is working by activating the talkback function within the Valt Software and having a partner use their computer microphone to communicate with you.

