Deprecated Page - Installing a VMWare Virtual Appliance
Contents
Download the OVF Template
- Click on the link below to download the OVF Template for the Valt virtual appliance.
- VMWare 5.0: https://ivs.box.com/shared/static/6ob2q3b4ajjwoguibxicne65wxmyx2f9.zip
- VMWare 5.1: https://ivs.box.com/shared/static/6ob2q3b4ajjwoguibxicne65wxmyx2f9.zip
- VMWare 5.5: https://ivs.box.com/shared/static/6ob2q3b4ajjwoguibxicne65wxmyx2f9.zip
- VMWare 6.0: https://ivs.box.com/shared/static/6ob2q3b4ajjwoguibxicne65wxmyx2f9.zip
- VMWare 6.5: https://ivs.box.com/shared/static/6ob2q3b4ajjwoguibxicne65wxmyx2f9.zip
- VMWare 6.7: https://ivs.box.com/shared/static/6ob2q3b4ajjwoguibxicne65wxmyx2f9.zip
- VMWare 6.7 U2: https://ivs.box.com/shared/static/6ob2q3b4ajjwoguibxicne65wxmyx2f9.zip
- Extract the .zip file
Load the Template on vSphere
- Open vSphere Client.
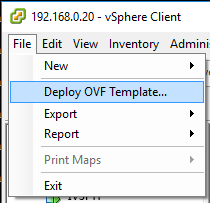
- Click on File.
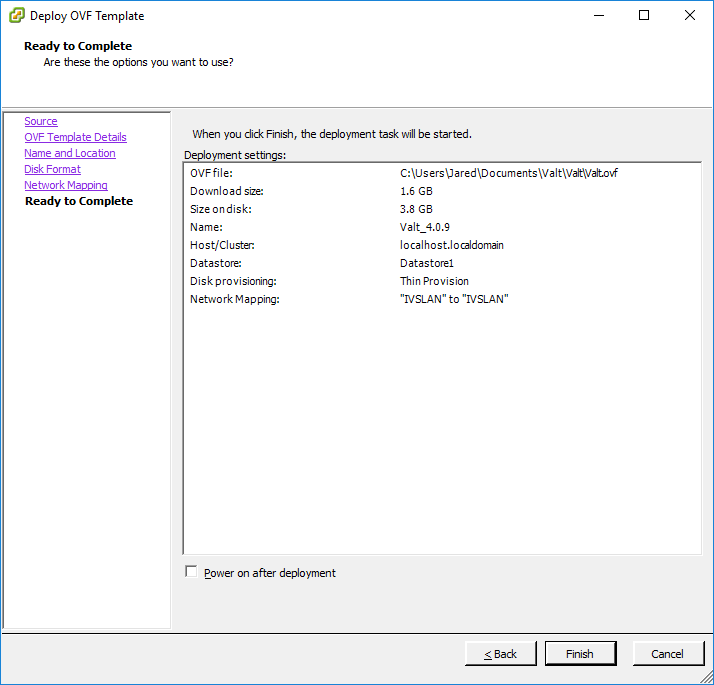
- Select Deploy OVF Template from the menu.
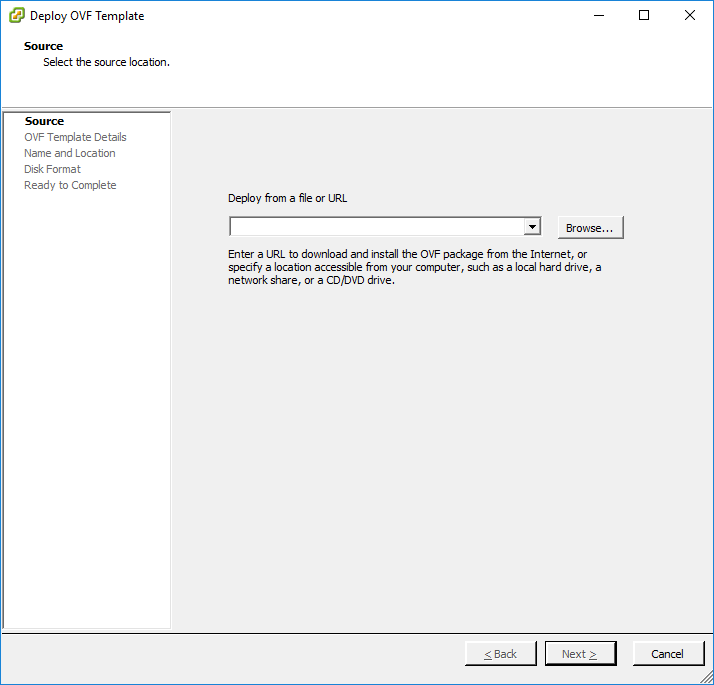
- Click on Browse.
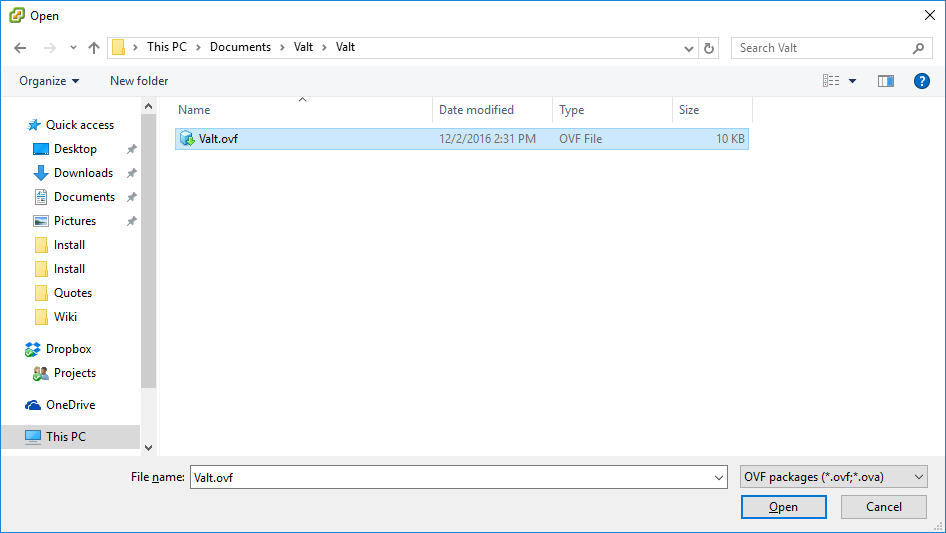
- Browse to where you extracted the zip file.
- Select the Valt.ovf file.
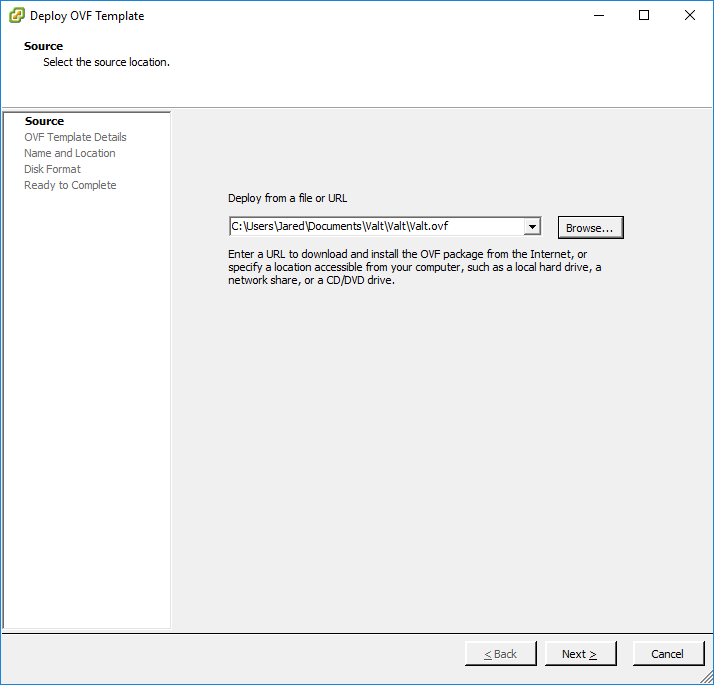
- Click Open.
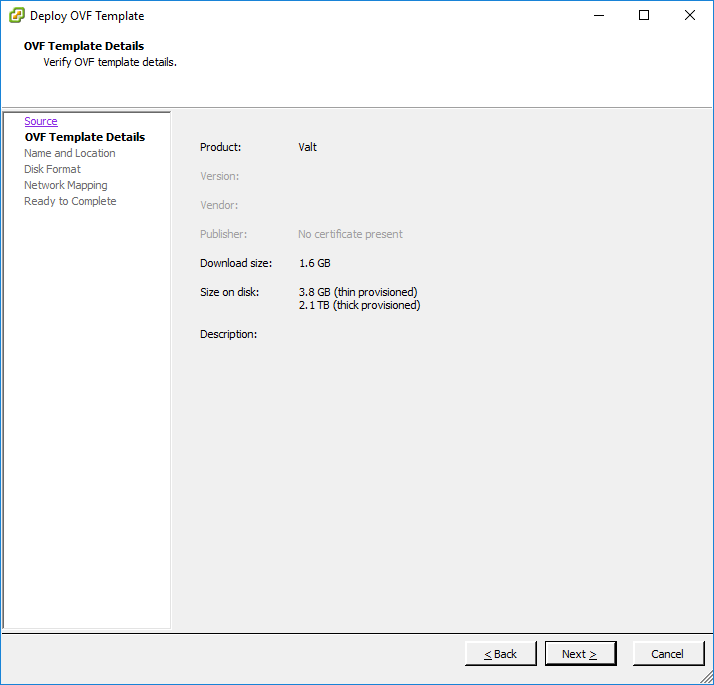
- Click Next.
- Click Next.
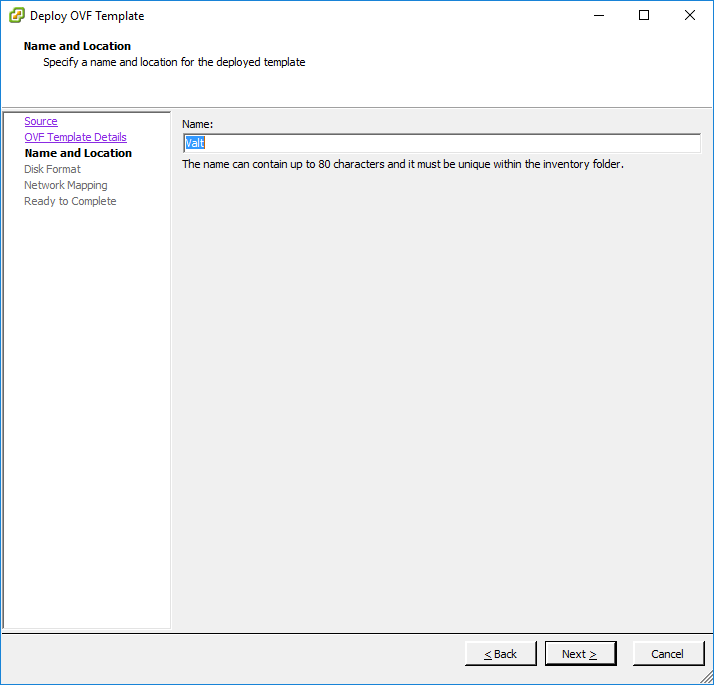
- Enter a name for your Valt appliance.
- Click Next.
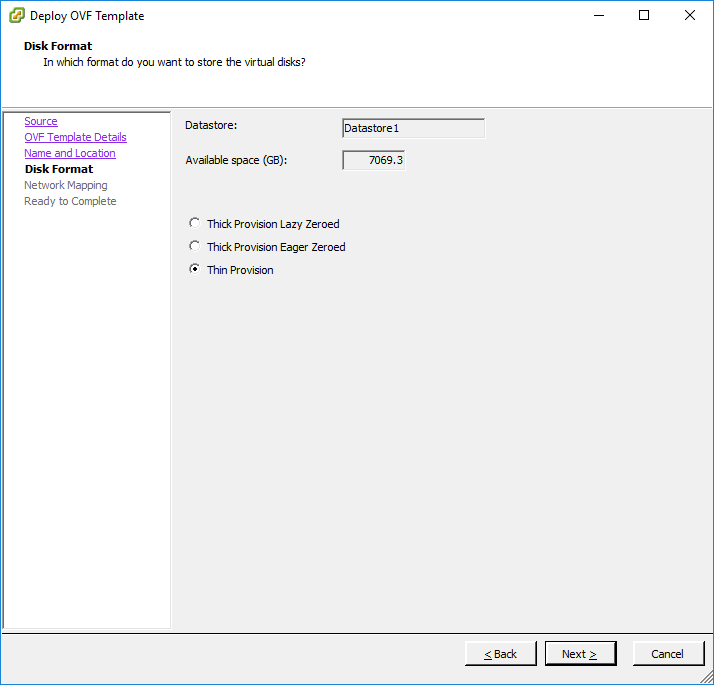
- Select your disk provisioning
- Thin Provisioning Recommended
- Click Next.
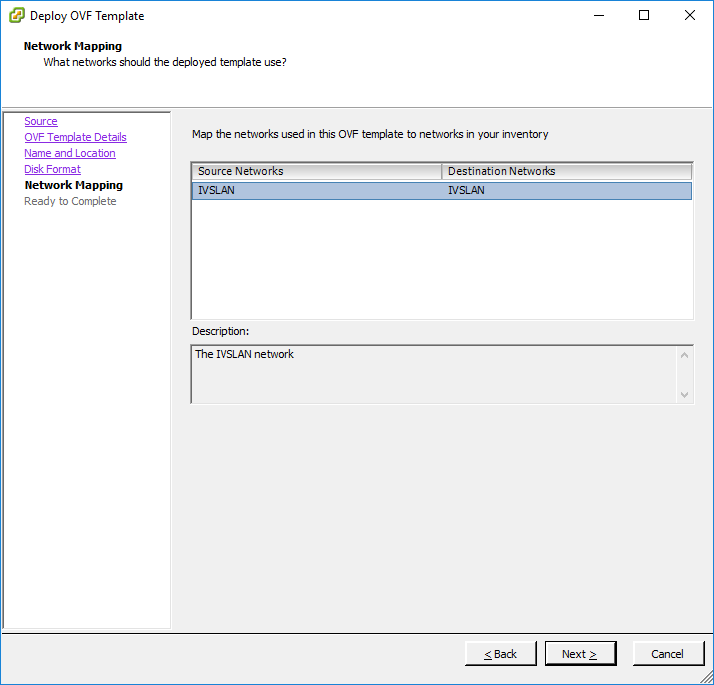
- Select the network the appliance should be connected to.
- Click Next.
- Click Finish.
Configure Virtual Hardware
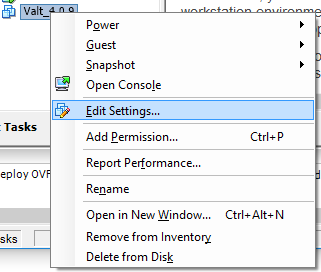
- Right click on the Virtual Machine in vSphere Client.
- Select Edit Settings from the menu.
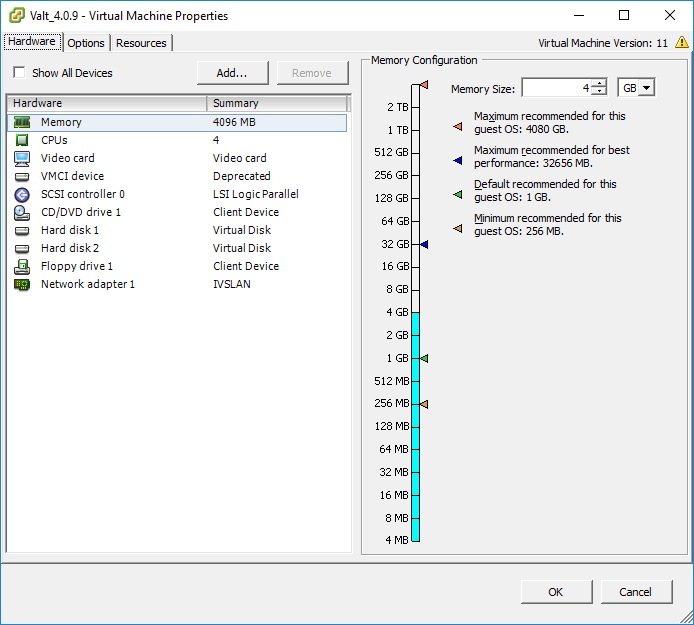
- Adjust the memory and CPU of the appliance to support the number of cameras. The table below contains IVS' recommended specs.
Cameras Cores Memory 5 4 8 GB 15 8 16 GB 25 16 32 GB 50 32 64 GB
Click OK once all changes have been made.
You can also adjust the size of the data drive. The default size is 2 TB. If you adjust the size of the virtual drive, you will also need to adjust the size of the partition.
Add the USB Key to the VM (Optional)
There are two types of Wowza licenses. By default, IVS will provide a Wowza license key and a USB key. The steps below are to add the USB key to the VM. If you want to use the VM in a highly available environment, IVS can provide a license-only key that does not require a USB key. Please make sure to request this at the time of order.
- Right click on the Virtual Machine in vSphere Client.
- Select Edit Settings from the menu.
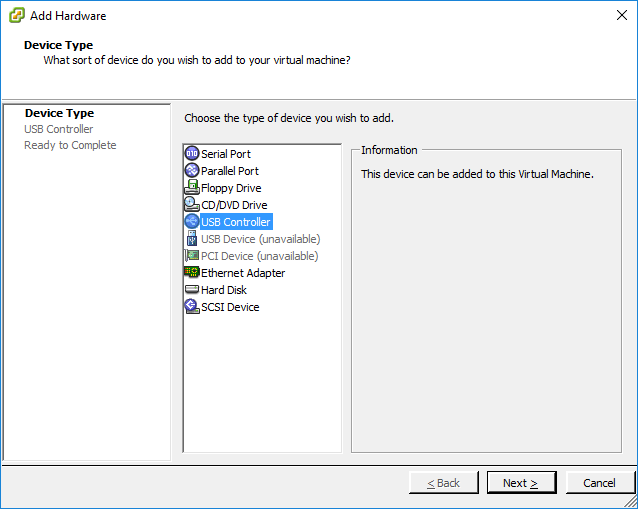
- Click Add.
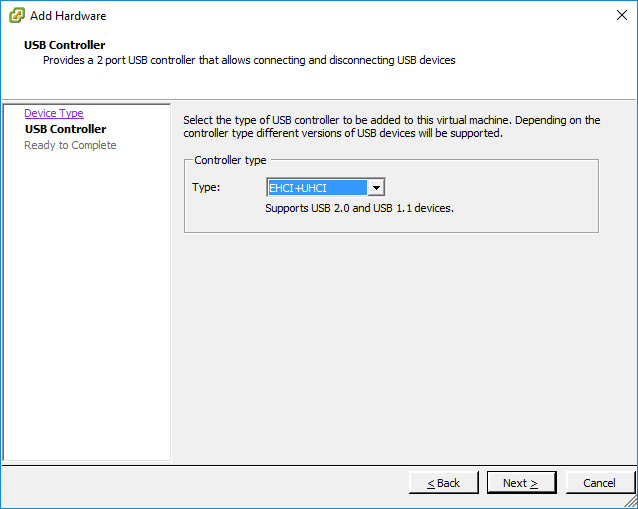
- Select USB Controller.
- Click Next.
- Select EHCI+UHCI.
- Click Next.
- Click Finish.
- Click Add.
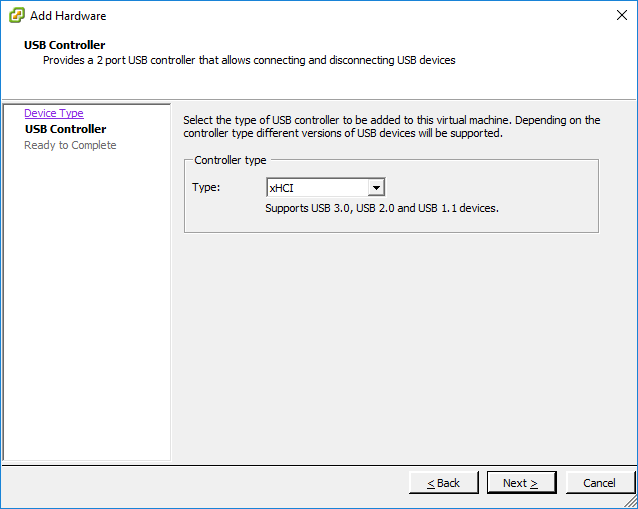
- Select USB Controller.
- Click Next.
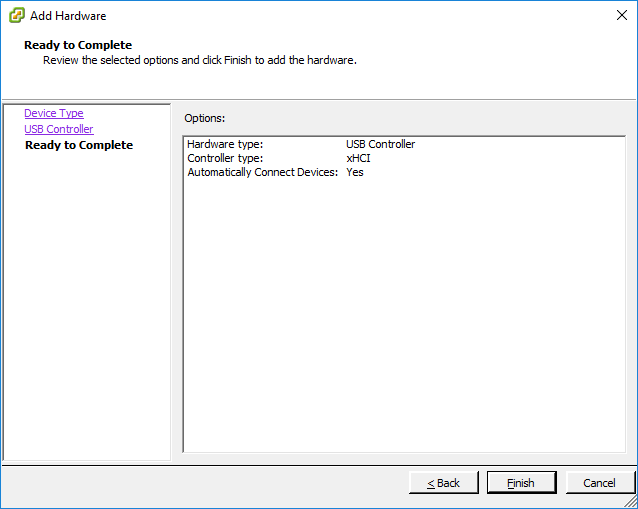
- Select xHCI.
- Click Next.
- Click Finish.
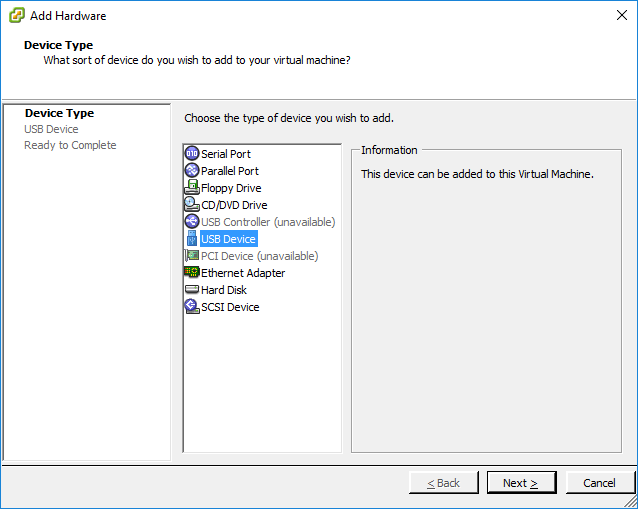
- Click Add.
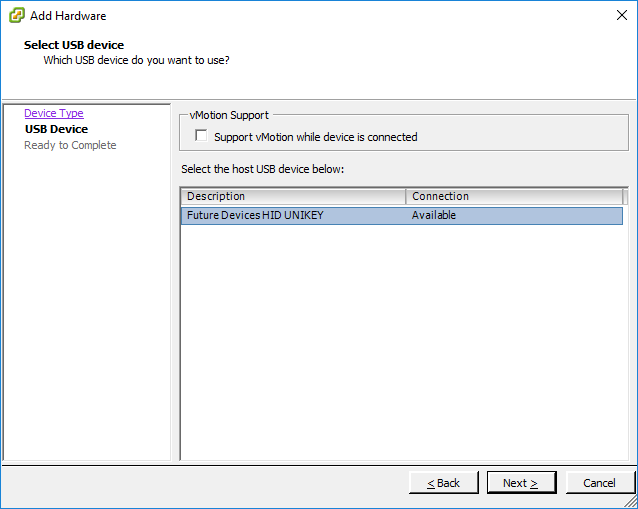
- Select USB Device.
- Click Next.
- Select Future Devices HID UNIKEY.
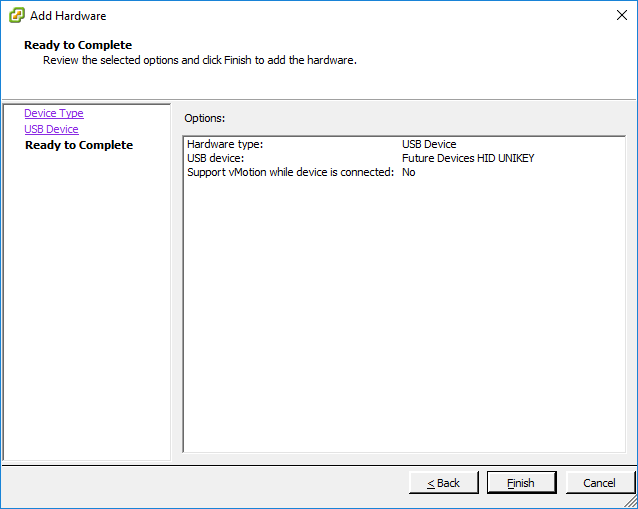
- Click Next.
- Click Finish.
- Click OK.
Configure IP Address
You must complete these steps, even if you have already specified an IP address for the server or want to use DHCP. This will configure the Valt software with the correct IPs
For more in depth information on network configuration options, see the Valt Command Line Menu page.
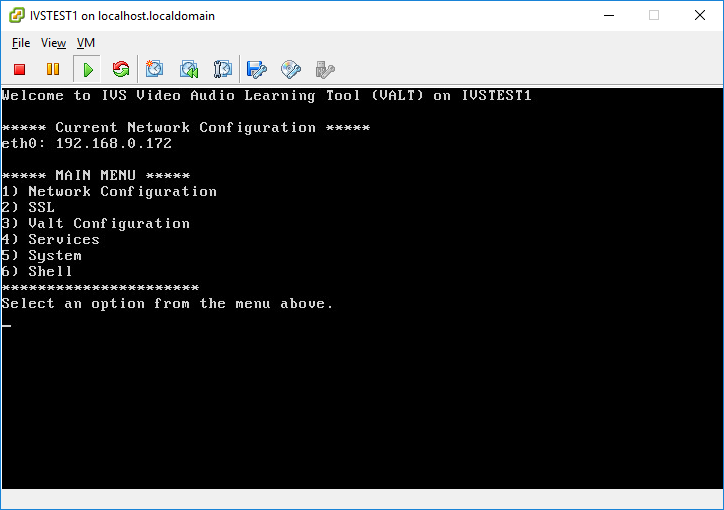
- Access the Valt Server Command Line Menu.
- This menu is presented automatically at the Valt server terminal. It can also be accessed via ssh by running the following command from the prompt:
sudo /usr/local/valt/bin/Menu
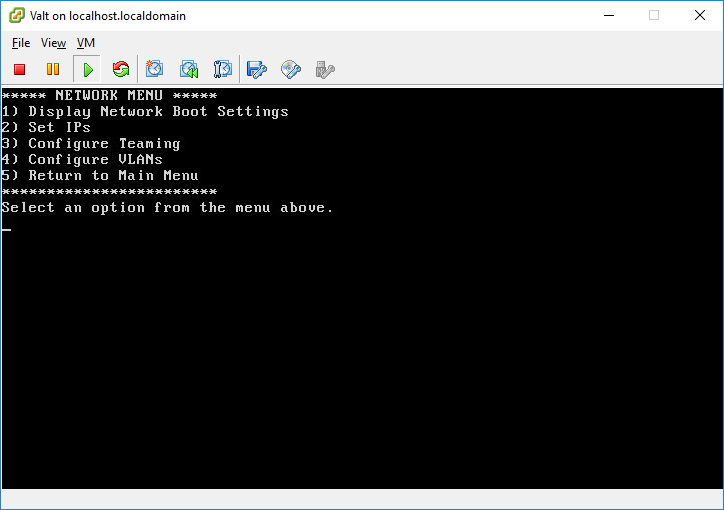
- Enter Option 1 for Network Configuration.
- Enter Option 2 for Set IPs.
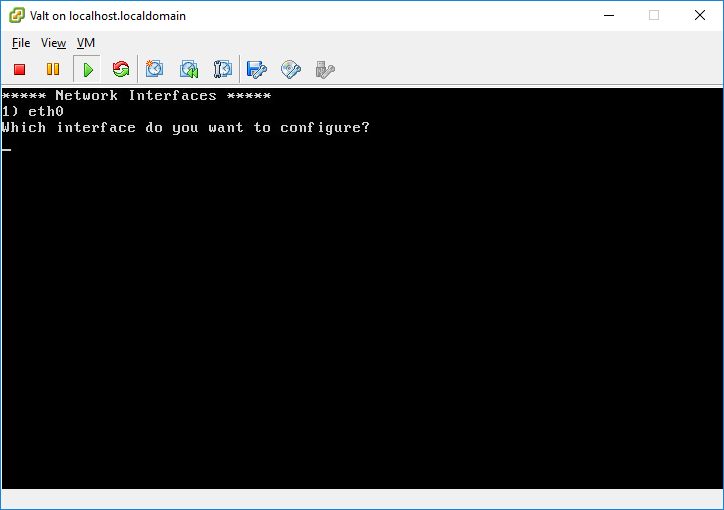
- Select your interface from the options listed.
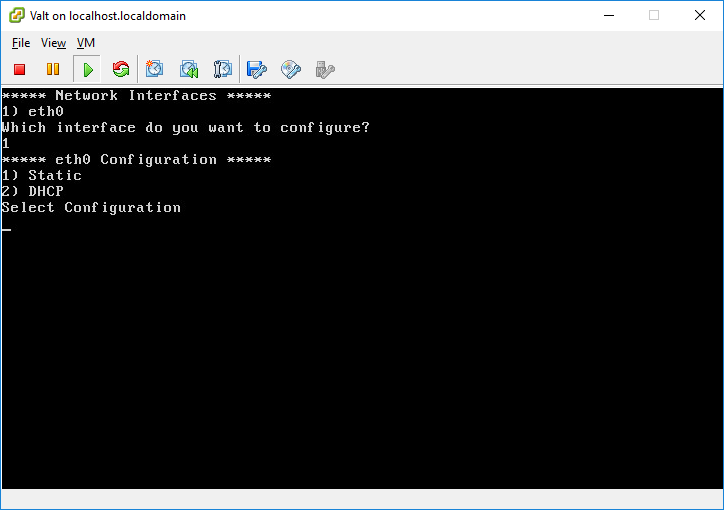
- Select Static or DHCP.
- For this example we will select DHCP
-
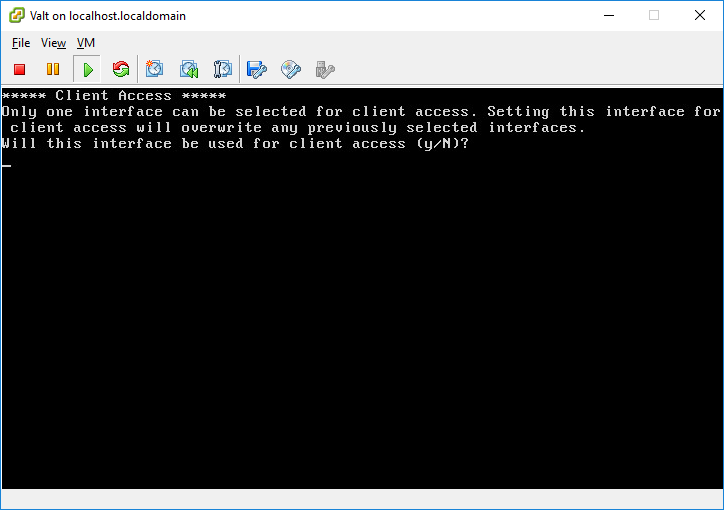
- Type Y when to configure this interface for client access.
-
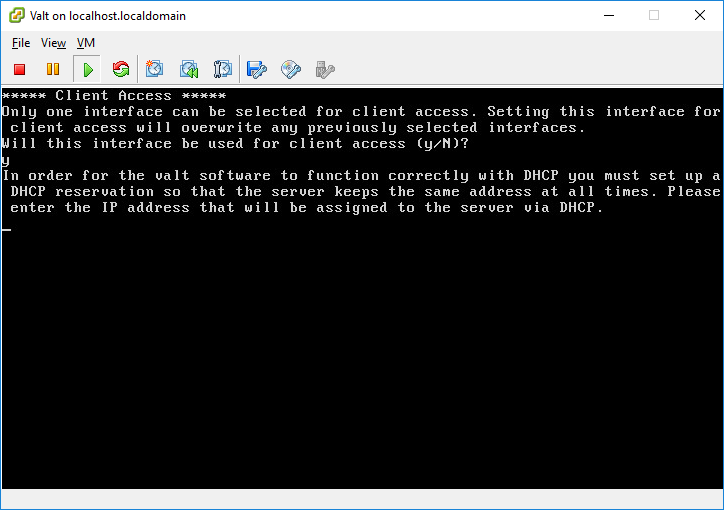
- Enter the IP Address of the interface when prompted.
IP Address changes will not take effect until the server has been rebooted.
Install the Wowza Streaming Engine License
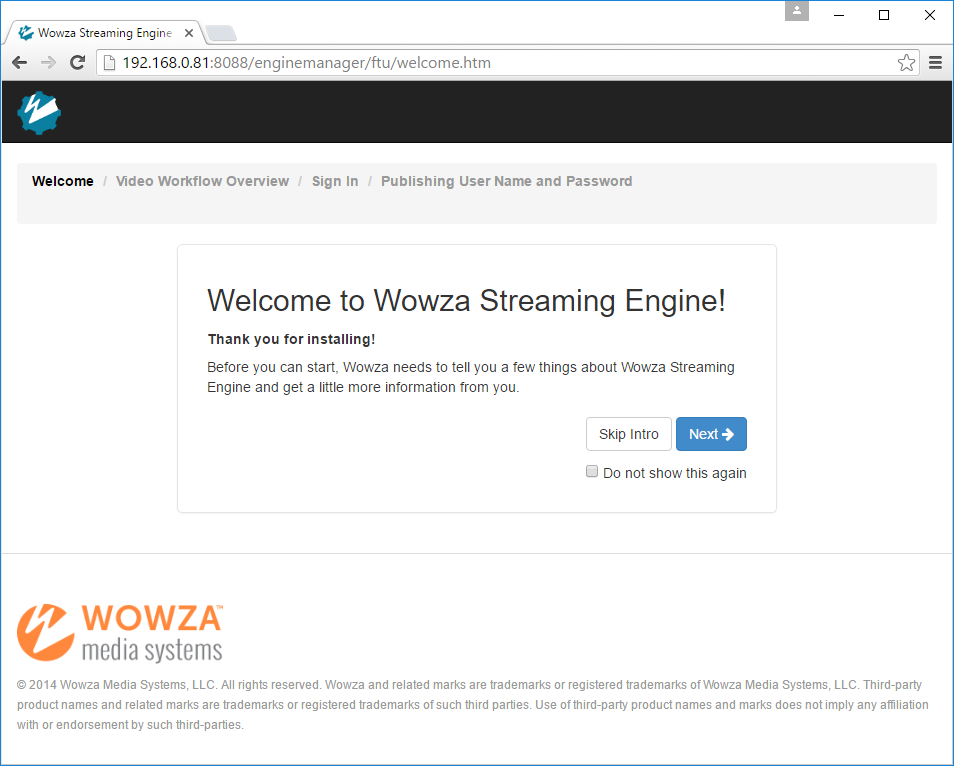
- Open a web browser and navigate to http://IPAddress:8088
- Click Skip Intro.
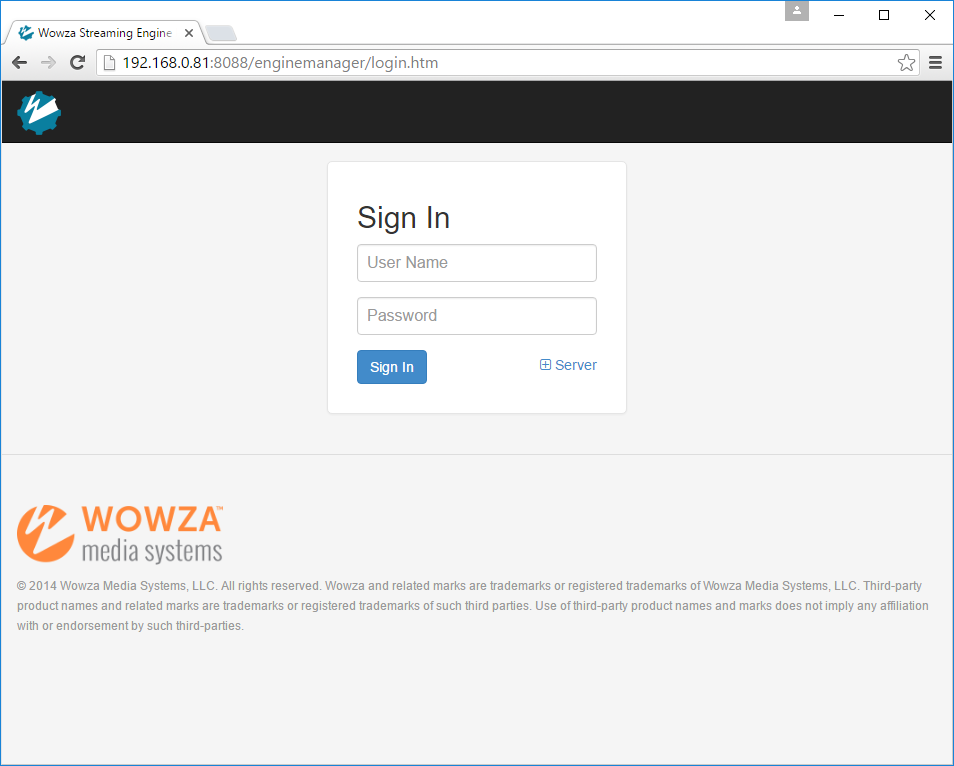
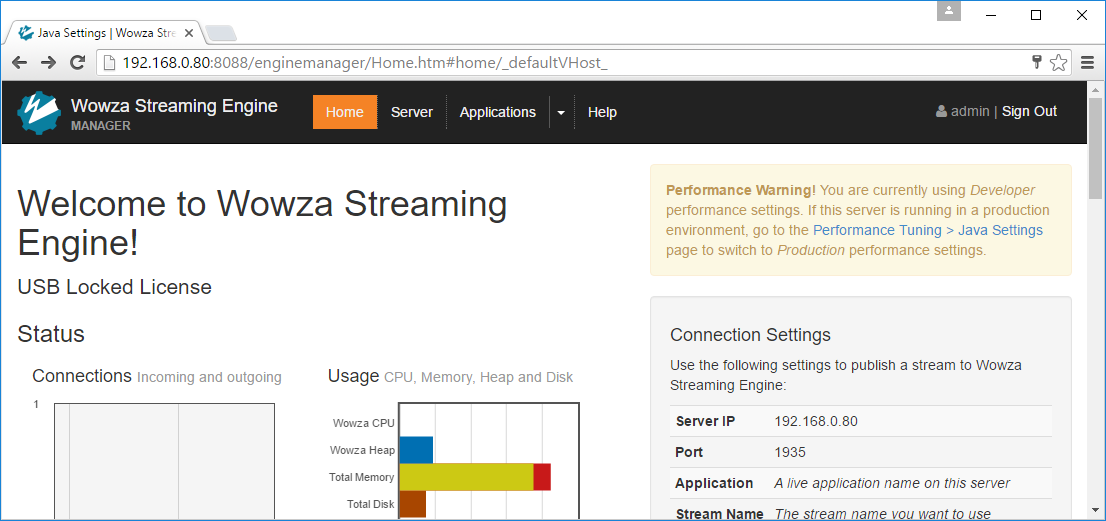
- Sign in using the username and password defined earlier for Wowza.
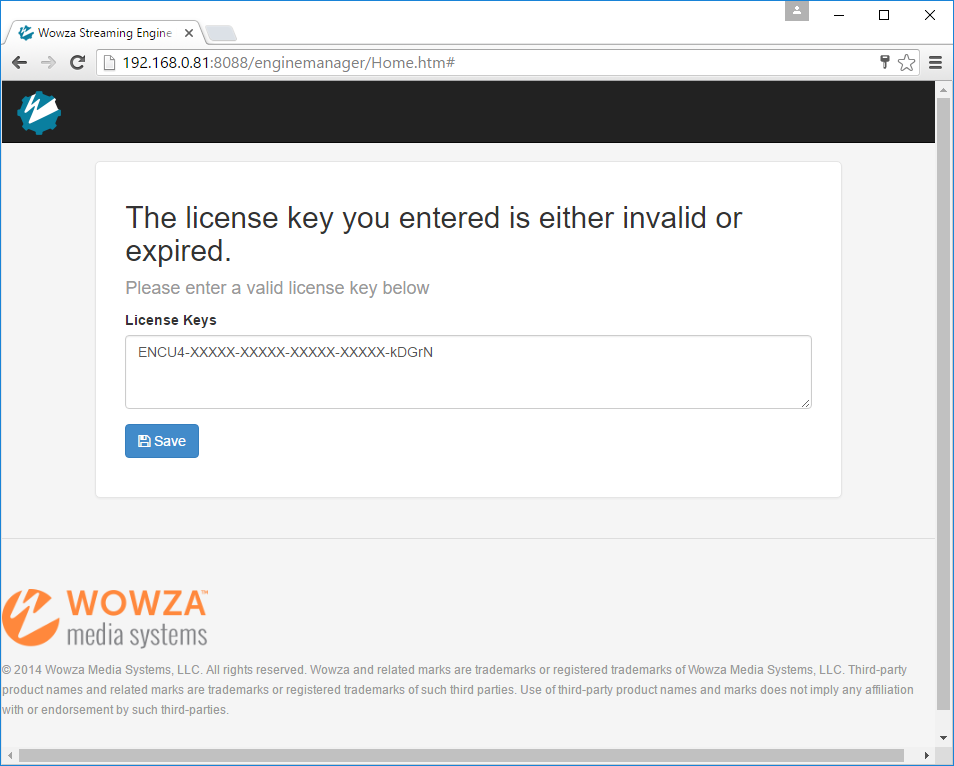
- Copy and paste the Wowza License Key into the box provided.
- If you are not prompted for a key:
- Click on the Server tab.
- Click the Edit button.
- Copy and paste the Wowza License Key into the box provided.
- If you were provided with a USB key by IVS, the USB key must already be inserted into the appliance.
- If you are not prompted for a key:
- Click Save.
- You will be returned to the sign in page.
- If you are not returned to the sign in page, click Sign Out in the upper right corner of the page.
- Sign back in to the Wowza web console.
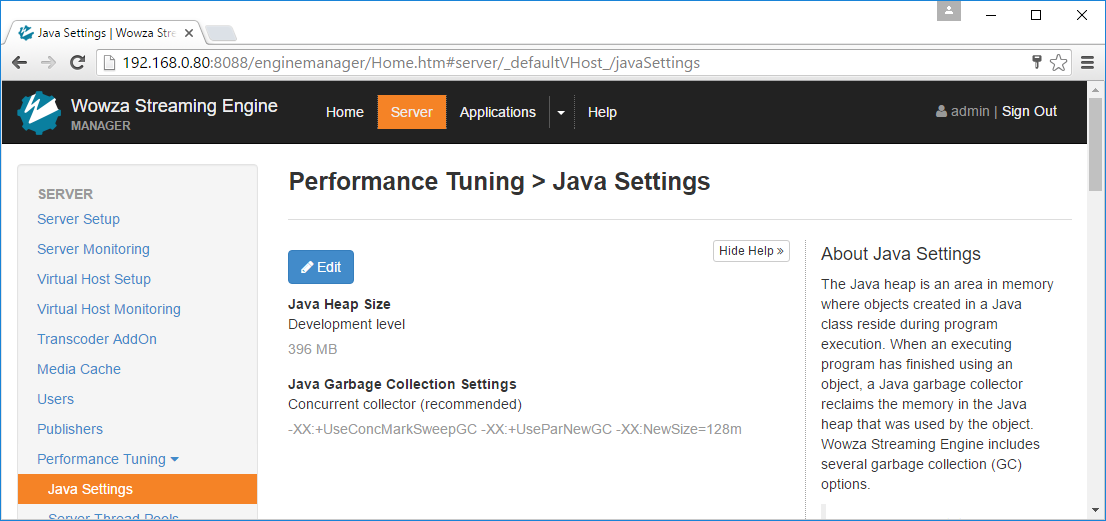
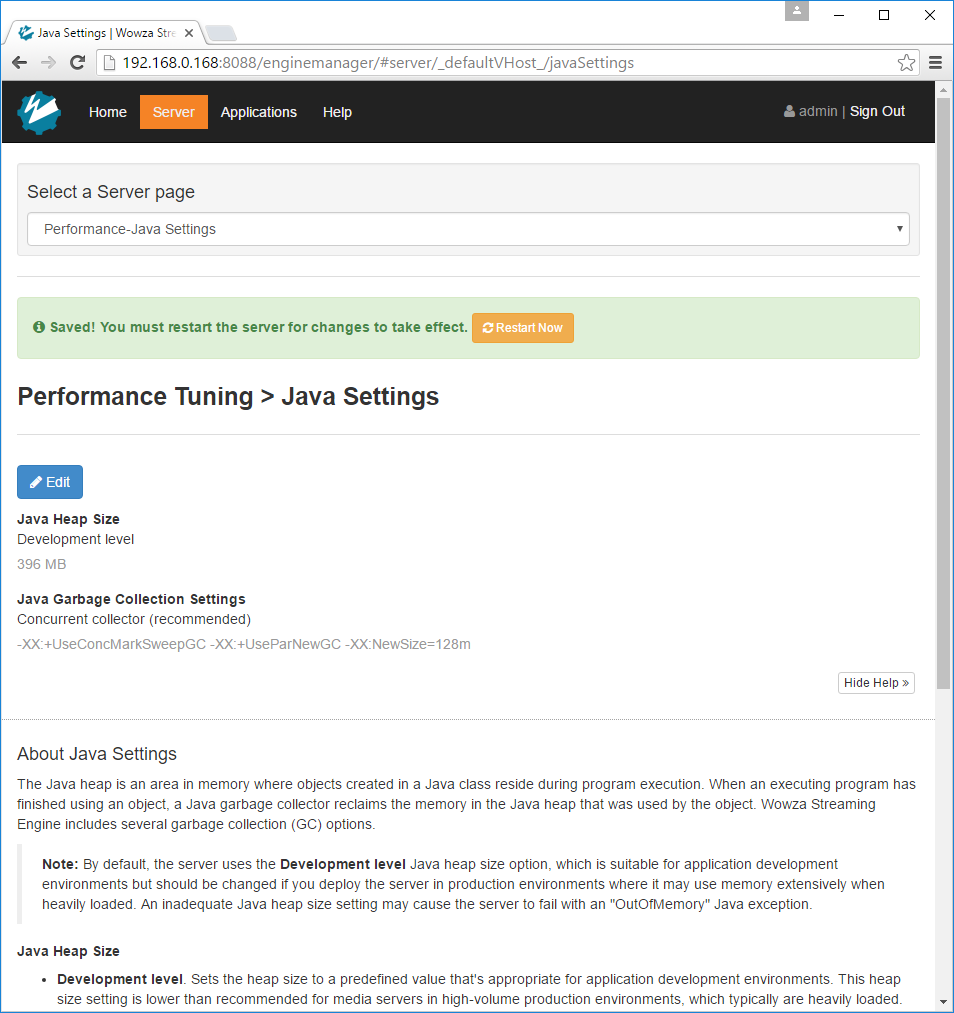
- Click on Performance Tuning > Java Settings.
- Click Edit.
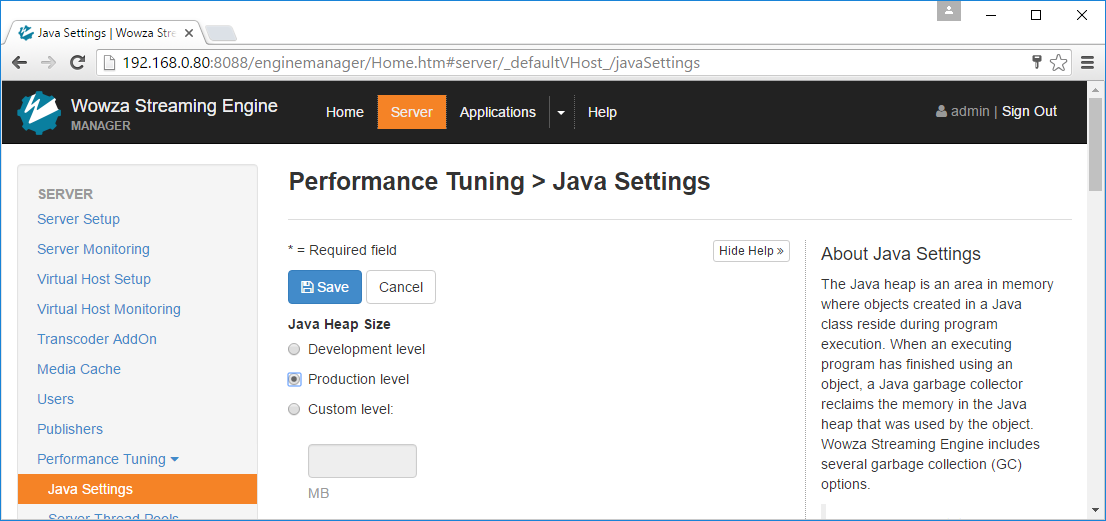
- Select Production Level.
- Click Save.
- You will be prompted to restart, click Restart Now.
Install the Valt Camera License
- Access the Valt Server Command Line Menu.
- This menu is presented automatically at the Valt server terminal. It can also be accessed via ssh by running the following command from the prompt:
sudo /usr/local/valt/bin/Menu
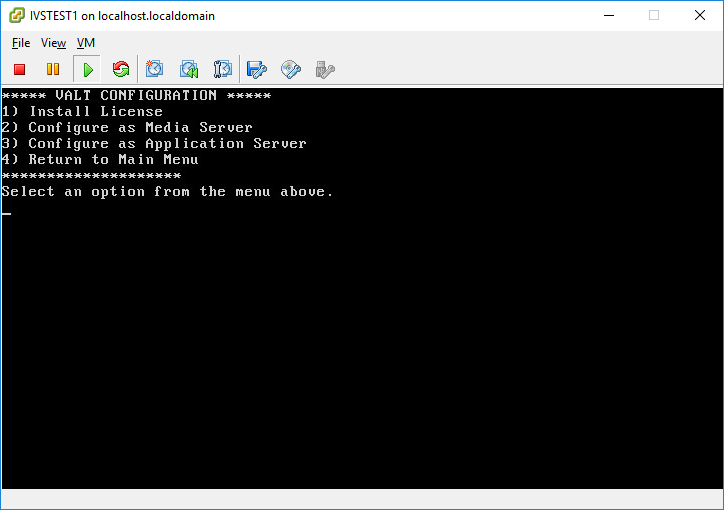
- Enter Option 3 for Valt Configuration.
- Enter Option 1 for Install License.
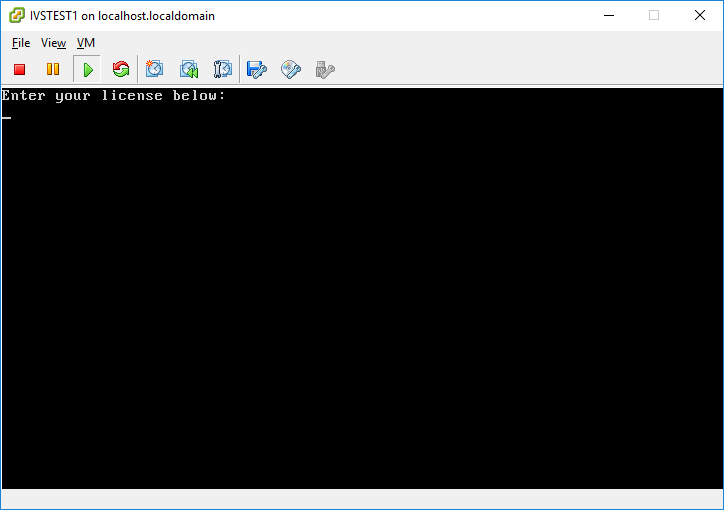
- Enter your license provided by IVS and press Enter.
- You will be returned to the menu.
Set the Timezone
- Connect to the Valt appliance via SSH or from the terminal menu, exit to the shell.
- From command line type in the following, and press Enter:
sudo dpkg-reconfigure tzdata
- Select your Country.
- Select your Time Zone.
- From command line type in the following, and press Enter:
sudo service apache2 restart
- From command line type in the following, and press Enter:
sudo service WowzaStreamingEngine restart
Accessing the Valt Server
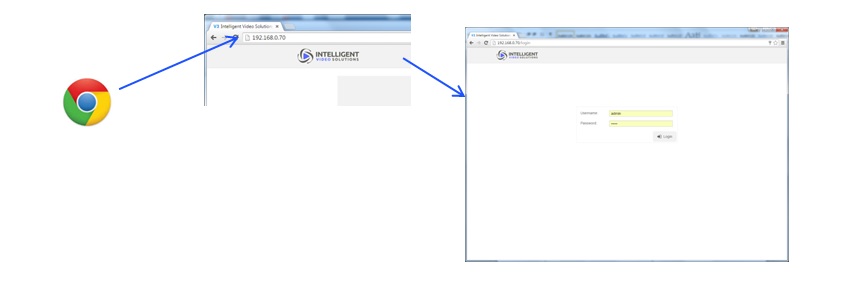
To access the system open up a web browser (Chrome, Firefox, Internet Explorer, Safari), and point it to the DNS name (example: http://video.myschool.edu) or IP address (example: http://192.168.0.99) of the Valt server. Note that the default IP address the servers ship with is 192.168.0.99. For all Non-Chrome browsers, if Adobe Flash Player is not already installed, it will need to be. (http://get.adobe.com/flashplayer/)
Log into the system with the proper username and password. (default: “admin” “admin”)
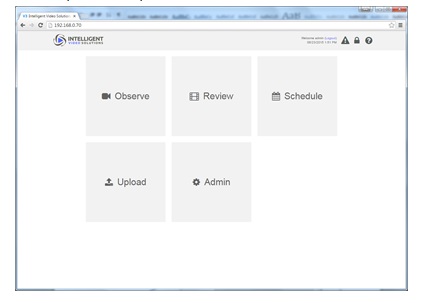
Based on your login information, you may have access to any of the following sections: Observe, Record, Schedule, Upload and Admin as shown below.
