Template:VALT Server Migration
Revision as of 10:49, 4 December 2020 by IVSWikiBlue (talk | contribs) (→Copy the recordings folder to the new server)
Note: Change IP's in the below commands to match the IP's of the new and old server
On the Old Server
It is beneficial to stop the apache service on the old server to prevent further recording of videos on it
- Type in the following, then press Enter:
sudo chmod 777 -R /usr/local/WowzaStreamingEngine/content/
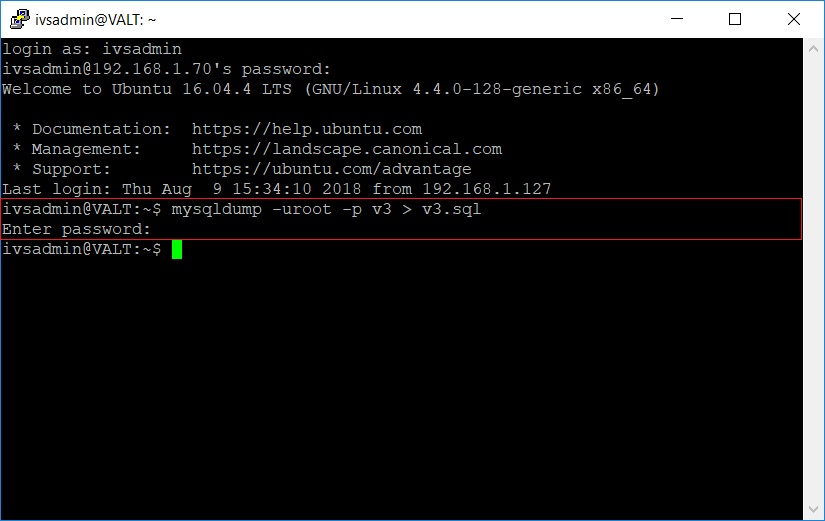
- Type in the following, then press Enter (Since Ubuntu 18.04 ivsadmin is the MySQL login user):
mysqldump -uroot -p v3 > v3.sql
- Enter mysql password
- Type in the following, then press Enter:
scp v3.sql ivsadmin@NewServerIP:/home/ivsadmin/
- Enter password for ivsadmin.
On the New Server
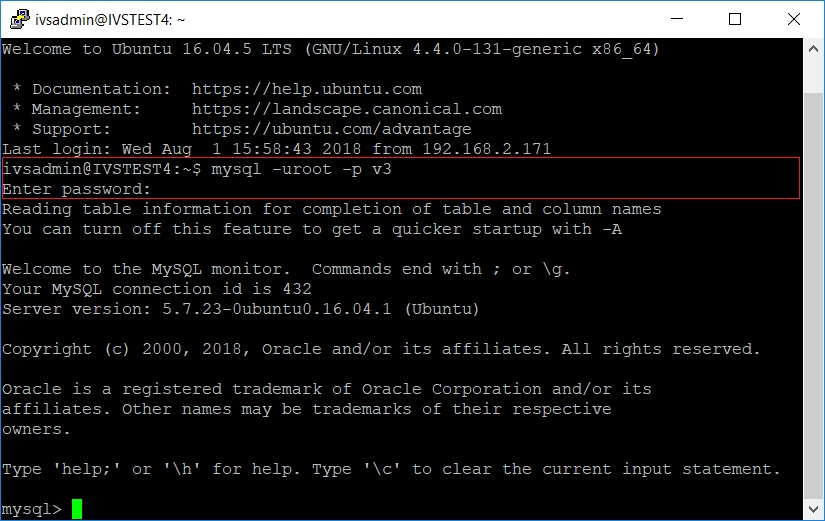
- Type in the following, then press Enter (Since Ubuntu 18.04 ivsadmin is the MySQL login user):
mysql -uroot -p v3
- Type in the password to MySQL.
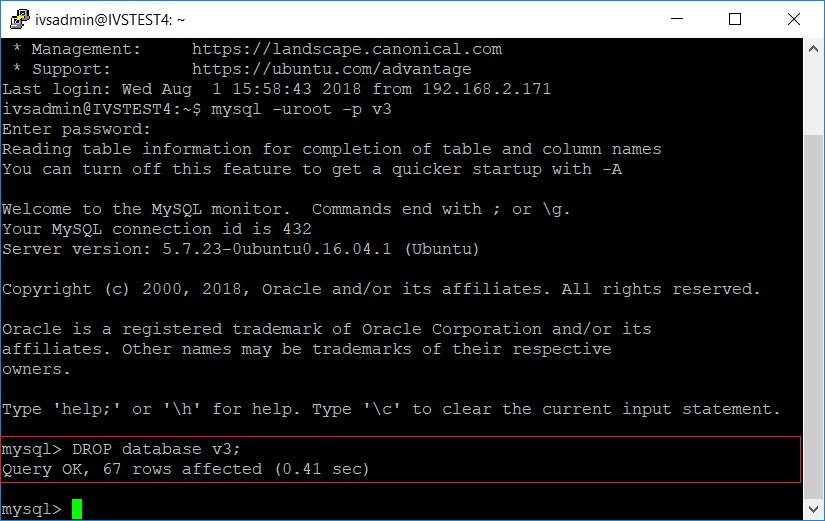
- Type:
DROP database v3;
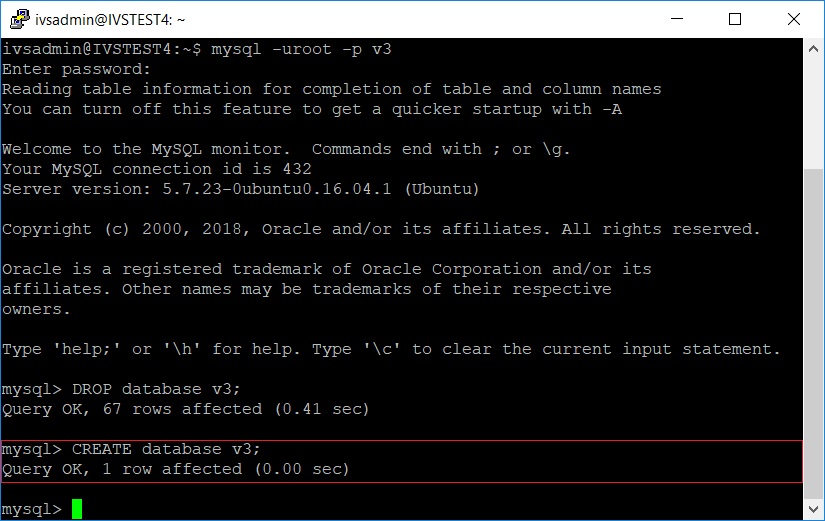
- Type:
CREATE database v3;
- Type in the following, then press Enter:
exit
- Type in the following, then press Enter (Since Ubuntu 18.04 ivsadmin is the MySQL login user):
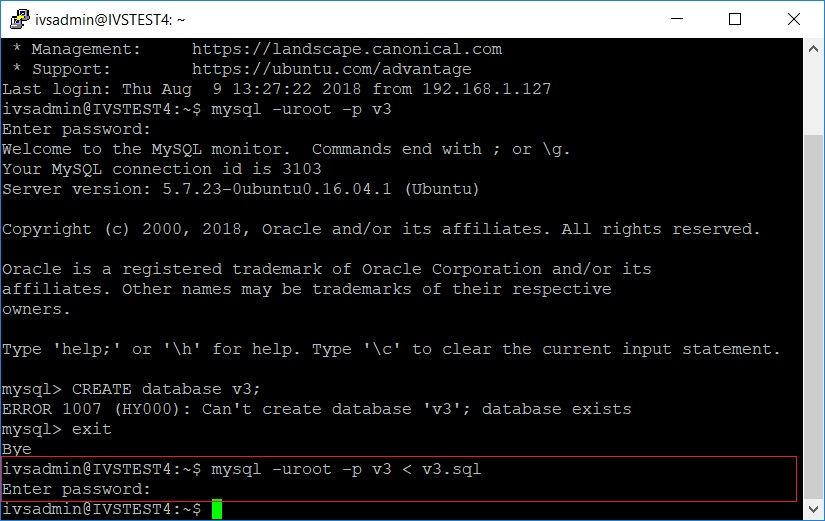
mysql -uroot -p v3 < v3.sql
- Enter the password for MySQL.
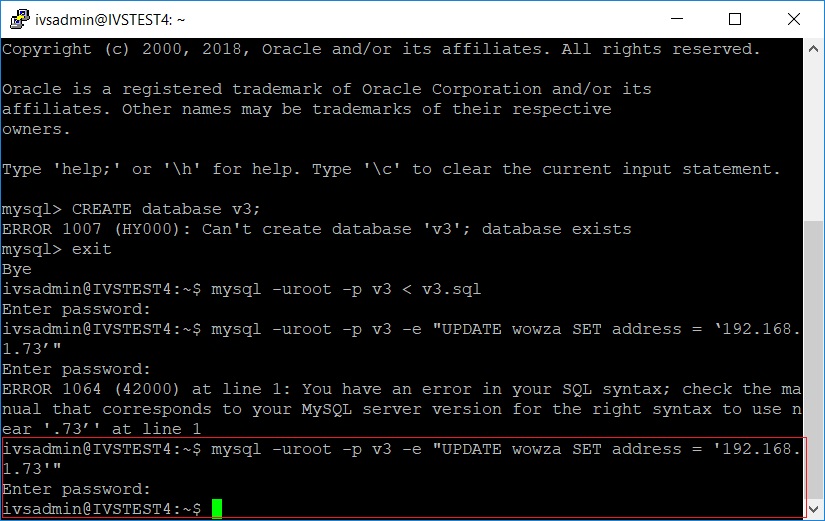
- Type in the following, then press Enter (Since Ubuntu 18.04 ivsadmin is the MySQL login user):
mysql -uroot -p v3 -e "UPDATE wowza SET address = 'NewServerIP'"
- Enter the password for MySQL.
Copy the recordings folder to the new server
- Type in the following, then press Enter (On Older Servers the Video Directory is dustin_recordings):
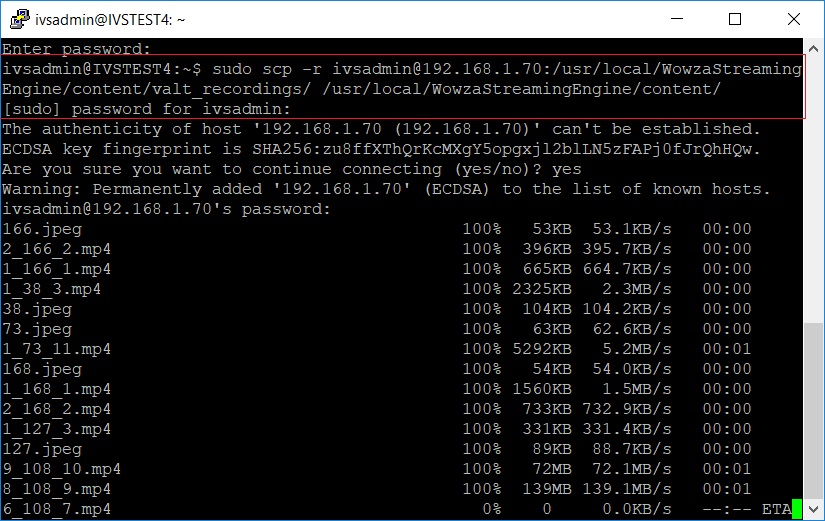
sudo scp -r ivsadmin@OldServerIP:/usr/local/WowzaStreamingEngine/content/valt_recordings/ /usr/local/WowzaStreamingEngine/content/
- Type in the ivsadmin password.
- After running the command above, you will want to select Yes to continue connecting to the server.
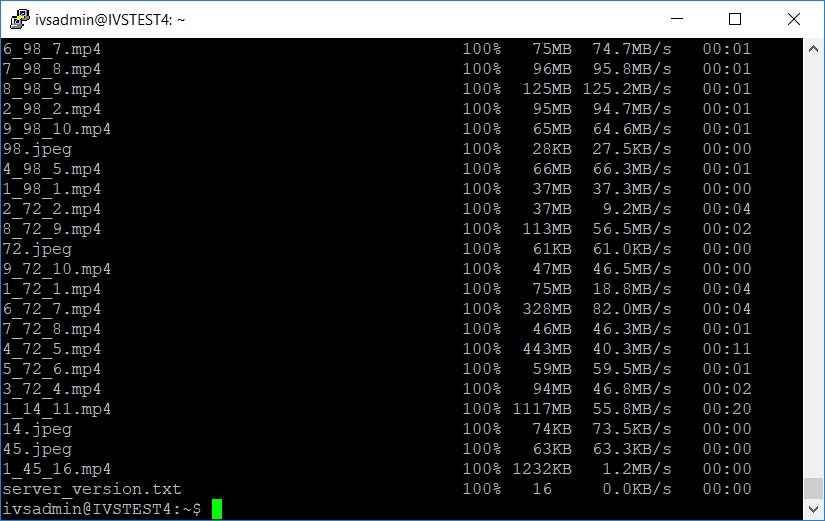
- Let the files transfer to the new server. When they are complete, the window should look like the following example:
