Installing a Hyper-V Valt Virtual Appliance
Revision as of 13:24, 29 December 2016 by IVSWikiBlue (talk | contribs) (→Configure Virtual Hardware)
Contents
Download the Hyper-V Appliance
- Click on the link below to download the Hyper-V virtual appliance.
- Extract ValtHyperV.zip
Load the Template on Hyper-V
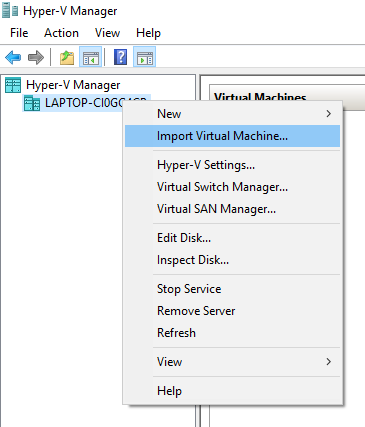
- Open Hyper-V Manager
- Right click on your Hyper-V Server and select Import Virtual Machine from the menu.
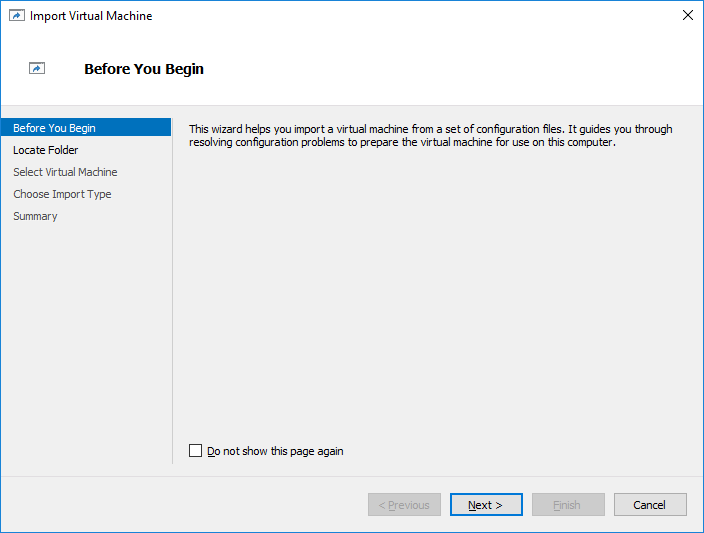
- Click Next
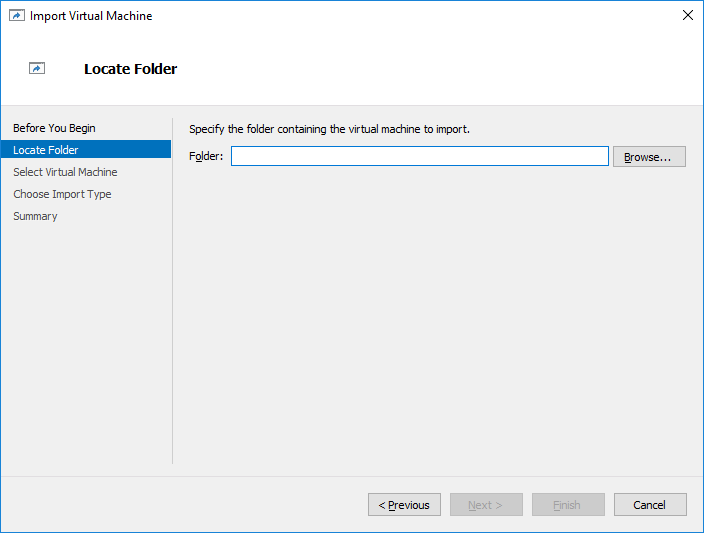
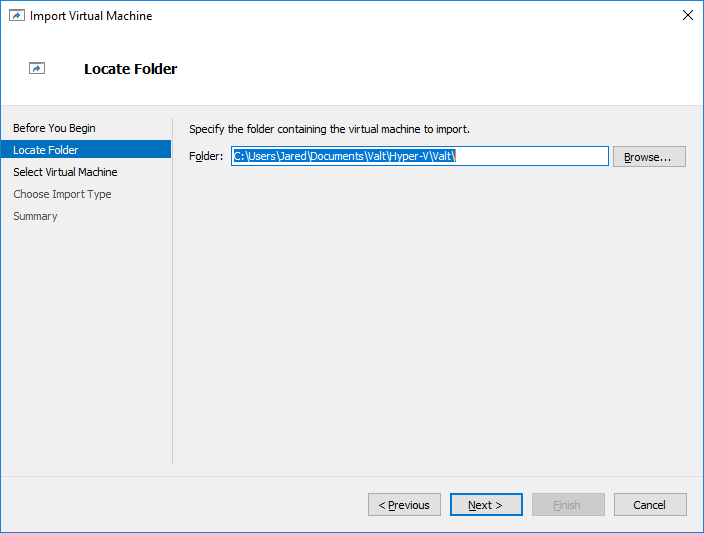
- Click Browse
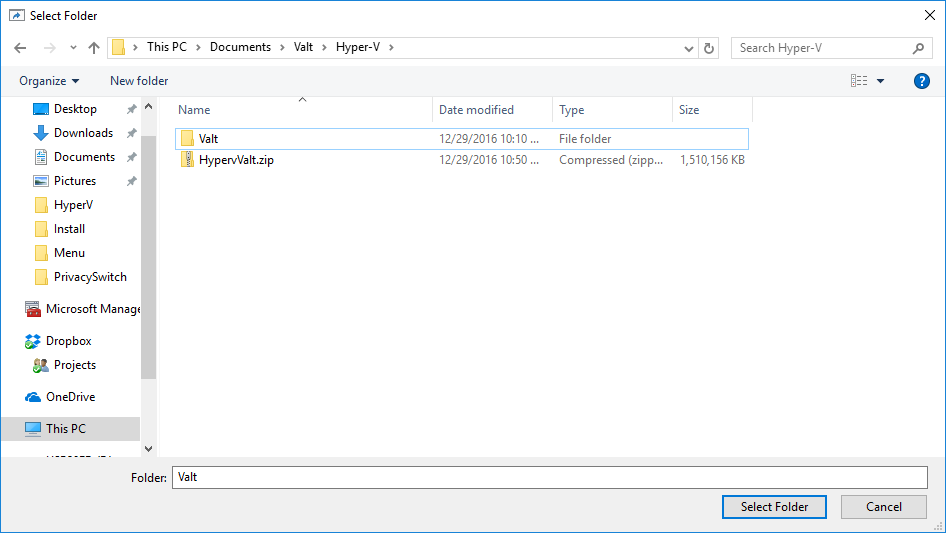
- Browse to the folder where you extracted the zip file and click on it.
- Click Select Folder
- Click Next
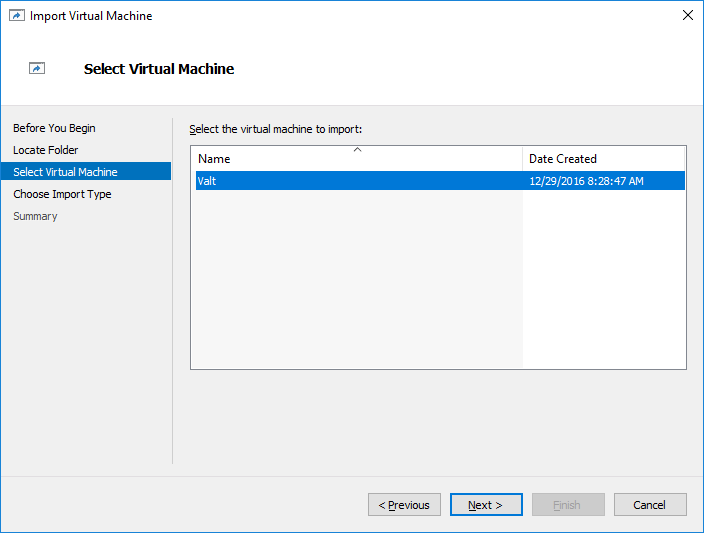
- Select the Virtual Machine to import
- Click Next
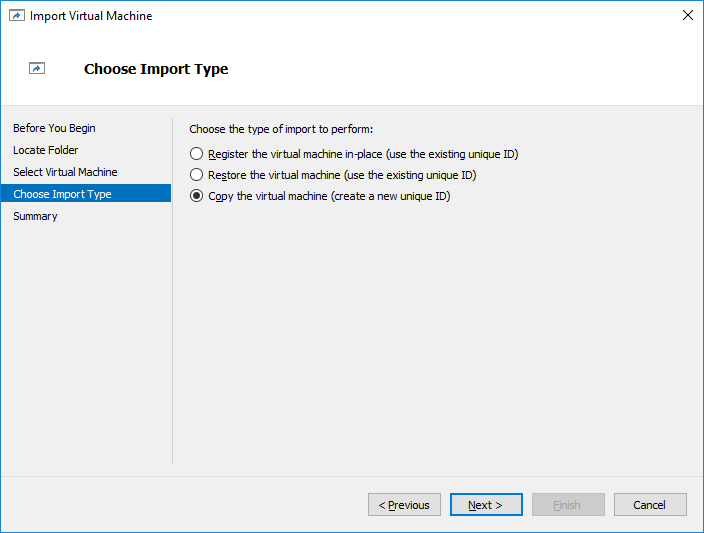
- Select Copy the virtual machine
- Click Next
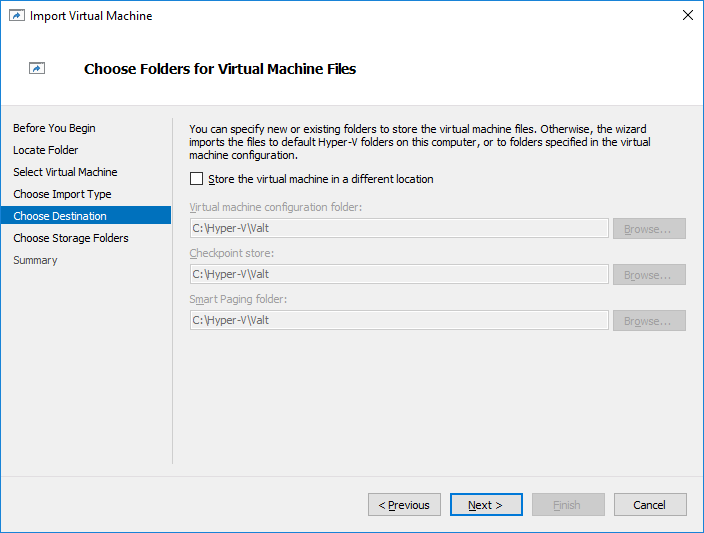
- Review the values for the virtual machine configuration folder, Checkpoint store, and Smart paging folder.
- If changes need to be made, check the box for Store the virtual machine in a different location
- Fill the appropriate values in each of these fieldes
- Click Next
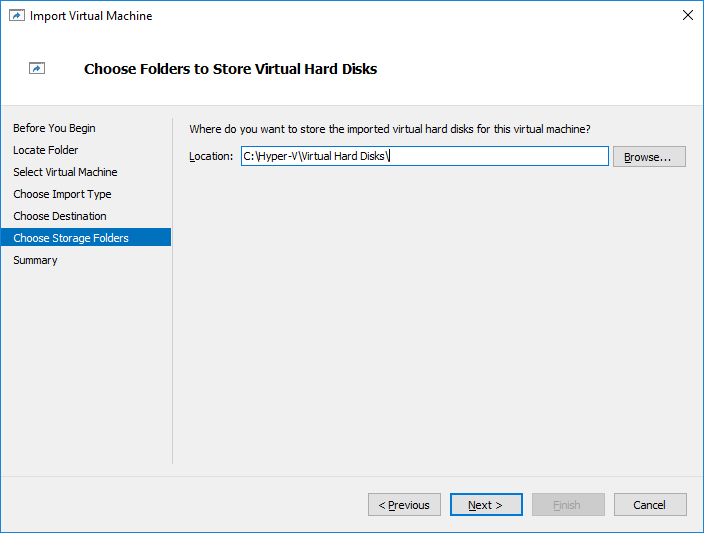
- Review the values for the location to store the virtual hard disks. If changes need to be made, update the value.
- Click Next
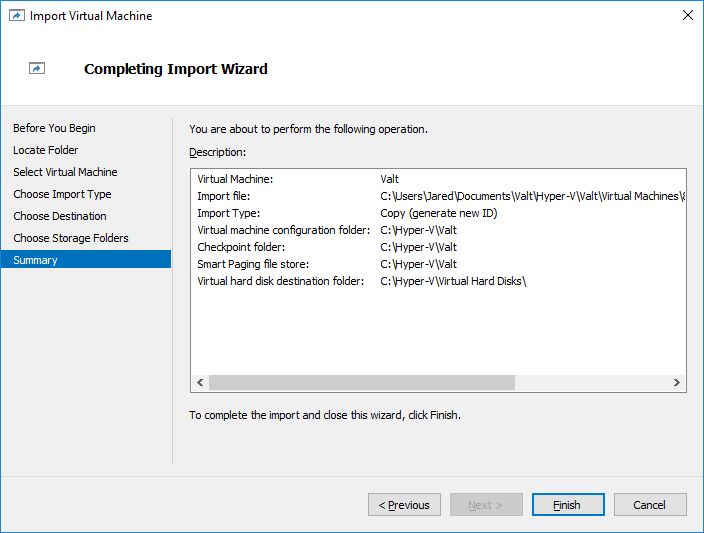
- Review the final configuration.
- If everything is correct, click Finish.
Configure Virtual Hardware
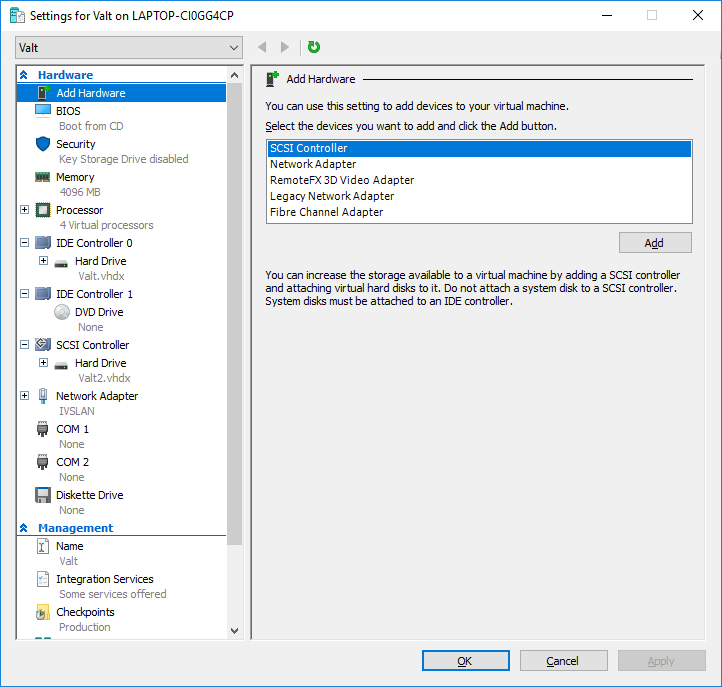
- Right click on the virtual machine in Hyper-V Manager
- Select Settings from the menu
- Adjust the memory and CPU of the appliance to support the number of cameras. The table below contains IVS' recommended specs.
Cameras Cores Memory 5 4 8 GB 15 8 16 GB 25 16 32 GB 50 32 64 GB
Click OK once all changes have been made.
You can also adjust the size of the data drive. The default size is 2 TB. If you adjust the size of the virtual drive, you will also need to adjust the size of the partition.
