|
|
| (23 intermediate revisions by the same user not shown) |
| Line 1: |
Line 1: |
| − | The process for accessing your Valt Proof of Concept system will vary slightly depending on what components have been include in your proof of concept.
| + | =How to Access the POC System= |
| − | =Options= | + | {{img with key - width | file = POC_Address-export.gif | width = | list = |
| − | ==Full POC System== | + | <li>Connect to the IVS_Demo Wifi as provided by the wireless access point in the VALT POC Camera Station. </li> |
| − | The full Valt POC system includes all the components required to demonstrate the Valt application.
| + | <li>Open up a web browser (Chrome, Firefox, Internet Explorer, Safari) and point it to the IP address of the VALT server. </li> |
| − | * Valt POC Appliance
| + | ''Note: The default IP address for the VALT POC appliance is <b>192.168.5.2</b>'' |
| − | * Valt POC Camera and Stand
| + | }} |
| − | * Valt POC Wireless access point
| |
| − | | |
| − | Before you can access the POC system, you will need to do the following:
| |
| − | # Plug the POE injector into an outlet using the provided power cord.
| |
| − | #:[[File:POC16.jpg|400x300px]]
| |
| − | # Plug the wireless access point into an outlet using the provided power cord.
| |
| − | #:[[File:POC5.jpg|400x300px]]
| |
| − | # Connect a laptop to the wireless SSID '''IVSDEMO'''.
| |
| − | | |
| − | The ip address of the Valt POC appliance is 192.168.5.2. | |
| − | | |
| − | ==Camera and Appliance==
| |
| − | | |
| − | Like the full POC system, the Camera and Appliance only option contains all the equipment required to demonstrate the Valt application, but will need to be configured and connected to your network before you can access it.
| |
| − | * Valt POC Appliance
| |
| − | * Valt POC Camera and Stand
| |
| − | | |
| − | Before you can access the POC system, you will need to do the following:
| |
| − | # Plug the POE injector into an outlet using the provided power cord.
| |
| − | #:[[File:POC16.jpg|400x300px]]
| |
| − | # Plug the Valt POC appliance into an outlet using the provided power cord.
| |
| − | #:[[File:POC1.jpg|400x300px]]
| |
| − | # Connect the POE Injector and Valt POC appliance to your network.
| |
| − | # Change the IP Address on the Valt POC appliance to match your network.
| |
| − | # Change the IP Address on the Valt POC Camera to match your network.
| |
| − | | |
| − | ==Camera only==
| |
| − | The Camera only option requires the you set up a Valt virtual POC appliance in order to demonstrate the Valt application.
| |
| − | * Valt POC Camera and Stand
| |
| − | | |
| − | Before you can access the POC system, you will need to do the following:
| |
| − | # Plug the POE injector into an outlet using the provided power cord.
| |
| − | #:[[File:POC16.jpg|400x300px]]
| |
| − | # Connect the POE Injector to your network.
| |
| − | # Install and configure a Valt virtual POC appliance.
| |
| − | # Change the IP Address on the Valt POC Camera to match your network.
| |
| − | | |
| − | | |
| − | =Physically Connecting the POC System=
| |
| − | ==Microphone (Camera)==
| |
| − | The microphone is disconnected from the camera during shipping in order to fit in the shipping case. The microphone must be reconnected after setting up the Valt POC camera.
| |
| | | | |
| − | [[File:POC17.jpg|400x300px]]
| |
| | | | |
| − | Connect the female XLR tail to the male XLR connector on the back of the microphone.
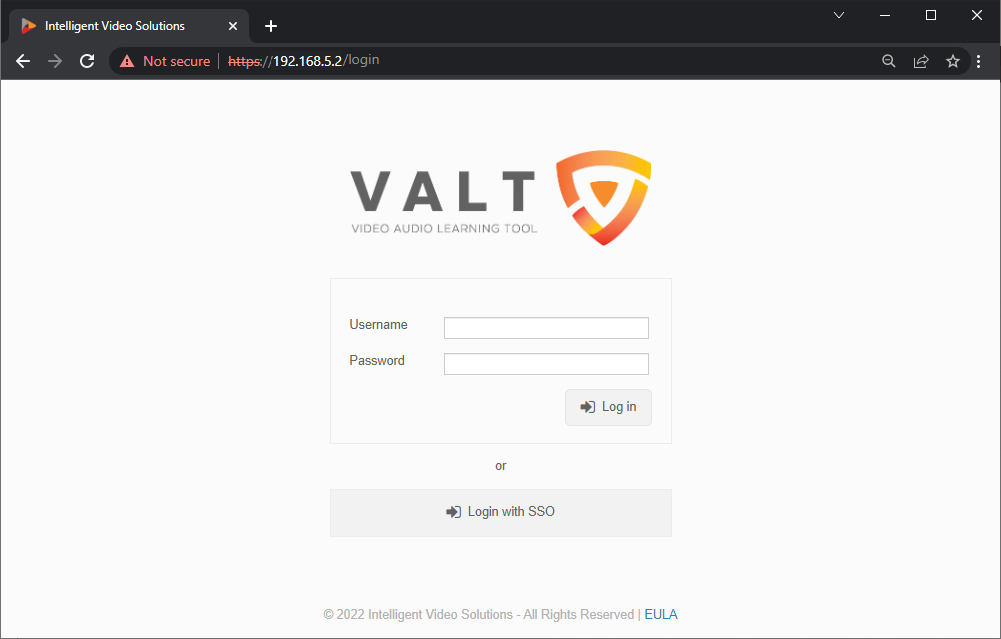
| + | <div class="section">You will be brought to the login screen.</div> |
| − | ==Speakers (Camera)== | + | {{img | file = POC Login Screen.png | width = }} |
| − | The Valt POC Camera and Stand includes a 3.5mm audio jack for demonstrating the talkback feature of the software. You can connect a pair of headphones, or an externally powered speaker to this jack with a 3.5mm audio cable to enable to talkback feature.
| |
| | | | |
| − | [[File:POC18.jpg|400x300px]]
| |
| | | | |
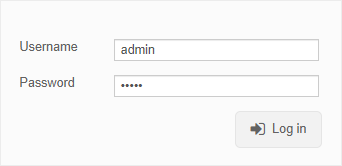
| − | ==POE Injector (Camera)== | + | {{img with key - width | file = VALT admin admin.png | width = | list = |
| − | The POE injector provides power to the camera. It must be plugged into to a 120V outlet using the provided power cord.
| + | <li>Log into the system with the default username and password.</li> |
| − | | + | <table class="simple_table"> |
| − | [[File:POC16.jpg|400x300px]]
| + | <tr> |
| − | | + | <th>Username</th> |
| − | The Data In port should be connected either to the Valt POC Access Point or to your network.
| + | <td>admin</td> |
| − | | + | </tr> |
| − | The Data & Power Out port should already be connected to the camera.
| + | <tr> |
| − | | + | <th>Password</th> |
| − | ==Valt POC Appliance==
| + | <td>admin</td> |
| − | The Valt POC Appliance at minimum will need to be connected to a 120V outlet using the provided power cable and either your network or the provided Valt POC Access Point.
| + | </tr> |
| − | | + | </table> |
| − | [[File:POC19.jpg|400x300px]]
| + | }} |
| − | | |
| − | If you need to change the IP address on the Valt POC appliance, you may also need to connect a USB keyboard and a monitor. Make sure the monitor is connected prior to turning on the Valt POC appliance.
| |
| − | | |
| − | =How to Access the POC System=
| |
| − | To access the system:
| |
| | | | |
| − | # Open up a web browser (Chrome, Firefox, Internet Explorer, Safari) and point it to the IP address of the Valt server.
| |
| − | #:''Note: The default IP address for the Valt POC appliance is 192.168.5.2.''
| |
| − | #: '''For all Non-Chrome browsers, if Adobe Flash Player is not already installed, it will need to be from the following link: http://get.adobe.com/flashplayer/'''
| |
| − | #:[[File:Admin-1.jpg]]
| |
| − | #Log into the system with the default username and password.
| |
| − | #:Username: admin
| |
| − | #:Password: admin
| |
| − | #:[[File:Admin-2.jpg]]
| |
| − | #:[[File:Admin-3.jpg]]
| |
| | | | |
| − | You can find more information on using the Valt application, including user guides and training videos on our wiki at http://www.ipivs.com/wiki/ | + | <div class="floating_card">You can find more information on using the VALT application, including user guides and training videos [[ VALT_Manual | Click Here]]</div> |