Difference between revisions of "Accessing Your VALT POC System"
IVSWikiBlue (talk | contribs) |
IVSWikiBlue (talk | contribs) |
||
| Line 6: | Line 6: | ||
}} | }} | ||
| − | <div class=" | + | |
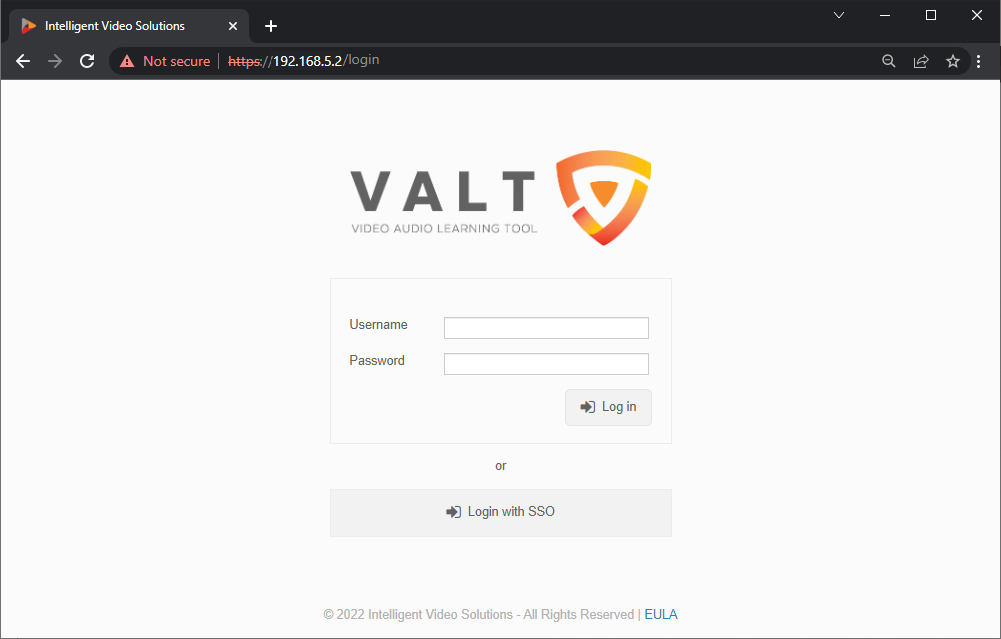
| + | <div class="section">You will be brought to the login screen.</div> | ||
{{img | file = POC Login Screen.png | width = }} | {{img | file = POC Login Screen.png | width = }} | ||
| + | |||
{{img with key - width | file = VALT admin admin.png | width = | list = | {{img with key - width | file = VALT admin admin.png | width = | list = | ||
| Line 22: | Line 24: | ||
</table> | </table> | ||
}} | }} | ||
| + | |||
<div class="floating_card">You can find more information on using the VALT application, including user guides and training videos [[ VALT_Manual | Click Here]]</div> | <div class="floating_card">You can find more information on using the VALT application, including user guides and training videos [[ VALT_Manual | Click Here]]</div> | ||
Latest revision as of 13:38, 2 December 2022
How to Access the POC System
- Connect to the IVS_Demo Wifi as provided by the wireless access point in the VALT POC Camera Station.
- Open up a web browser (Chrome, Firefox, Internet Explorer, Safari) and point it to the IP address of the VALT server.
Note: The default IP address for the VALT POC appliance is 192.168.5.2
You will be brought to the login screen.
- Log into the system with the default username and password.
| Username | admin |
|---|---|
| Password | admin |
You can find more information on using the VALT application, including user guides and training videos Click Here