Difference between revisions of "IVS HDMI Encoder/Decoder"
IVSWikiBlue (talk | contribs) (Created page with "=Prerequisites= # A windows computer with an ethernet port or a USB-C to ethernet adapter and Google Chrome # One or more IVS HDMI Encoders # A Power over Ethernet (PoE) drop...") |
IVSWikiBlue (talk | contribs) (→Connecting to the Encoder) |
||
| Line 27: | Line 27: | ||
# Navigate to http://192.168.1.120 in Google Chrome | # Navigate to http://192.168.1.120 in Google Chrome | ||
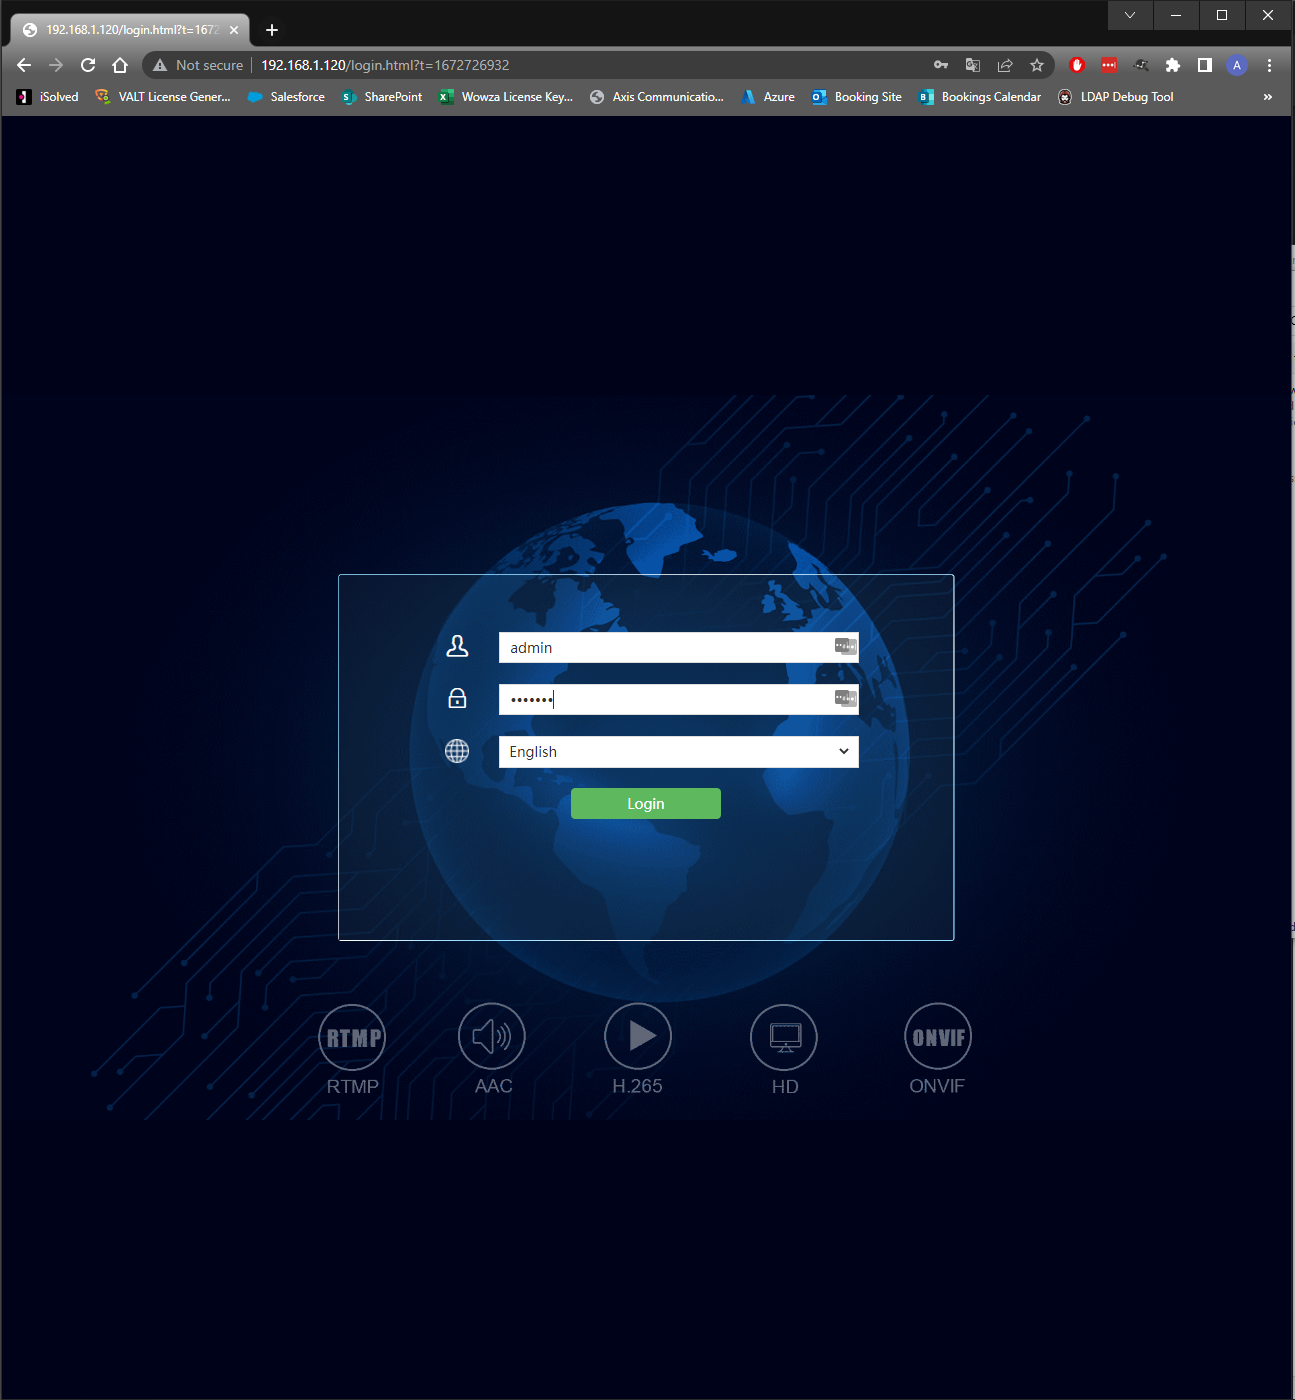
# Provide the default credentials of admin/12345 for the login popup that appears (pictured below) | # Provide the default credentials of admin/12345 for the login popup that appears (pictured below) | ||
| − | #:{{img | file = | + | #:{{img | file = Login.PNG | width = 1000px}} |
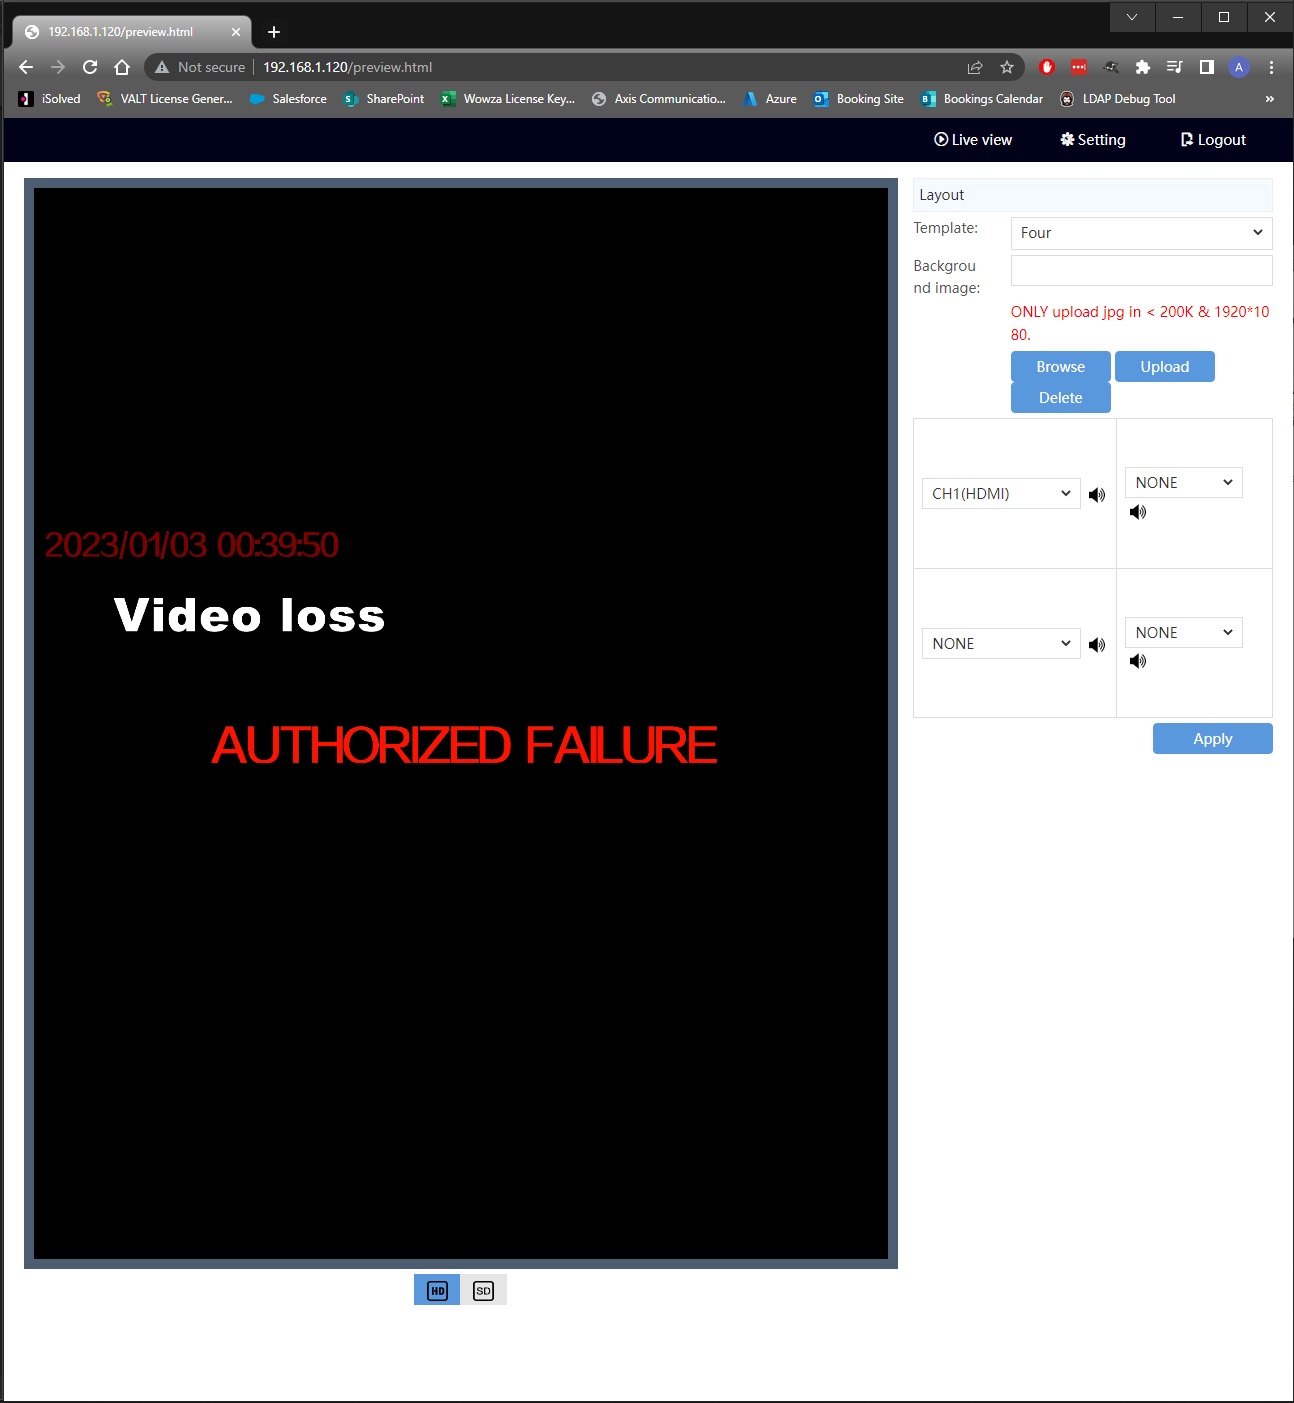
# If the Encoder Web Interface (pictured below) appears, you are ready to configure the Encoder! | # If the Encoder Web Interface (pictured below) appears, you are ready to configure the Encoder! | ||
| − | #:{{img | file = | + | #:{{img | file = Home_Page.PNG | width = 1000px}} |
Revision as of 11:40, 2 January 2023
Prerequisites
- A windows computer with an ethernet port or a USB-C to ethernet adapter and Google Chrome
- One or more IVS HDMI Encoders
- A Power over Ethernet (PoE) drop
- IPC Manager Software (only if configuring multiple encoders)
Powering up the Encoder
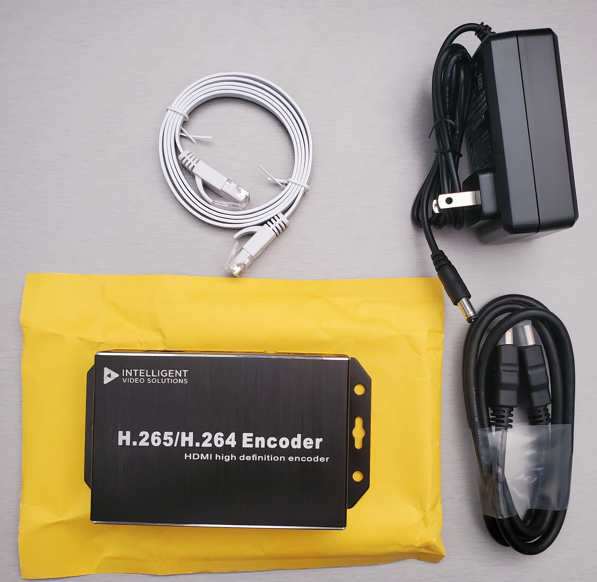
- Unpack the contents of the Encoder Package.
- Find the 12V power supply and the ethernet cable and connect both to the back of the encoder.
- Connect the Power brick of the 12V power supply to a 120V Outlet.
- Connect the other end of the ethernet cable to your computer directly or via a USB-C to ethernet adapter.
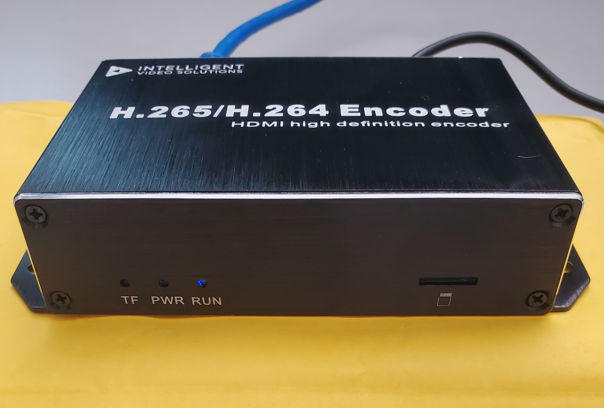
- The "Run" LED should light up blue as pictured once the encoder has powered up.
- At this point we are ready to reconfigure the networking on your computer to connect to the encoder
Connecting to the Encoder
- On your computer, open control panel.
- Search for and open Network and Sharing Center.
- Click on the active "Ethernet" Connection on the right.
- Within the Status popup window, click "Properties".
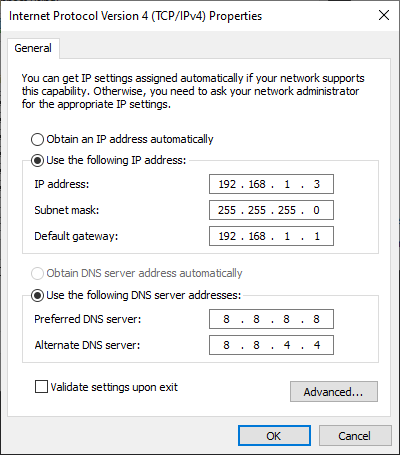
- Within the Properties popup window, double click "Internet Protocol Version 4 (TCP/IPv4)".
- Adjust the properties to match the picture below.
- Remember to come back and change all the settings back to automatic if you want your ethernet to work normally later!
- Click "OK" on this popup and the popup below it to apply the new settings
- Navigate to http://192.168.1.120 in Google Chrome
- Provide the default credentials of admin/12345 for the login popup that appears (pictured below)
- If the Encoder Web Interface (pictured below) appears, you are ready to configure the Encoder!