Difference between revisions of "Installing a Hyper-V Valt Virtual Appliance"
IVSWikiBlue (talk | contribs) (→Download the Hyper-V Appliance) |
IVSWikiBlue (talk | contribs) (→Load the Template on Hyper-V) |
||
| Line 5: | Line 5: | ||
=Load the Template on Hyper-V= | =Load the Template on Hyper-V= | ||
| + | # Open Hyper-V Manager | ||
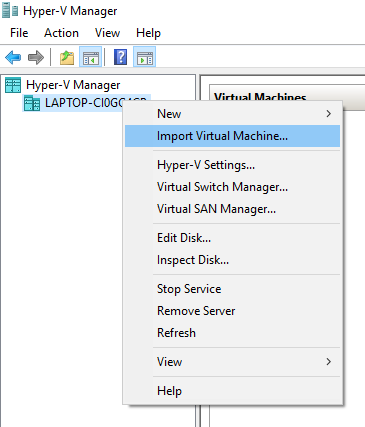
| + | # Right click on your Hyper-V Server and select Import Virtual Machine from the menu. | ||
| + | #: [[File:HyperV1.png]] | ||
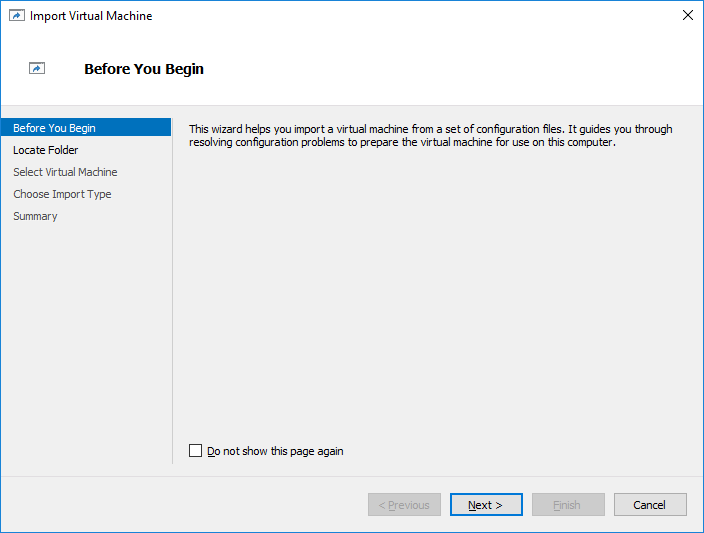
| + | # Click Next | ||
| + | #: [[File:HyperV2.png]] | ||
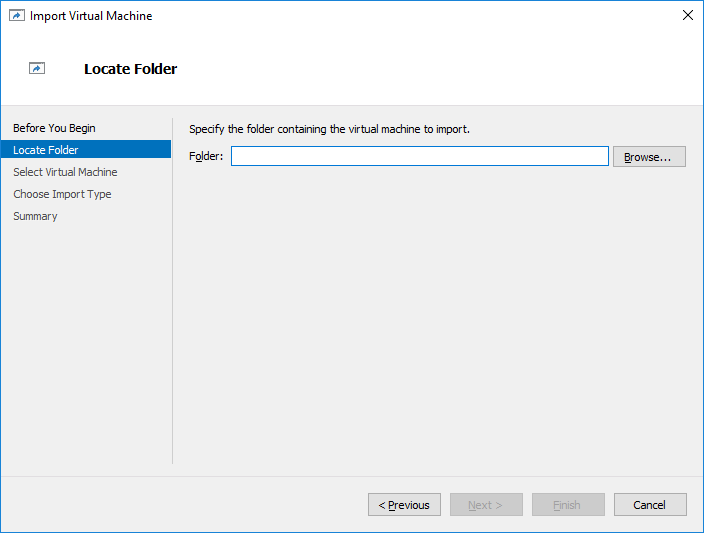
| + | # Click Browse | ||
| + | #: [[File:HyperV3.png]] | ||
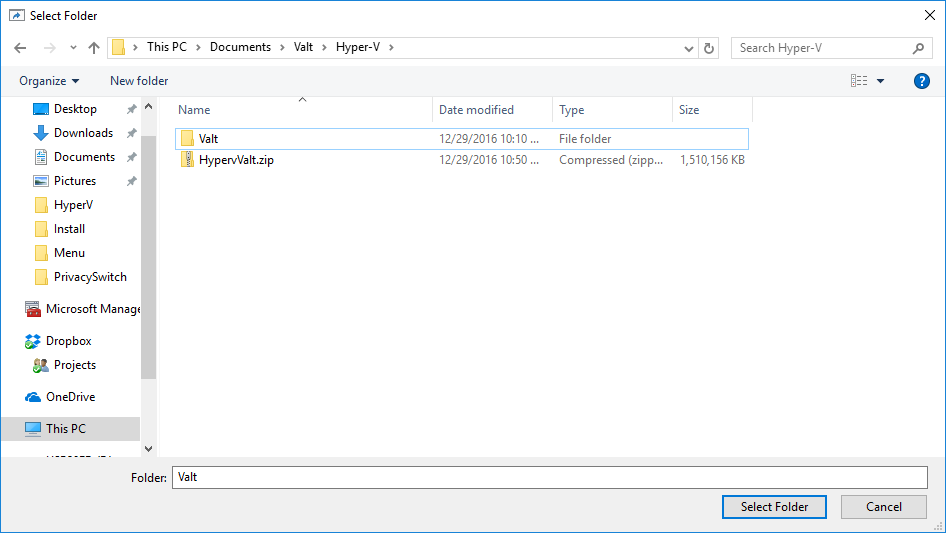
| + | # Browse to the folder where you extracted the zip file and click on it. | ||
| + | #: [[File:HyperV4.png]] | ||
| + | # Click '''Select Folder''' | ||
| + | # Click Next | ||
| + | #: [[File:HyperV5.png]] | ||
| + | # Select the Virtual Machine to import | ||
| + | #: [[File:HyperV6.png]] | ||
| + | # Click Next | ||
| + | # Select '''Copy the virtual machine''' | ||
| + | #: [[File:HyperV7.png]] | ||
| + | # Click Next | ||
| + | # Review the values for the virtual machine configuration folder, Checkpoint store, and Smart paging folder. | ||
| + | ## If changes need to be made, check the box for '''Store the virtual machine in a different location''' | ||
| + | ## Fill the appropriate values in each of these fieldes | ||
| + | #: [[File:HyperV8.png]] | ||
| + | # Click Next | ||
| + | # Review the values for the location to store the virtual hard disks. If changes need to be made, update the value. | ||
| + | #: [[File:HyperV9.png]] | ||
| + | # Click Next | ||
| + | # Review the final configuration. | ||
| + | #: [[File:HyperV10.png]] | ||
| + | # If everything is correct, click '''Finish'''. | ||
| + | |||
=Configure Virtual Hardware= | =Configure Virtual Hardware= | ||
=Configure IP Address= | =Configure IP Address= | ||
Revision as of 13:55, 29 December 2016
Contents
Download the Hyper-V Appliance
- Click on the link below to download the Hyper-V virtual appliance.
- Extract ValtHyperV.zip
Load the Template on Hyper-V
- Open Hyper-V Manager
- Right click on your Hyper-V Server and select Import Virtual Machine from the menu.
- Click Next
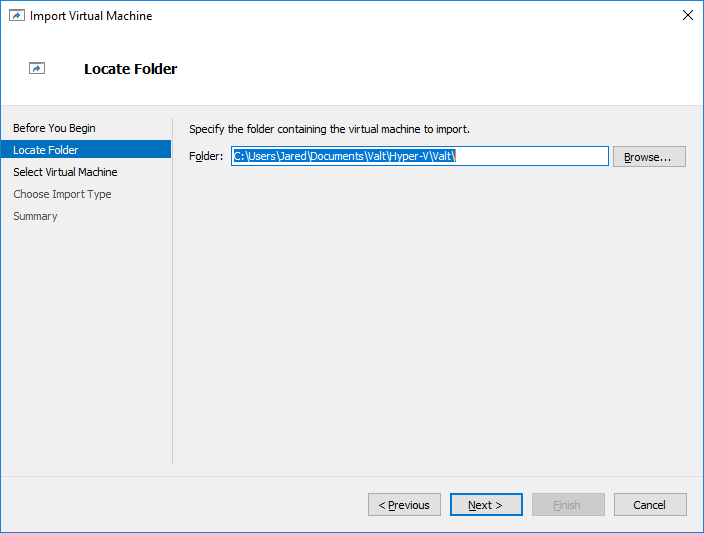
- Click Browse
- Browse to the folder where you extracted the zip file and click on it.
- Click Select Folder
- Click Next
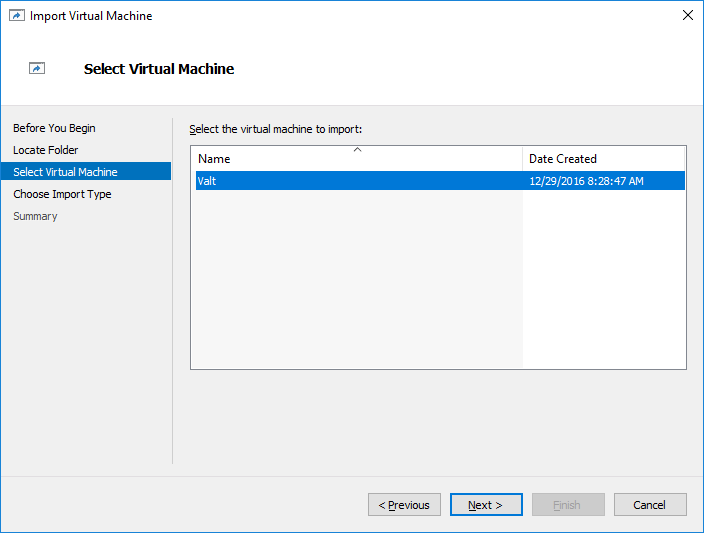
- Select the Virtual Machine to import
- Click Next
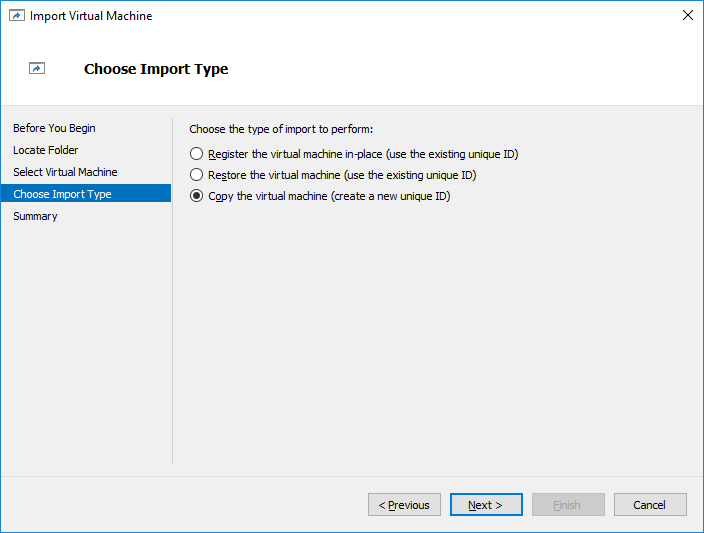
- Select Copy the virtual machine
- Click Next
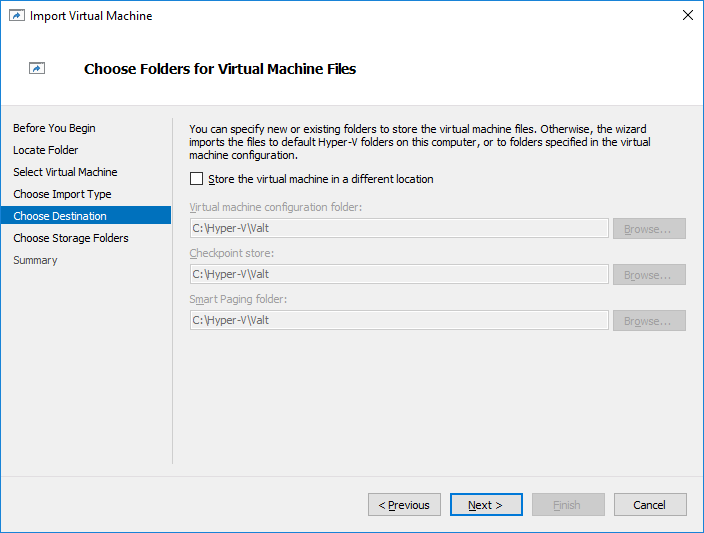
- Review the values for the virtual machine configuration folder, Checkpoint store, and Smart paging folder.
- If changes need to be made, check the box for Store the virtual machine in a different location
- Fill the appropriate values in each of these fieldes
- Click Next
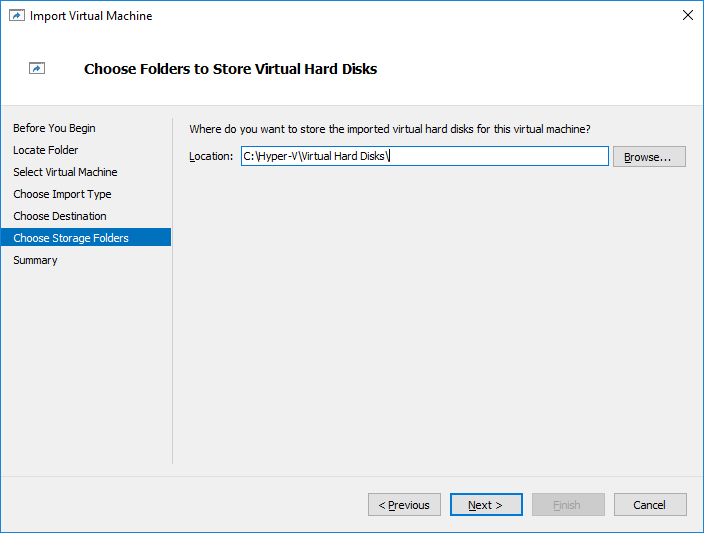
- Review the values for the location to store the virtual hard disks. If changes need to be made, update the value.
- Click Next
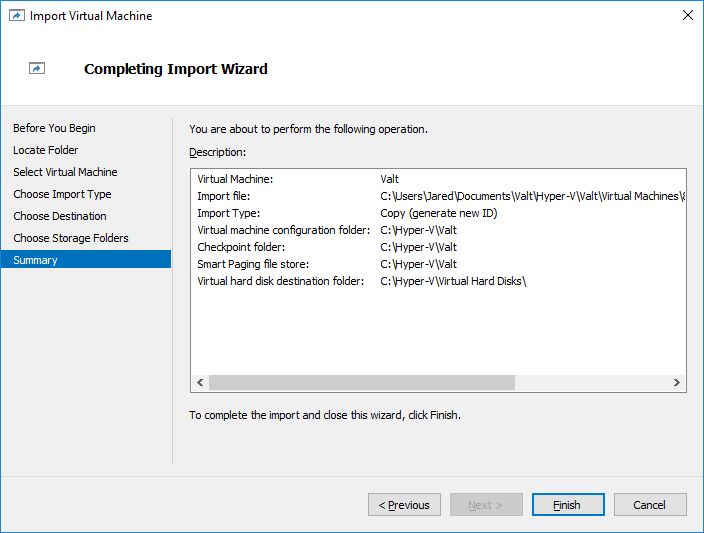
- Review the final configuration.
- If everything is correct, click Finish.
