Difference between revisions of "ROAM Bridge"
IVSWikiBlue (talk | contribs) |
IVSWikiBlue (talk | contribs) |
||
| Line 26: | Line 26: | ||
==Configure Wireless== | ==Configure Wireless== | ||
| − | + | {{Aside | hue = 200 | icon = {{book_icon}} | content = To the left of <b>wifi1</b>, you will see a box with [E] or [D]. Make sure this is showing a <b>[D]</b>. This means that is is enabled. The letter D is prompting you to disable wifi1.}} | |
| + | # Select <b>Wireless</b>. | ||
| + | #Click on <b>wifi1</b>. | ||
{{img | width = 750px | file = ROAM Bridge Wireless 01.png}} | {{img | width = 750px | file = ROAM Bridge Wireless 01.png}} | ||
| − | |||
| − | |||
<hr> | <hr> | ||
| − | + | #Scroll down to <b>Configuration</b>. | |
| + | #Under <b>SSID</b> select the wireless network you are going to connect to. | ||
{{img | width = 750px | file = ROAM Bridge Wireless 02.png}} | {{img | width = 750px | file = ROAM Bridge Wireless 02.png}} | ||
<hr> | <hr> | ||
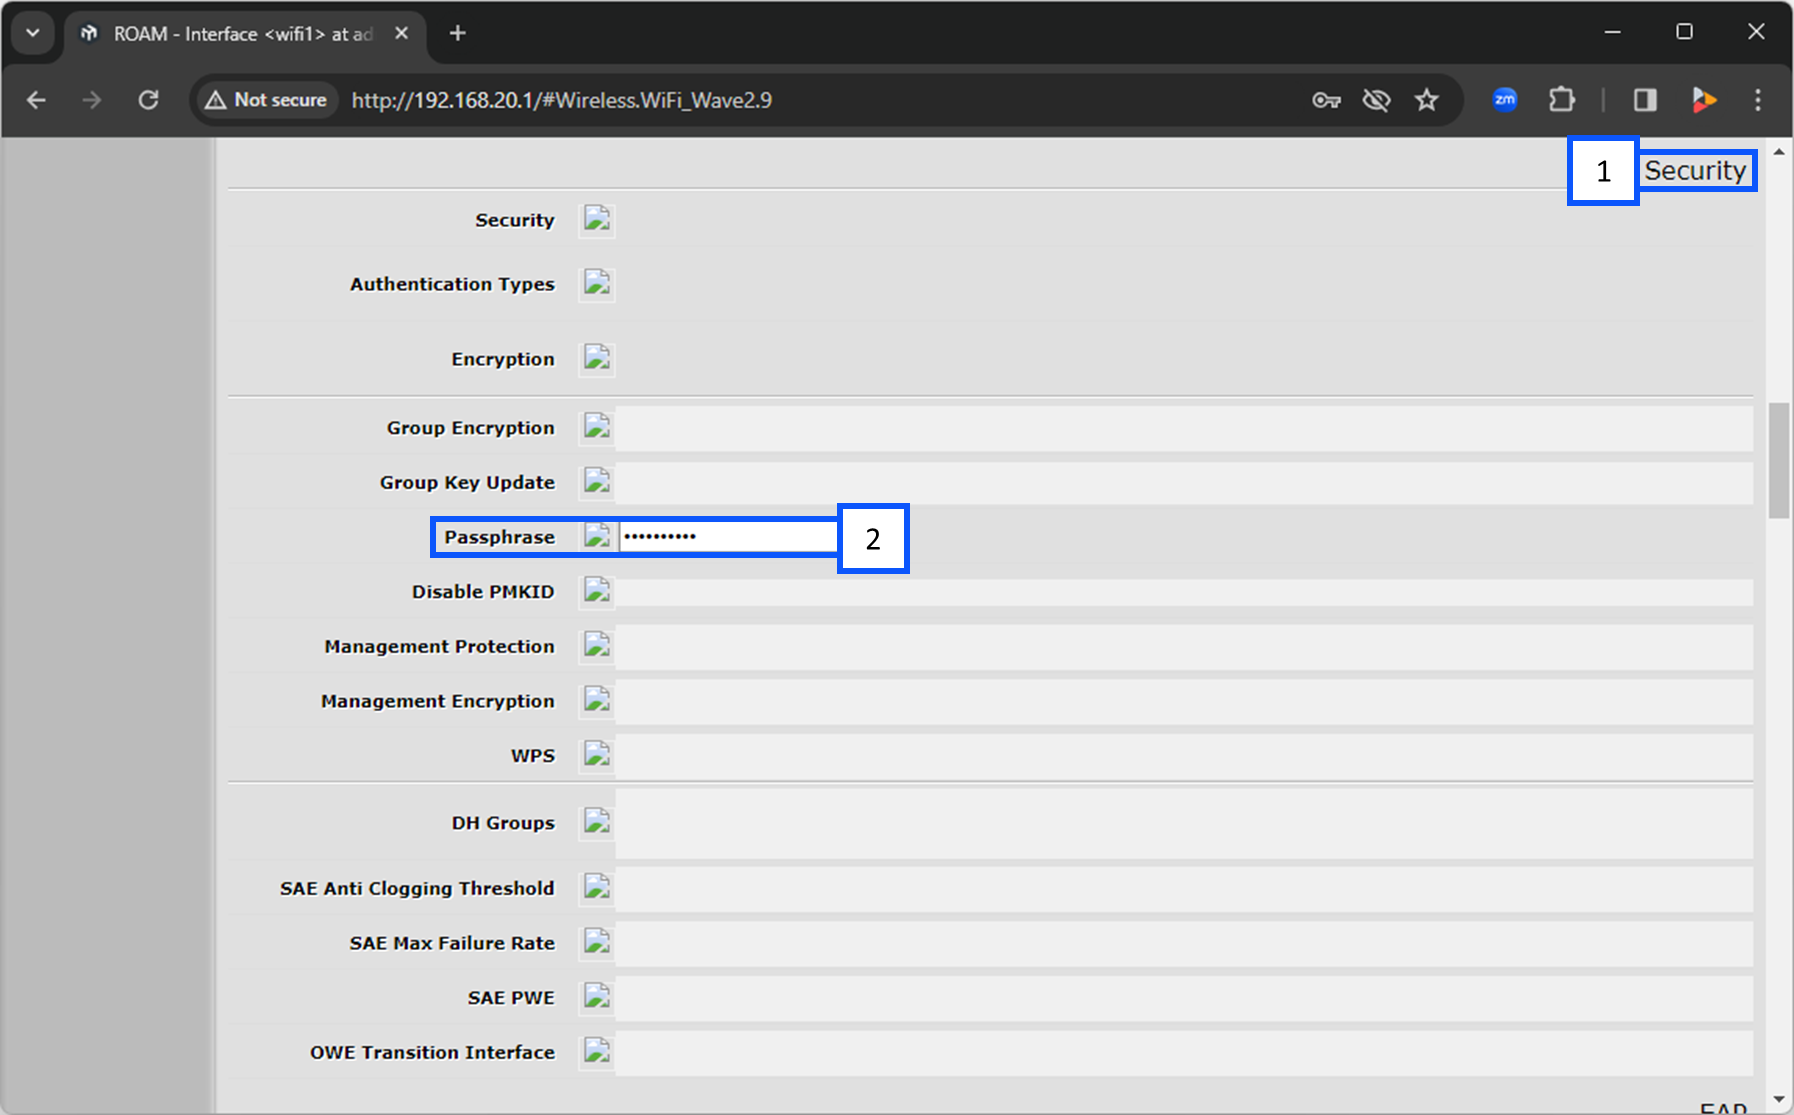
| − | + | #Continue scrolling down to <b>Security</b>. | |
| + | #Under <b>Passphrase</b>, enter in the password for the wireless network you selected above. | ||
{{img | width = 750px | file = ROAM Bridge Wireless 03.png}} | {{img | width = 750px | file = ROAM Bridge Wireless 03.png}} | ||
| Line 44: | Line 46: | ||
==Locate DHCP Address of the Bridge== | ==Locate DHCP Address of the Bridge== | ||
| − | + | #Navigate to <b>IP</b>. | |
| − | + | #Click on <b>DHCP Client</b>. | |
| − | + | #:From there, you will see the <b>IP Address</b> for wifi1. | |
| − | |||
| − | From there, you will see the <b>IP Address</b> for wifi1. | ||
}} | }} | ||
Revision as of 11:57, 27 February 2024
Contents
ROAM Bridge
Physical Device
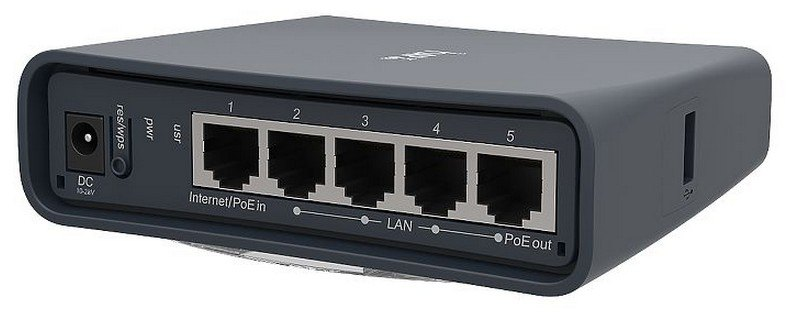
Accessing the ROAM Bridge
To access the ROAM Bridge, it must be powered and connected to the network.
✎You can also access the device by connecting a laptop or computer directly to the deivce.
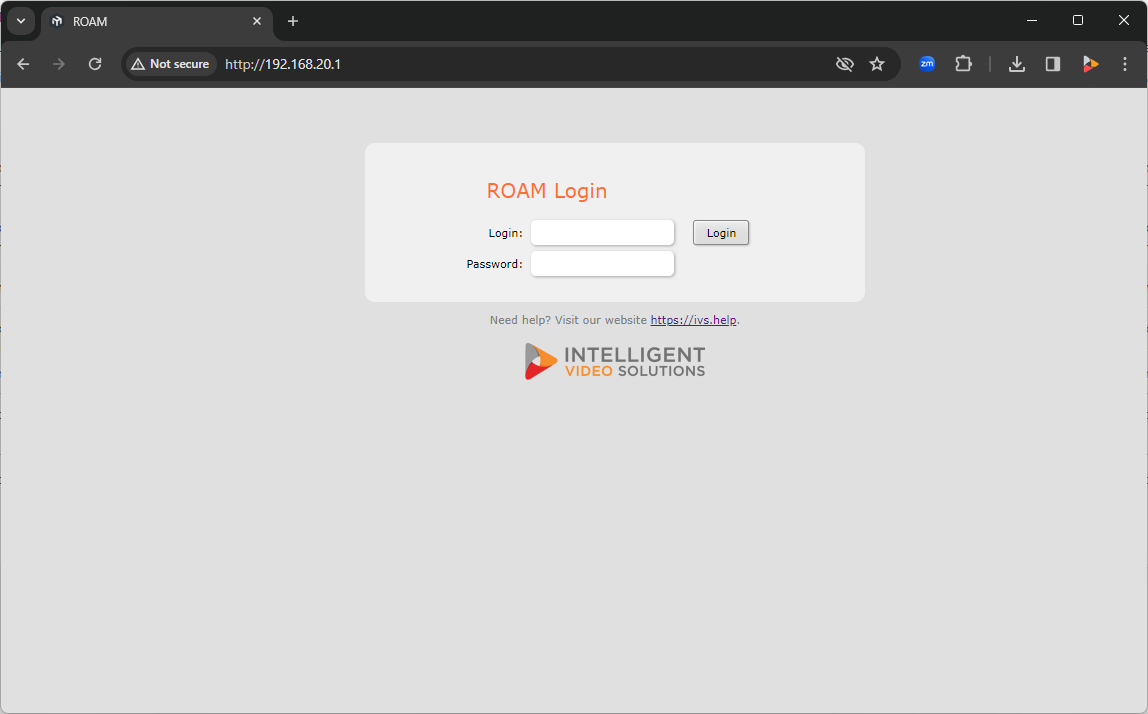
Once on the network, please navigate to the IP of the bridge, and enter the credentials.
- User:
- admin
- Password:
- admin51
Configure Wireless
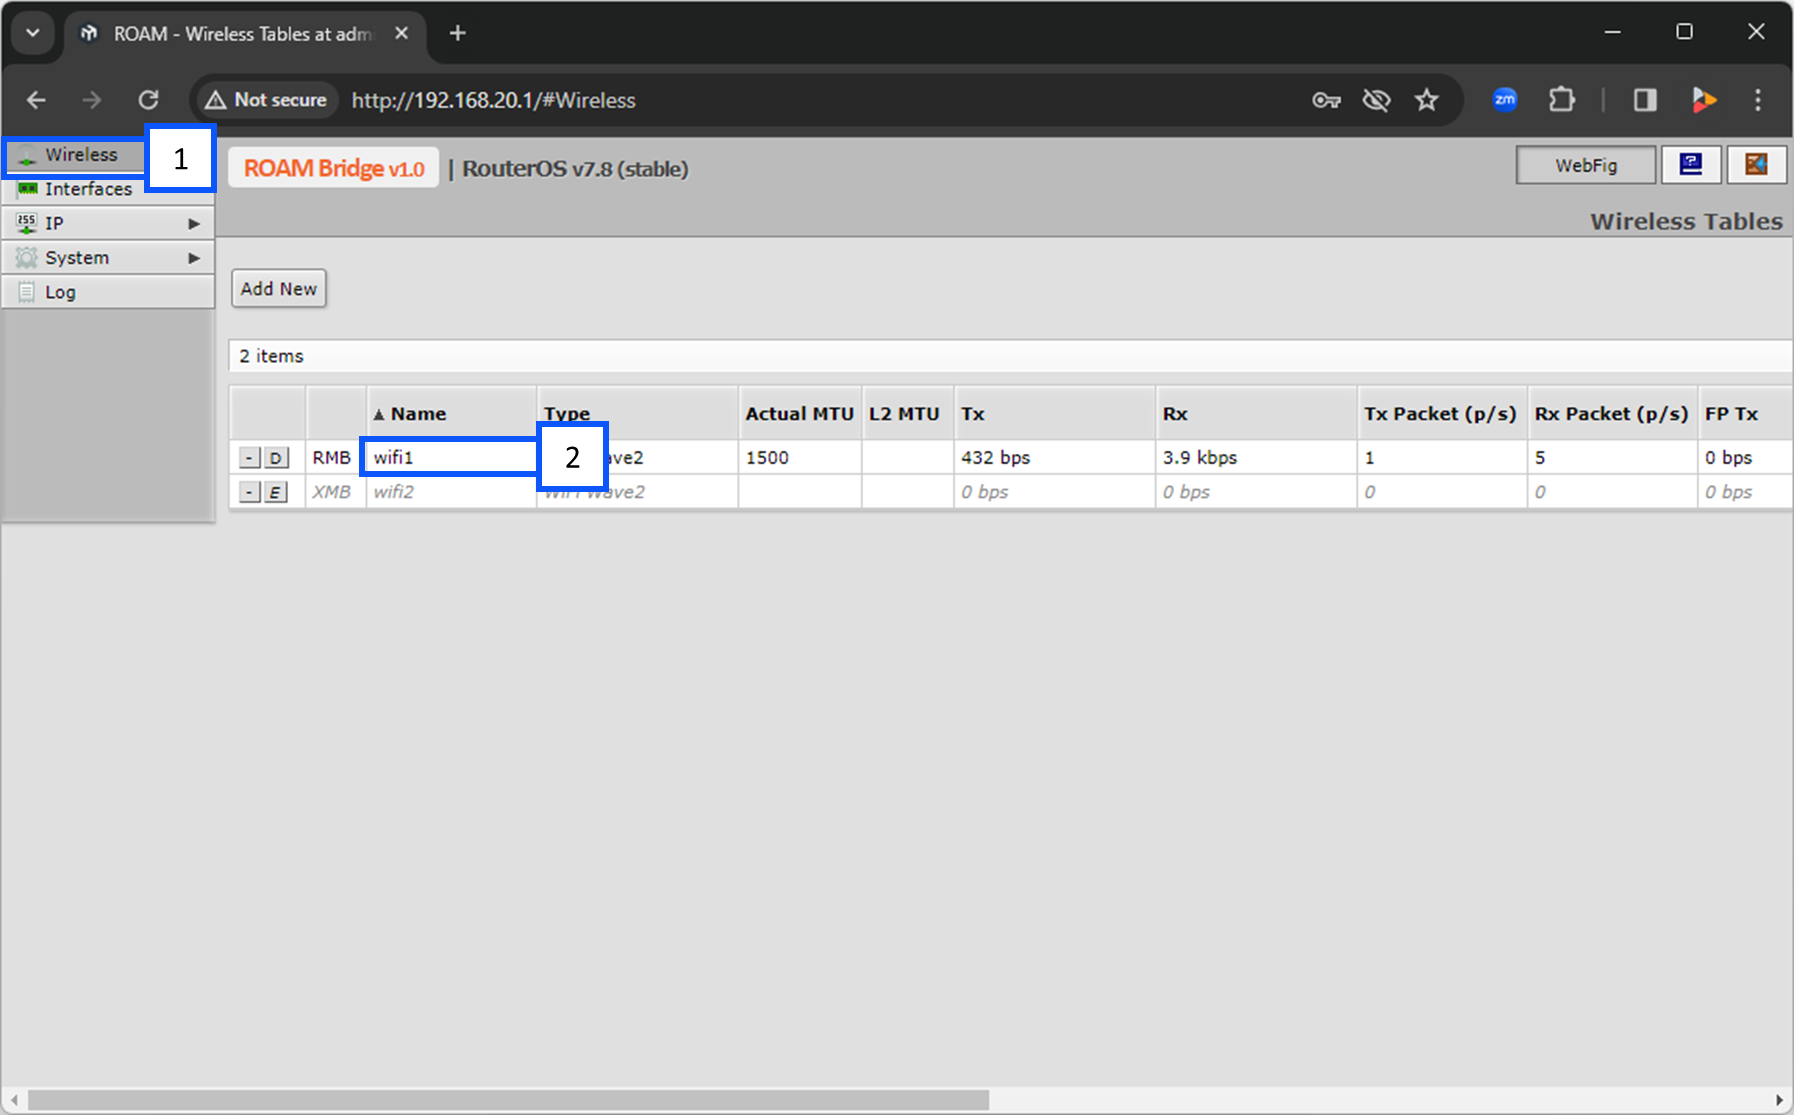
🕮To the left of wifi1, you will see a box with [E] or [D]. Make sure this is showing a [D]. This means that is is enabled. The letter D is prompting you to disable wifi1.
- Select Wireless.
- Click on wifi1.
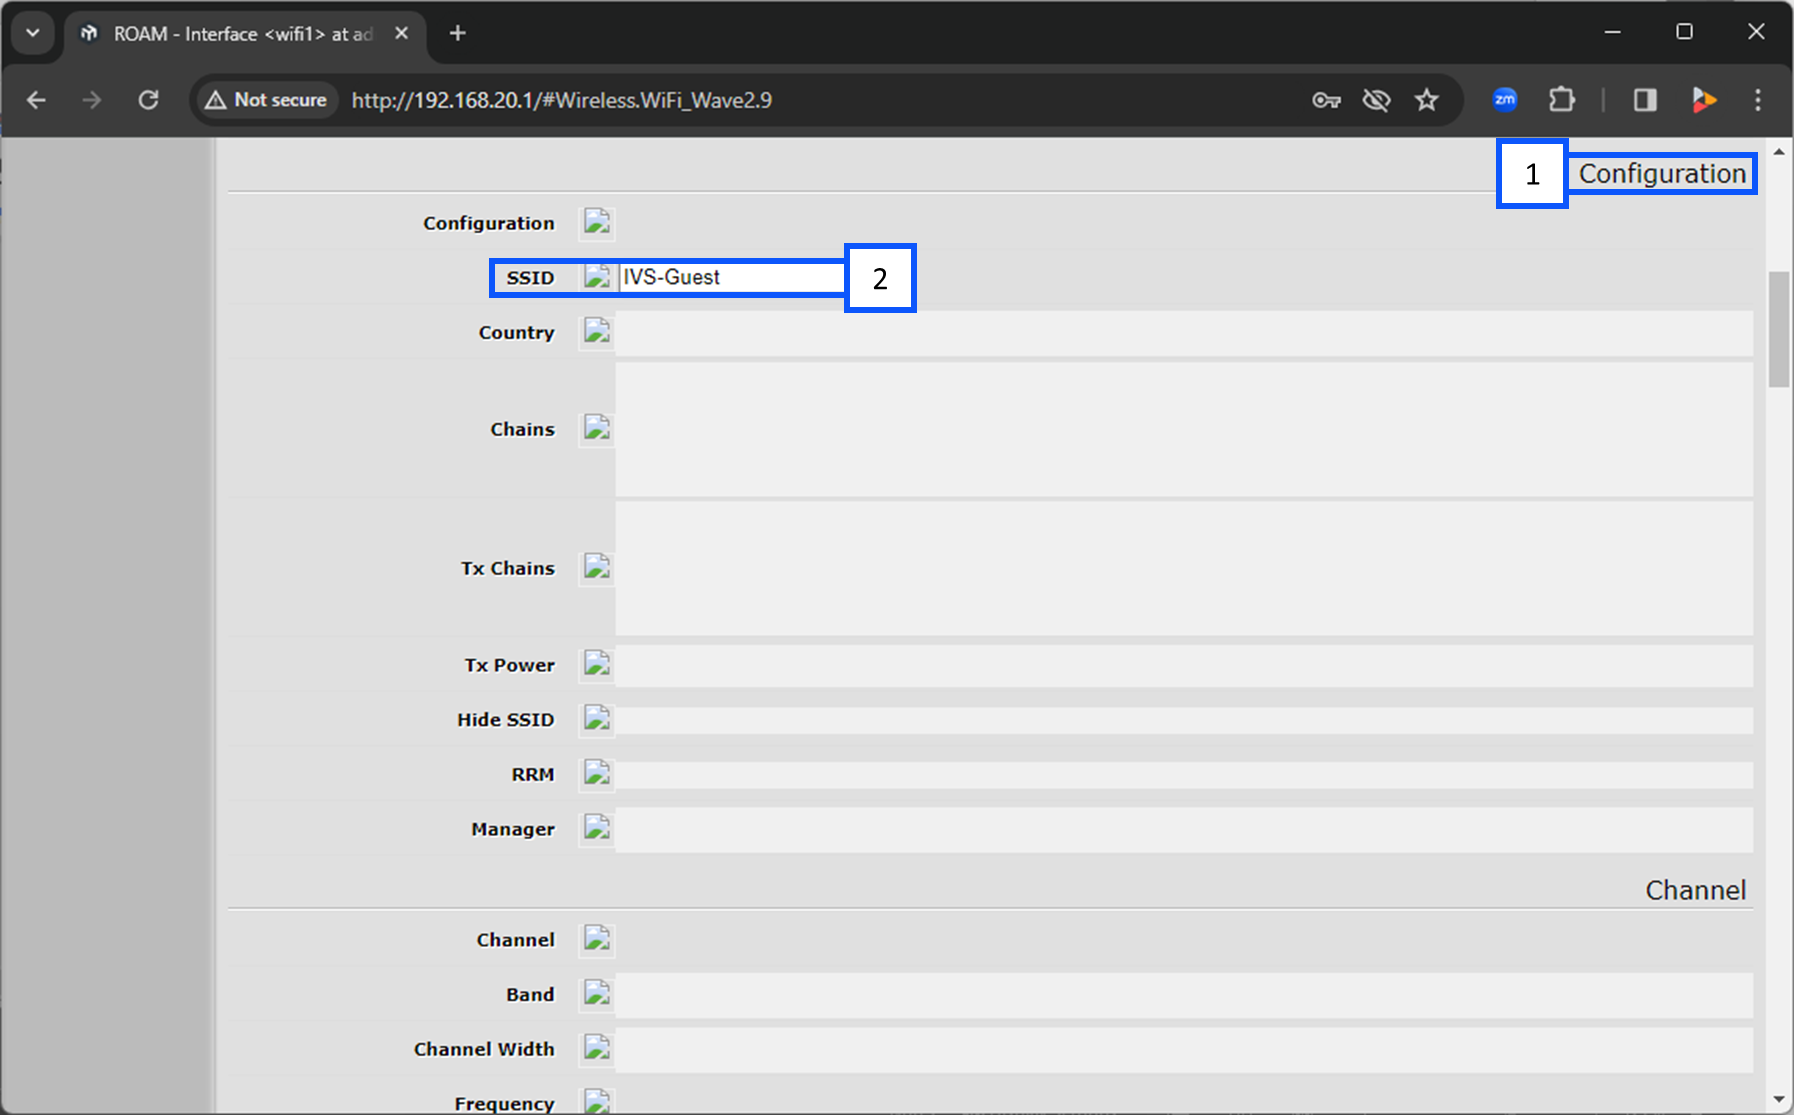
- Scroll down to Configuration.
- Under SSID select the wireless network you are going to connect to.
- Continue scrolling down to Security.
- Under Passphrase, enter in the password for the wireless network you selected above.
Locate DHCP Address of the Bridge
- Navigate to IP.
- Click on DHCP Client.
- From there, you will see the IP Address for wifi1.