Template:Configure IP Address - VM
Set the IP
1)Enter Option 1 for Network Configuration
2) Enter Option 2 for Set IPs
3) Select your interface from the options listed.
4) Select Static or DHCP
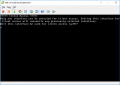
5) Type Y when to configure this interface for client access.
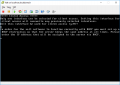
6) Enter the IP Address of the interface when prompted. 6) Enter the IP Address of the interface when prompted. 6) Enter the IP Address of the interface when prompted. 6) Enter the IP Address of the interface when prompted.


1)Enter Option 1 for Network Configuration
2) Enter Option 2 for Set IPs
3) Select your interface from the options listed.
4) Select Static or DHCP
5) Type Y when to configure this interface for client access.
6) Enter the IP Address of the interface when prompted. 6) Enter the IP Address of the interface when prompted. 6) Enter the IP Address of the interface when prompted. 6) Enter the IP Address of the interface when prompted.
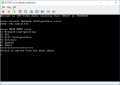
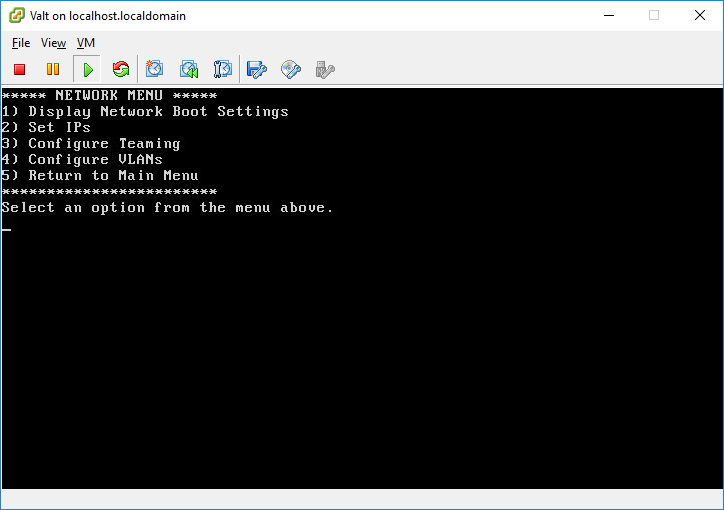
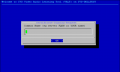
- Access the VALT Server Command Line Menu.
- This menu is presented automatically at the VALT server terminal. It can also be accessed via ssh by running the following command from the prompt:
sudo /usr/local/valt/bin/Menu
-
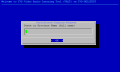
- Enter Option 1 for Network Configuration.
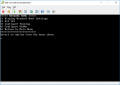
-
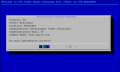
- Enter Option 2 for Set IPs.
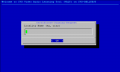
-
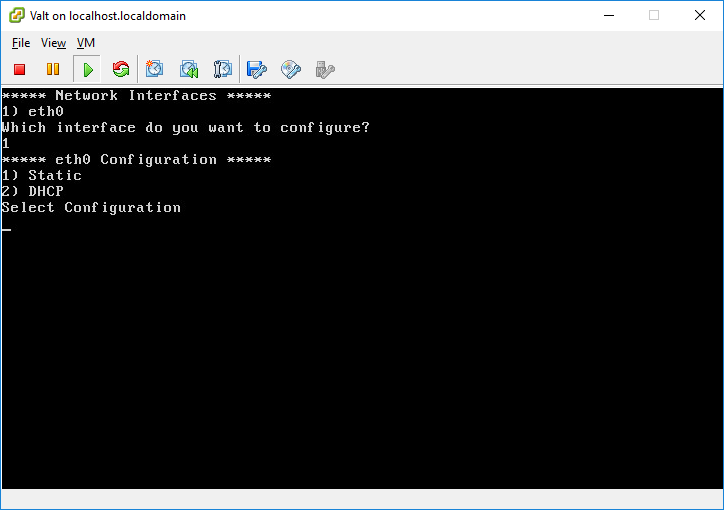
- Select your interface from the options listed.
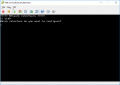
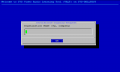
-
- Select Static or DHCP.
- For this example we will select DHCP
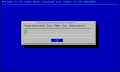
-
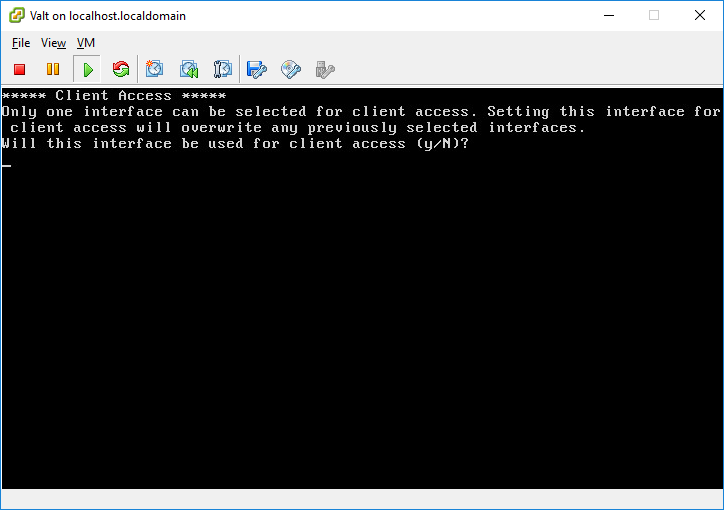
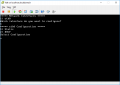
- Type Y when to configure this interface for client access.
-
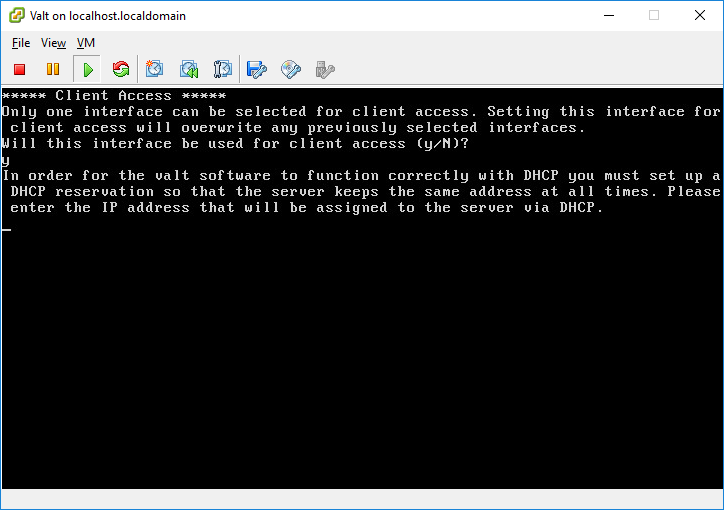
- Enter the IP Address of the interface when prompted.


1. Enter a name for the private key file.
2. Enter a name for the CSR.
3. Enter your two letter country code.
4. Enter your state or province name.
5. Enter your locality name.
6. Enter your organization name.
7. Enter your organizational unit name.
8. Enter the fully qualified domain name of your VALT appliance.
- Note: This MUST match the DNS entry for your VALT appliance or when clients connect they will receive a certificate warning.
9. Confirm the information entered is correct.


