Template:Connect the Microphone MX202 and STM1
From IVS Wiki
Connecting and Mounting the Microphone
- Asses the drop ceiling to decide best mounting placement for the MX202i. Avoid tiles adjacent to HVAC or fire safety devices.
- Drill a hole into the center of the single gang plate using the ½” paddle bit (if not prefabricated).
- Measure center of the drop ceiling tile and drill a similar hole with the ½” paddle bit.
- Align the single gang plate to the location of the microphone on the drop ceiling tile using a pair of toggle bolts.
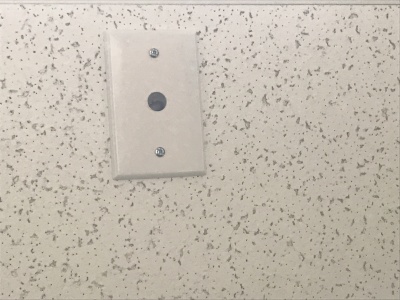
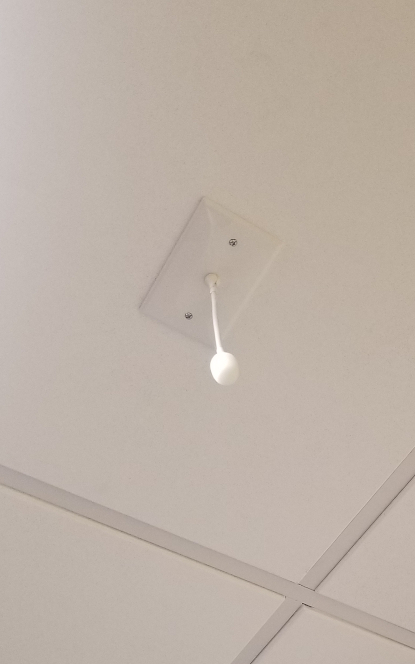
- Run the MX202i through the ½” hole in the ceiling tile and single gang plate with the rubber stopper to secure the microphone in place and plugging the ½” hole .
- Adjust the length of the cable of the microphone to a desirable length, hiding the remainder in the ceiling near the STM-1. Attach the windscreen to the MX202i.
- Run the XLR mini cable to the STM-1 location.
- Connect the connect the XLR mini to the 4 pin Male XLR adapter.
- Strip away a portion of the red and black cables inside the pigtail, revealing the copper wire inside.
- The microphone will be connected via the input terminals of the STM-1 (Red to +, Black to -, ground to the ground terminal).
- Connect the female XLR to the Male XLR adapter

