Template:VALT Server Migration
Contents
Note: Change IP's in the below commands to match the IP's of the new and old server
On the Old Server
- Disable the Apache web service to prevent further recordings:
-
sudo service apache2 stop
-
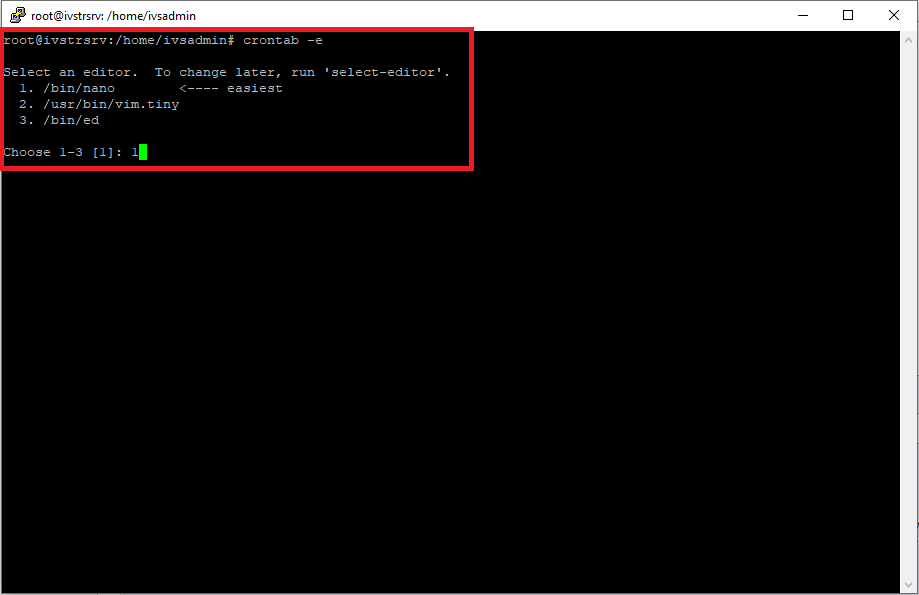
- Disable the restart Wowza cronjob:
- - Type in the following command:
-
crontab -e - - Press 1 to continue
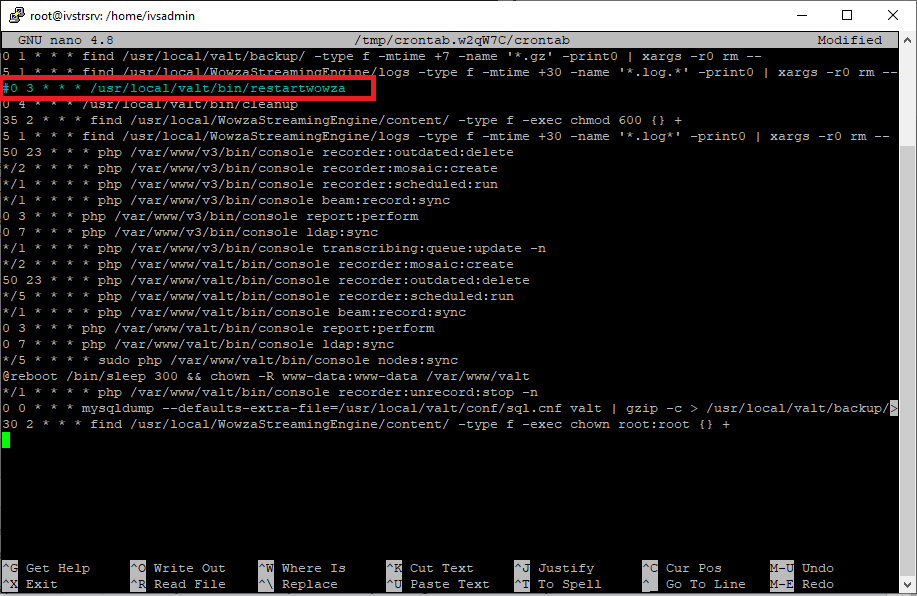
- Comment out the following job:
- Press CTRL + X to exit
- Press Y to save
0 3 * * * /usr/local/valt/bin/restartwowza
- Type in the following, then press Enter:
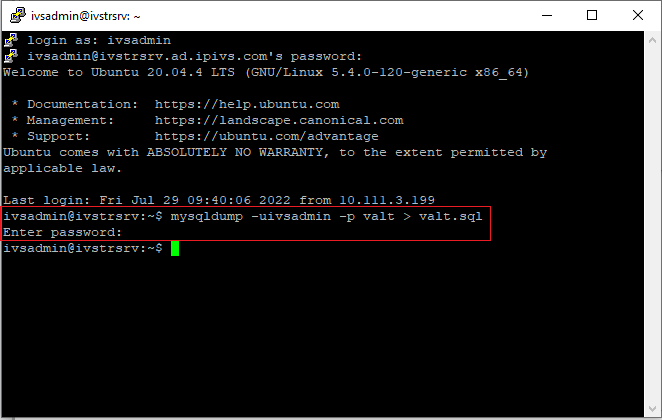
- Type in the following, then press Enter:
- Enter in the MySQL password and press Enter:
sudo chmod 777 -R /usr/local/WowzaStreamingEngine/content/
mysqldump -uivsadmin -p valt > valt.sql
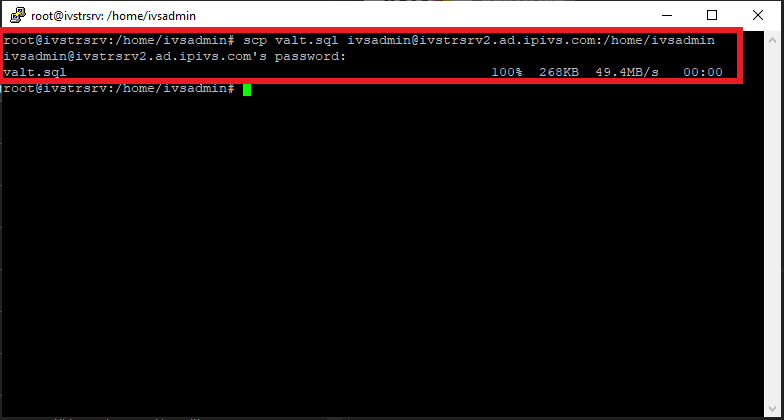
- Copy over the database file to the new server
- Enter password for ivsadmin and press Enter:
scp valt.sql ivsadmin@NewServerIP:/home/ivsadmin/
On the New Server
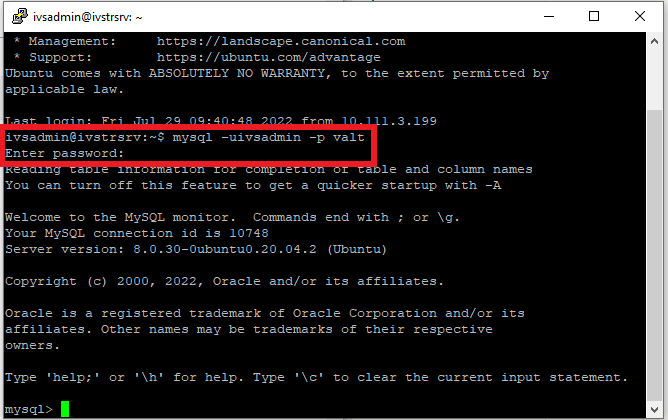
- Type in the following and press Enter:
-
mysql -uivsadmin -p valt
-
- Enter in the MySQL password and press Enter:
- Type in the following and press Enter:
DROP database valt;
- :
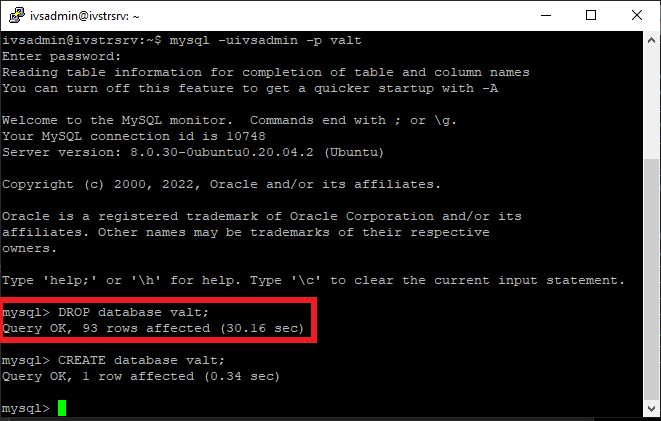

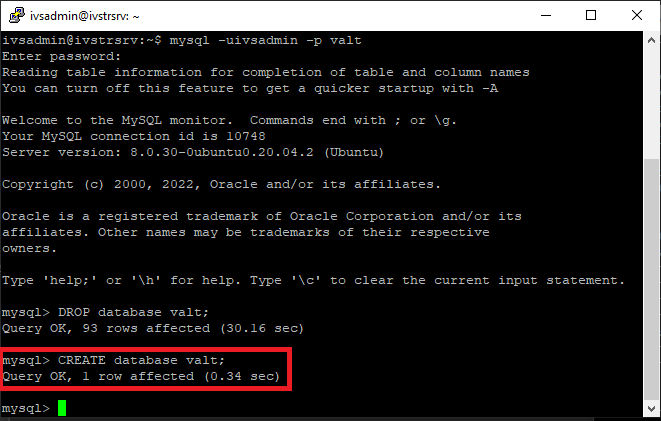
- Type in the following and press Enter:
CREATE database valt;
- :

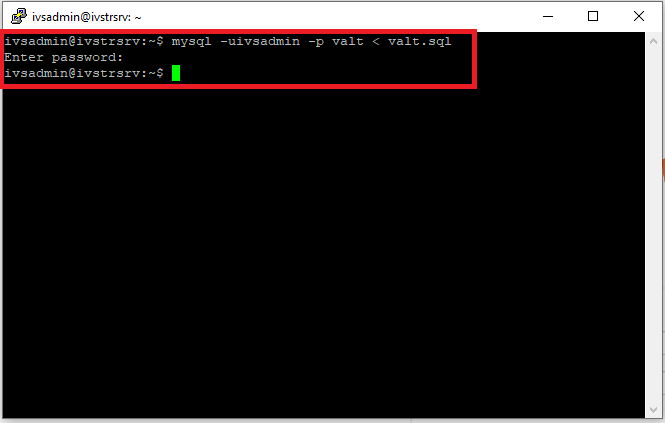
- Type in the following and press Enter:
- Type in the following and press Enter:
- Enter in the MySQL password and press Enter:
exit
mysql -uivsadmin -p valt < valt.sql
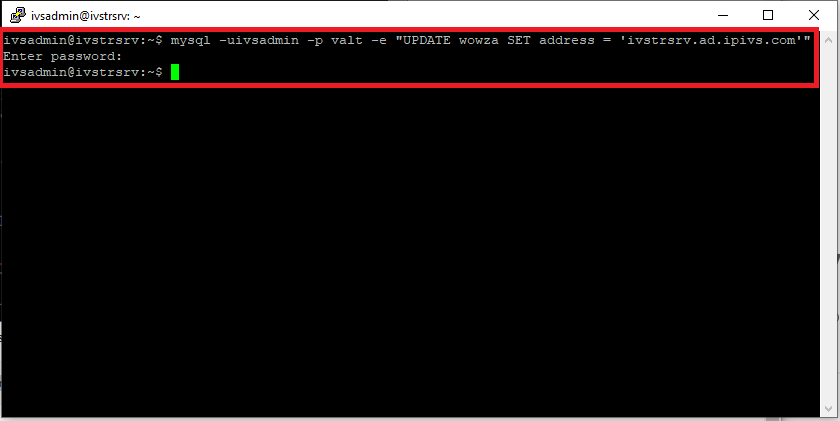
- Type in the following and press Enter:
- Enter in the MySQL password and press Enter:
mysql -uivsadmin -p valt -e "UPDATE wowza SET address = 'NewServerIP'"
- Type in the following, then press Enter:
- When prompted, type yes to continue connecting to the server:
- Type in the ivsadmin password and press Enter:
✎It can be useful to run the migration in a screen. Use screen -S video_migration to start a named session.
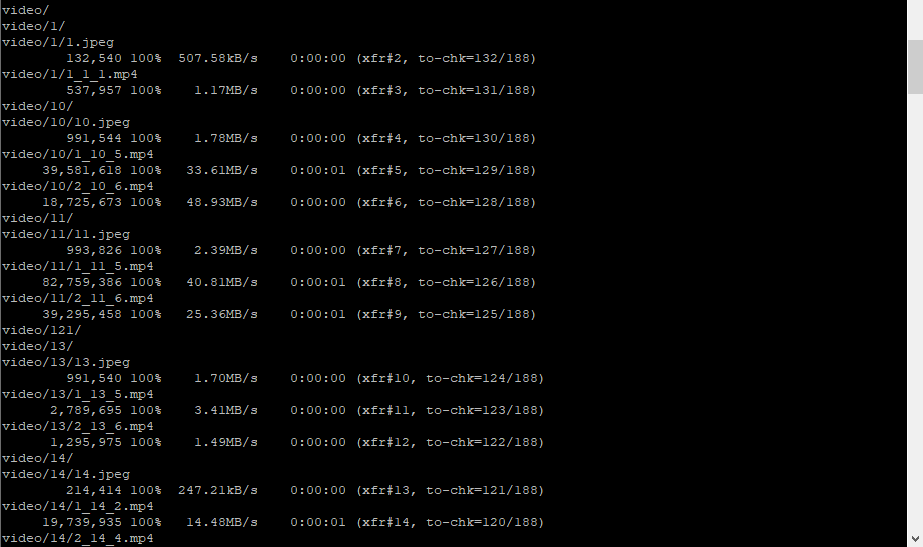
sudo rsync -av --progress ivsadmin@OldServerIP:/usr/local/WowzaStreamingEngine/content/valt_recordings/* /usr/local/WowzaStreamingEngine/content/valt_recordings/

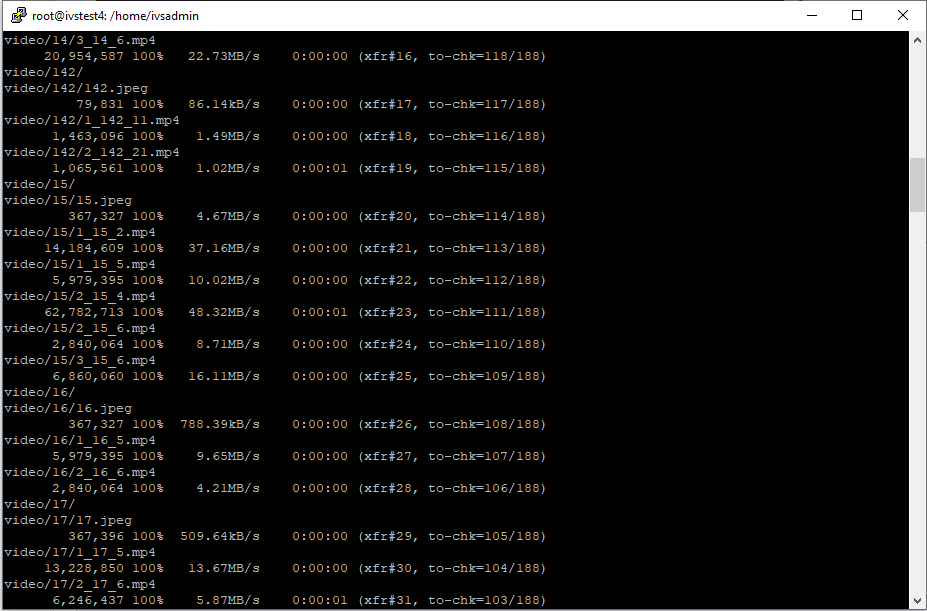
- The video files will begin copying over to the new server and will look like this:
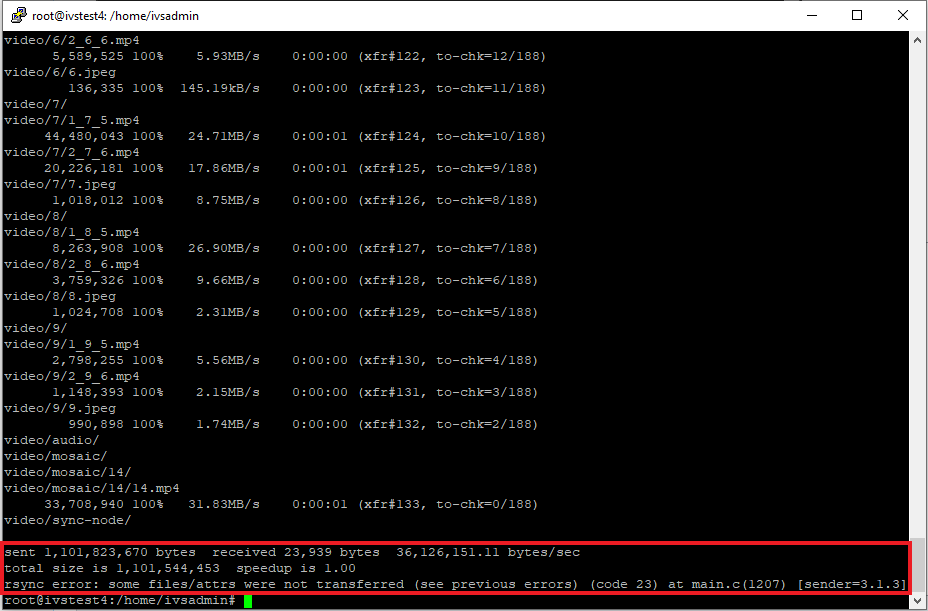
Things to note:
- Depending on the amount of video files, it may take some time for all of the files to transfer
- Assuming the copy is running at a full 1GB link, it will take about 2.8 hours per 1 TB of data
- After the video files are done copying over, you will see a confirmation message similar to the one below:
After the files have been copied over, navigate to the VALT webpage on the new server and verify that all of the files are there.