Difference between revisions of "Update Ubuntu from 14.04 LTS to 16.04 LTS"
IVSWikiBlue (talk | contribs) (Created page with "'''You must have internet access on the Valt appliance to perform this upgrade. The steps below may vary slight based on each individual installation.''' '''WARNING: If probl...") |
IVSWikiBlue (talk | contribs) |
||
| Line 28: | Line 28: | ||
# After the system has rebooted, connect to the appliance again via SSH | # After the system has rebooted, connect to the appliance again via SSH | ||
# Type '''sudo apt-get remove phpmyadmin -y''' and press enter. | # Type '''sudo apt-get remove phpmyadmin -y''' and press enter. | ||
| − | |||
| − | |||
| − | |||
# Type '''sudo apt-get install software-properties-common -y''' and press enter. | # Type '''sudo apt-get install software-properties-common -y''' and press enter. | ||
# Type '''sudo add-apt-repository ppa:certbot/certbot -y''' and press enter. | # Type '''sudo add-apt-repository ppa:certbot/certbot -y''' and press enter. | ||
| Line 36: | Line 33: | ||
# Type '''sudo apt-get upgrade -y''' and press enter. | # Type '''sudo apt-get upgrade -y''' and press enter. | ||
# Type '''sudo apt-get install php nano wget default-jdk lshw iptables iptables-persistent htop ifenslave vlan ntp parted slapd ldap-utils phpmyadmin php-ldap php-curl php-intl php7.0-zip dialog python-certbot-apache -y''' and press enter. | # Type '''sudo apt-get install php nano wget default-jdk lshw iptables iptables-persistent htop ifenslave vlan ntp parted slapd ldap-utils phpmyadmin php-ldap php-curl php-intl php7.0-zip dialog python-certbot-apache -y''' and press enter. | ||
| + | # Type '''sudo apt-get autoremove -y''' and press enter. | ||
# Type '''sudo rm /etc/init.d/valtcontrols''' and press enter. | # Type '''sudo rm /etc/init.d/valtcontrols''' and press enter. | ||
# Type '''sudo cp -r /home/ivsadmin/ValtInstall/etc/systemd /etc''' and press enter. | # Type '''sudo cp -r /home/ivsadmin/ValtInstall/etc/systemd /etc''' and press enter. | ||
# Type '''sudo systemctl enable valtcontrols.service''' and press enter. | # Type '''sudo systemctl enable valtcontrols.service''' and press enter. | ||
| − | |||
# Type '''sudo cp /home/ivsadmin/ValtInstall/etc/php5/apache2/php.ini /etc/php/7.0/apache2/php.ini''' and press enter. | # Type '''sudo cp /home/ivsadmin/ValtInstall/etc/php5/apache2/php.ini /etc/php/7.0/apache2/php.ini''' and press enter. | ||
# Type '''sudo reboot''' and press enter. | # Type '''sudo reboot''' and press enter. | ||
Revision as of 14:17, 3 October 2018
You must have internet access on the Valt appliance to perform this upgrade. The steps below may vary slight based on each individual installation.
WARNING: If problems occur during the update, the system may become inaccessible. It is strongly advised that you have a large maintenance window to perform this update and that you or someone else can access the console in the event of a failure.
- Connect to the Valt appliance via ssh.
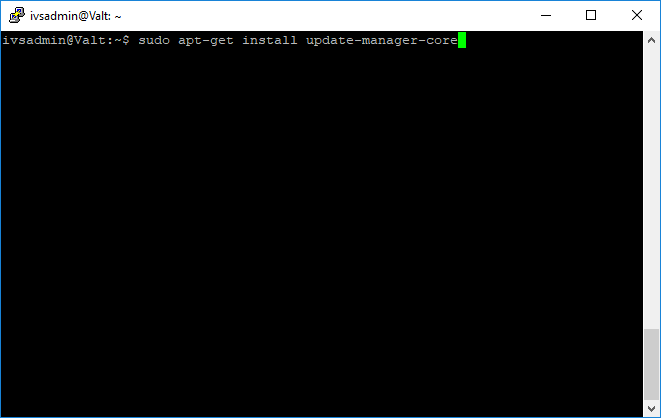
- Type sudo apt-get install update-manager-core -y and press enter.
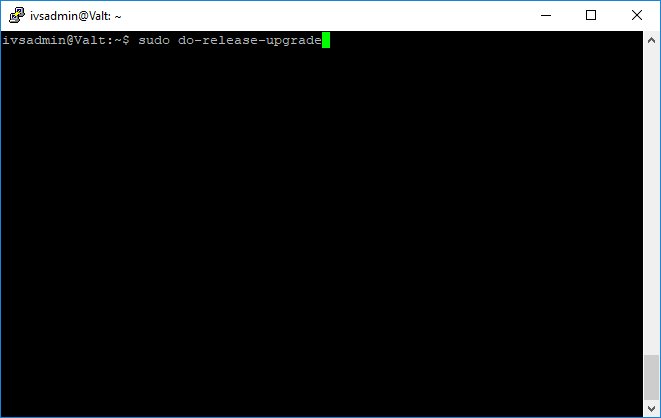
- Type do-release-upgrade and press enter.
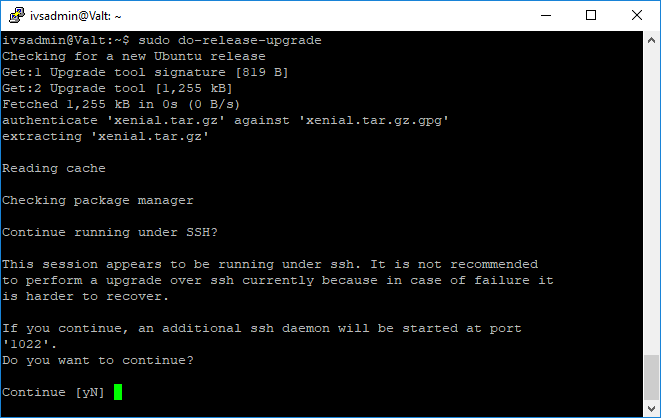
- When prompted, enter Y to continue.
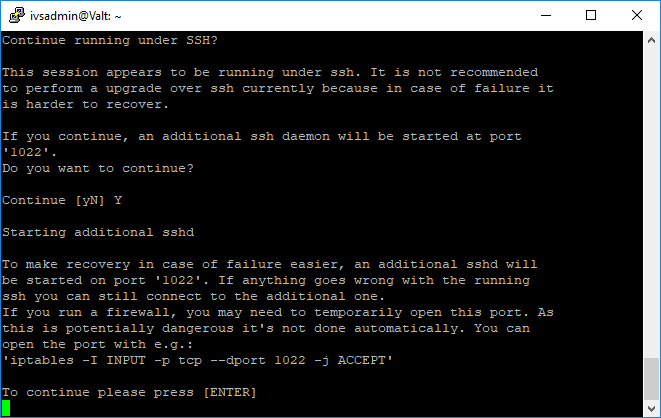
- When prompted, press enter to continue.
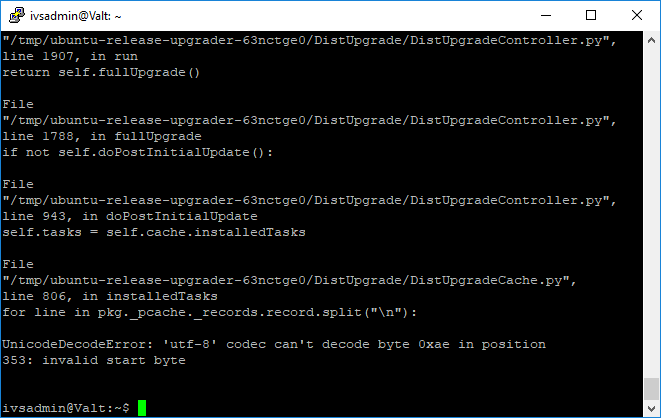
- If you encounter an error similar to the picture below, please see the following article:Unable to Upgrade Ubuntu
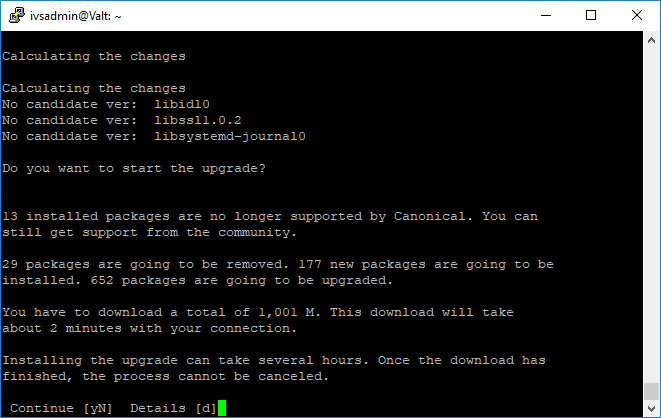
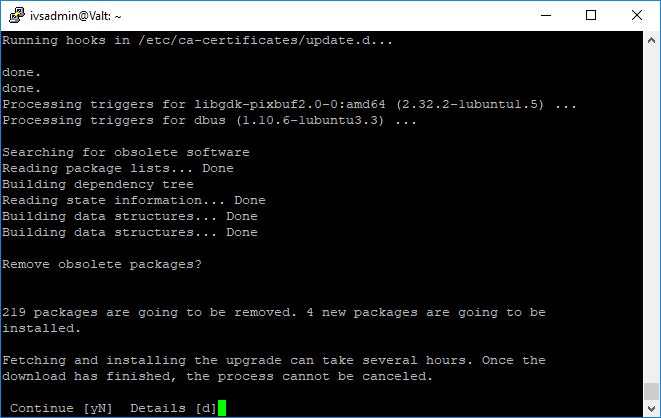
- When prompted, enter Y to continue.
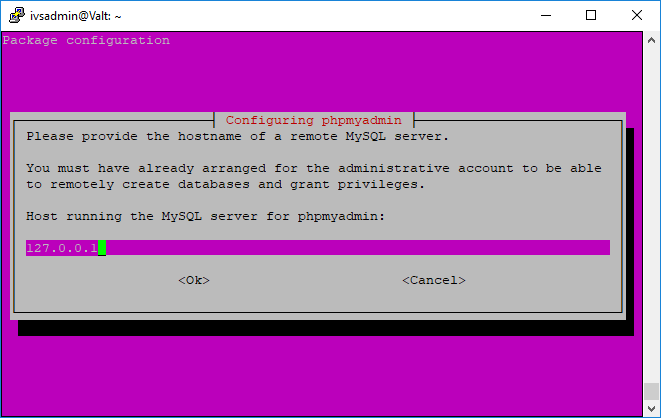
- When prompted, enter 127.0.0.1 for the host running the MySQL server.
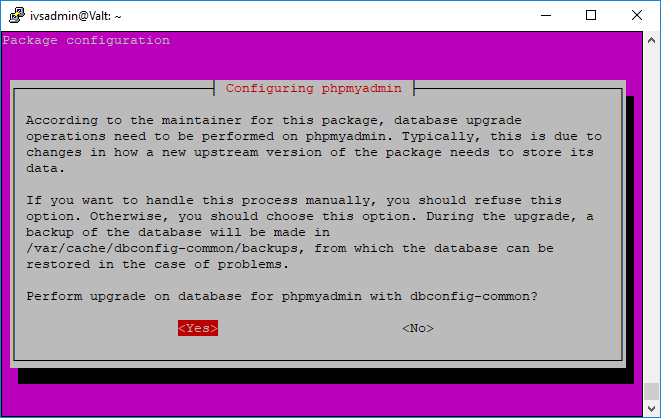
- When prompted, select No to perform the update on phpmyadmin.
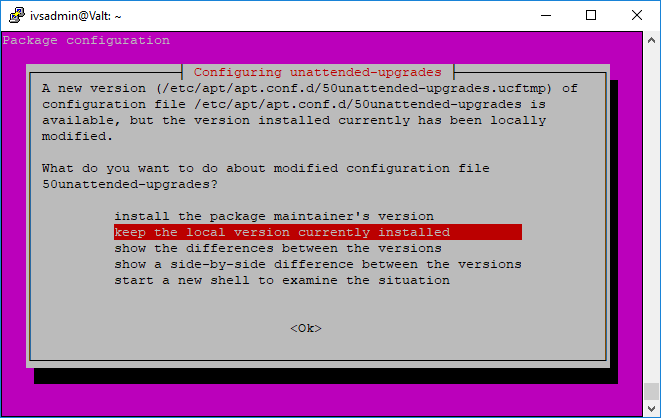
- Select Keep the local version currently installed
- When prompted, enter Y to continue.
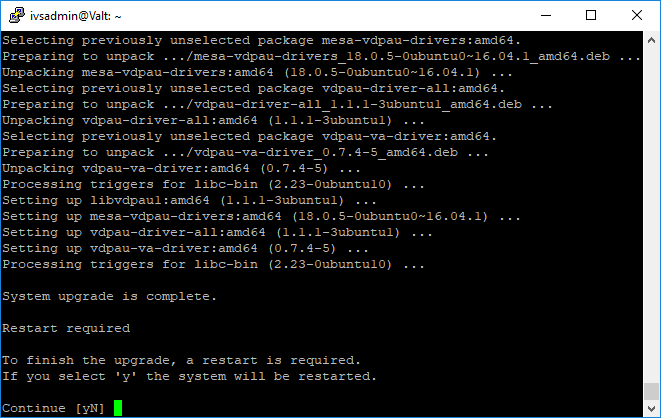
- When prompted, enter Y to reboot.
- After the system has rebooted, connect to the appliance again via SSH
- Type sudo apt-get remove phpmyadmin -y and press enter.
- Type sudo apt-get install software-properties-common -y and press enter.
- Type sudo add-apt-repository ppa:certbot/certbot -y and press enter.
- Type sudo apt-get update and press enter.
- Type sudo apt-get upgrade -y and press enter.
- Type sudo apt-get install php nano wget default-jdk lshw iptables iptables-persistent htop ifenslave vlan ntp parted slapd ldap-utils phpmyadmin php-ldap php-curl php-intl php7.0-zip dialog python-certbot-apache -y and press enter.
- Type sudo apt-get autoremove -y and press enter.
- Type sudo rm /etc/init.d/valtcontrols and press enter.
- Type sudo cp -r /home/ivsadmin/ValtInstall/etc/systemd /etc and press enter.
- Type sudo systemctl enable valtcontrols.service and press enter.
- Type sudo cp /home/ivsadmin/ValtInstall/etc/php5/apache2/php.ini /etc/php/7.0/apache2/php.ini and press enter.
- Type sudo reboot and press enter.
