Canvas Settings
Canvas Settings
In addition to the Tesira software, which will allow us to build a processing and routing configuration for the Forte DSP, we can also use Canvas, Biamp's adjacent software, to build a user interface for a customer. This will allow the customer to adjust almost any audio parameter within their Tesira system, such as speaker volume, or allow them to choose between different microphones, for example.
In this section, we will look at settings for a Canvas User Interface file.
How to Connect to a Live System
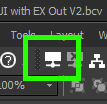
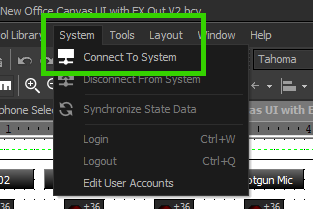
Once you have downloaded and launched the Canvas software, click the Connect to System button, or select System > Connect to System.
Exit Button Control

- Once the Button Control is placed and renamed "Exit", under DSP Properties, select "Application" for DSP Block Type and "Exit" for "Service".
Options
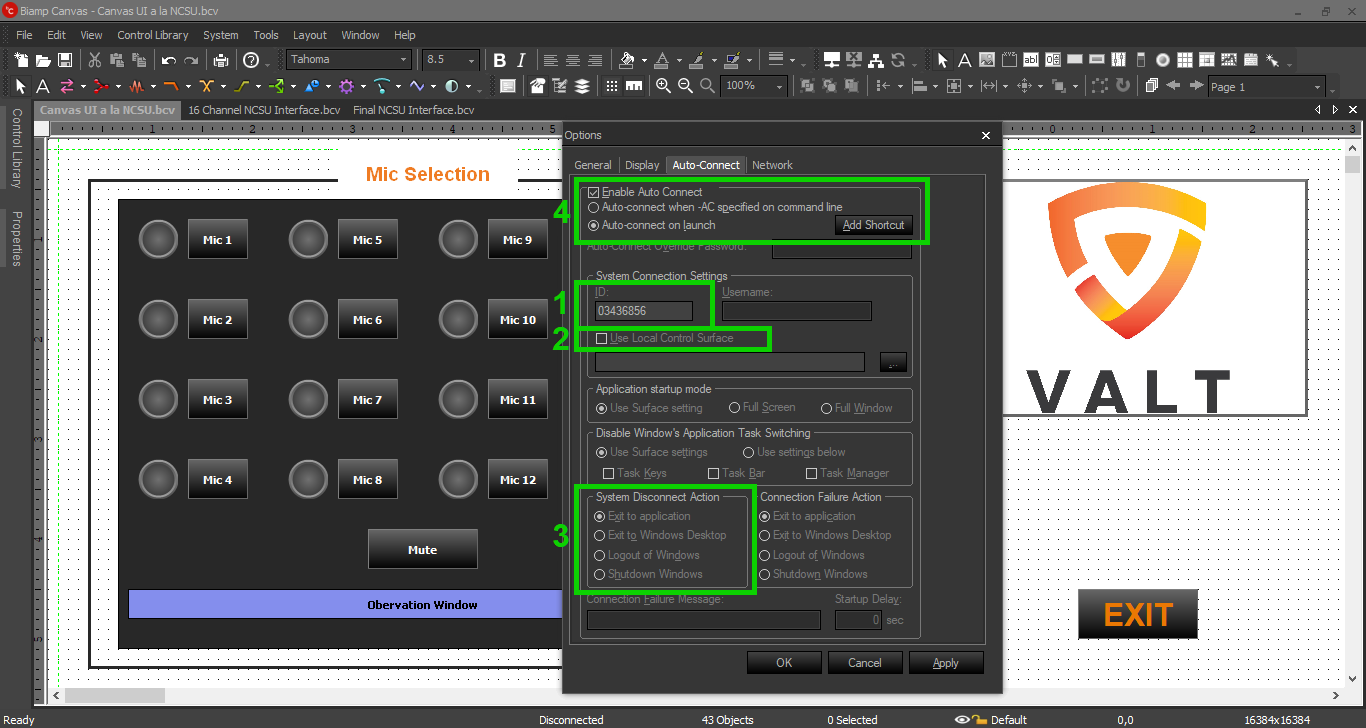
- System ID: Get this number from the Tesira config (from Device Maintenance; in the Devices and Networking section)
- Use local control surface: If there is more than one computer with a Canvas UI attached to the same Tesira Forte, the Canvas file must be stored locally on each computer. Select this option if this is the case
- System disconnect: Select an appropriate option in the case that Canvas becomes disconnected from the Tesira. "Exit to Application" is usually best; it will help IVS troubleshoot if need be
- Auto connect: After all other changes are made and options are selected, enable auto-connect here. Adding a desktop shortcut is usually the most convenient
Auto Connect Shortcut