Command Line Menu
Contents
The terminal window will automatically boot up to the command line menu. If you access the terminal and are presented with a shell prompt, type exit and press enter. You should be returned to the command line menu.
If accessing the appliance via SSH, you can start the command line menu by executing the following command:
sudo /usr/local/valt/bin/VALTMenu
Note: The VALT command line menu is designed for use in configuration of the VALT appliance. If you perform any configuration outside the menu (such as setting an ip address), the menu may cease to function properly.
The menu map below details all of the options in the command line menu. Click on a section of the menu for more detailed information regarding that option.
Main Menu
The main menu displays the current IP configuration and serves as a central navigation point for the command line menu.

Network Configuration
The network menu contains all options related to network configuration. From this menu you can display the current network configuration, set IP addresses, as well as configure VLANs and NIC teaming.

Display Network Boot Settings

This menu option will display the current boot configuration. This configuration may or may not be currently active. This configuration will become active the next time the Valt appliance is rebooted. Additionally, this options displays the current client access IP address. Each VALT implementation can only have a single client access IP address. This is the IP address that you will navigate to in a web browser to access the VALT application.
Set IPs
This menu option will allow you to configure a static IP address or configure an interface for DHCP.
- Select your interface from the options listed.
-
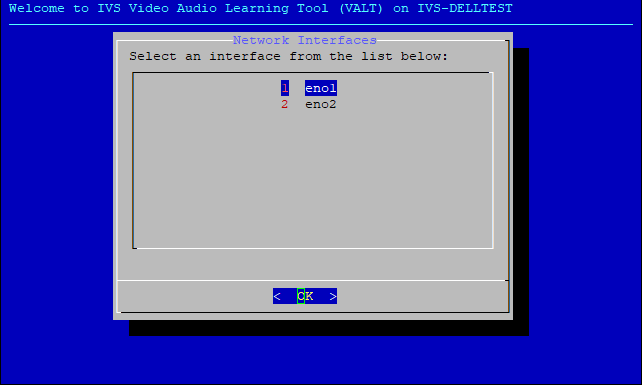
- Note: If you want to configure a teamed interface or a VLAN, you must first configure VLAN or teaming, then these interfaces will be displayed as options to set an IP address on.
-

- Select Static or DHCP.
-

Static
- Enter an IP address for the interface in the format ###.###.###.###
-
- Enter a subnet mask for the interface in the format ##
- Click the link to see a CIDR Notation chart.
-

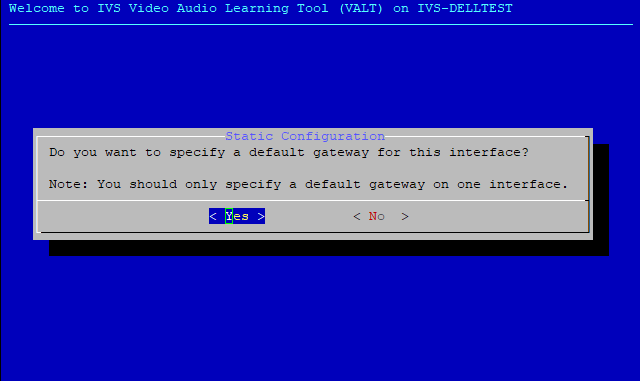
- You will be asked if you want to enter a gateway, enter Yes or No.
- Note: You should only enter a gateway for one interface. Defining more than one gateway may cause communications problems. Additionally, you do not need to define a gateway if the appliance does not need to communicate with devices (clients, cameras, internet access, etc) on another subnet.
-
- If you answered Yes, enter the gateway address for the interface in the format ###.###.###.###
-
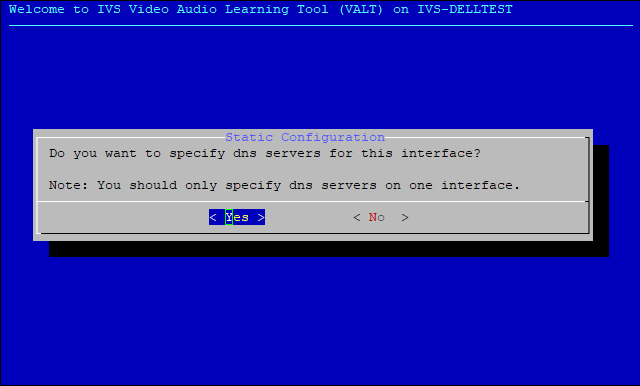
- You will be asked if you want to enter dns servers, enter Yes or No.
- Note: You only need to enter DNS servers on one interface. Entering DNS servers on multiple interfaces will not cause any problems, but it also will not provide any benefit. Additionally you do not need to provide DNS servers on any interface if the appliance will not have any internet access.
-
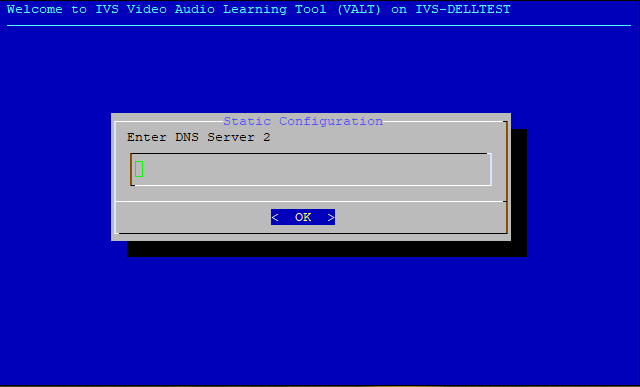
- If you answered Yes, enter two dns servers.
- If additional DNS servers are required, please contact VALT technical support
-
- Review the information you entered carefully. If everything is correct, enter Yes to continue. Otherwise enter No and you will be prompted to enter the configuration again.
-
- You will be asked if this interface will be utilized for client access, enter either Yes or No.
-

- Each VALT appliance must have one and only one interface designated for clients to access the appliance. The IP address of this interface is the address you will type into your web browser to access the VALT application. By designating an interface for client access, the menu will automatically configure the VALT software to listen on the IP address assigned to that interface. The changes will not take effect until the VALT appliance has been rebooted.
-
- Please reboot the Valt Server to complete changes.
-


DHCP
If you want to utilize DHCP to configure the IP address of the VALT appliance, you must set a DHCP reservation for the server.

- After selecting DHCP, you will be asked if this interface will be utilized for client access, enter either Yes or No.
- Each VALT appliance must have one and only one interface designated for clients to access the appliance. The IP address of this interface is the address you will type into your web browser to access the VALT application. By designating an interface for client access, the menu will automatically configure the VALT software to listen on the IP address assigned to that interface. The changes will not take effect until the VALT appliance has been rebooted.
- Enter the IP Address of the interface when prompted.
- If you have opted to configure the VALT appliance via DHCP, you will need to provide the IP address that has been reserved for the appliance. That IP address is utilized by the VALT software to listen for client access.
- Please reboot the VALT Server to complete changes.
Configure Teaming
The teaming menu is used to team or bond together multiple network interfaces. In order to create a team, you must have at least two network interfaces. Additionally these interfaces must not have any VLANS active. If you want to utilize VLAN on a teamed interface, first create the team and then add a VLAN to the teamed interface.

Display Current Teaming Status
This menu option will display current teaming status. If there is currently a team created, the members will be listed.
Create a new Team
Select this menu option to create a new team. VALT currently only supports one team. This is typically sufficient as VALT physical appliances ship with two network interfaces. If you require more than one team, please contact VALT technical support for assistance.

- Select the first interface to include in the team from the menu. This will be the primary interface in an active-standby configuration.
-
- Select the second interface to include in the team from the menu. This will be the secondary interface in an active-standby configuration. Notice the first interface no longer appears as an option.
-
- Select a teaming mode from the available options.
- balance-rr
- This mode utilizes both NIC simultaneously for additional throughput. The NICs must be connected to the same switch and it must be configured for teaming.
- active-backup
- This mode utilizes only one NIC at a time. The other NIC only becomes active if the primary NIC fails. This does not require any switch configuration and the NICs can each be connected to separate switches for redundancy.
- balance-rr


The team will now be created as interface bond0. This interface will be set to DHCP by default and will become active on the next reboot. Make sure to configure the IP address on bond0 prior to rebooting.
Delete Existing Team
Select this menu option to disable teaming. If you have teaming active, this must be done before you can add a VLAN or assign an IP address to one of the teamed NICs.
Configure VLANs
The VLAN menu is used to create VLANs on an interface. VLANs can only be added to unteamed interfaces. You can add a VLAN to a team, but not to the individual interfaces included in the team. If you need to add a VLAN to a teamed interface, you must first break the team.
Display Current VLANS
This menu option will display all VLANs currently configured.
Create new VLAN
This menu option will allow you to create additional VLANs.

- Select an interface from the list provided.
-
- Enter a VLAN ID
-
- The VLAN will now be created on that interface and will now be available to assign an IP address.


Delete Existing VLAN
This menu option will allow you to delete existing VLANs. Before an interface can be assigned to a team, you must first delete all VLANs associated with it.
HTTPS
The HTTPS menu is used for generating Certificate Signing Requests or installing certificates.

Generate CSR
This menu option will allow you to generate a CSR to be signed by an internal or external Certificate Authority.
- Enter a name for the private key file.
-
- Enter a name for the CSR.
-
- Enter your two letter country code.
-
- Enter your state or province name.
-
- Enter your locality name.
-
- Enter your organization name.
-
- Enter your organizational unit name.
-
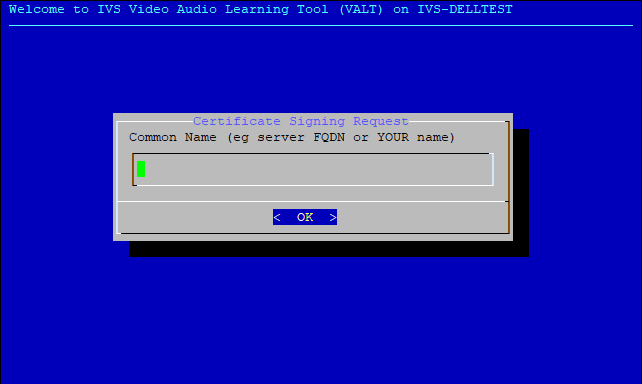
- Enter the fully qualified domain name of your VALT appliance.
- Note: This MUST match the DNS entry for your VALT appliance or when clients connect they will receive a certificate warning.
-
- Confirm the information entered is correct.
-
- The location of your private key, public key, and CSR will be displayed. Make a note of these locations.
- Retrieve the public key and CSR from the VALT appliance by connecting to it via sftp. Provide the CSR to your cerfiticate authority, they may also request the public key. Once they have processed the request, your CA should provide you with a certificate.


Enable HTTPS
This menu option will enable HTTPS. You can choose to install either a self signed certificate or install a certificate signed by a CA.
Install SSL Cert signed by a CA
- Upload the new certificate file to the VALT appliance prior to selecting this menu option.
-
- Enter the path to the private key file.
- You should have noted this path when you generated the CSR
-
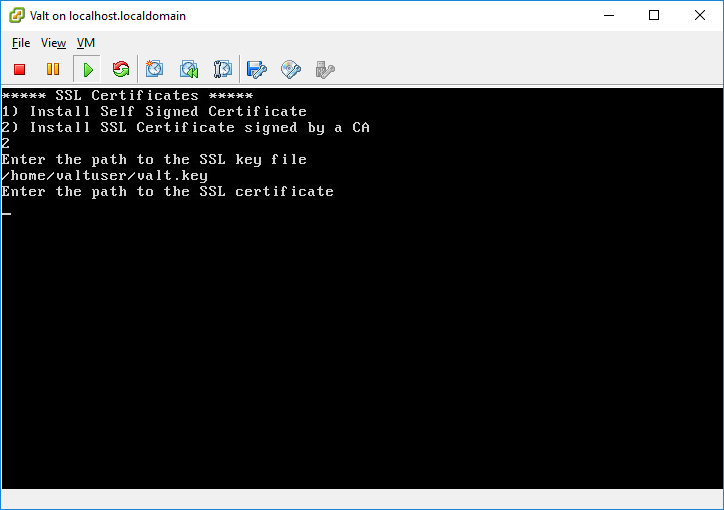
- Enter the path to the SSL Certificate.
- This should be the location and file name where you uploaded the certificate to the Valt appliance.
-
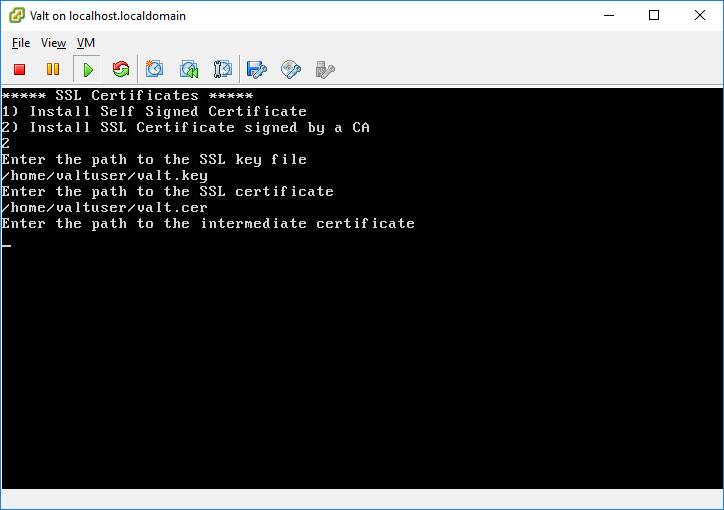
- Enter the path to the intermediate certificate.
- This should have been provided by your CA. If they did not provide it, just enter the path to the SSL certificate again. If they did not provide a intermediate certificate, you may receive a warning when accessing the Valt application from some browsers.
- The certificate will now be installed.


Install Cert from Let's Encrypt with http (Public Facing Servers Only)
- In order to use this feature your VALT server must be accessible from the internet. If the server is not accessible from the internet, please select another method for obtaining a certificate.
- WARNING: Allowing your VALT server to be accessed from the internet has security implications that should be considered prior to exposing the server to the internet. Please contact IVS support prior to exposing your VALT server to the internet. Do not expose your VALT server to the internet purely for the purpose of obtaining an SSL certificate from Let's Encrypt. As an alternative you can obtain a certificate from another Certificate Authority or use the DNS method to validate the request for Let's Encrypt.
- Enter y to continue if your server is accessible from the internet.
-
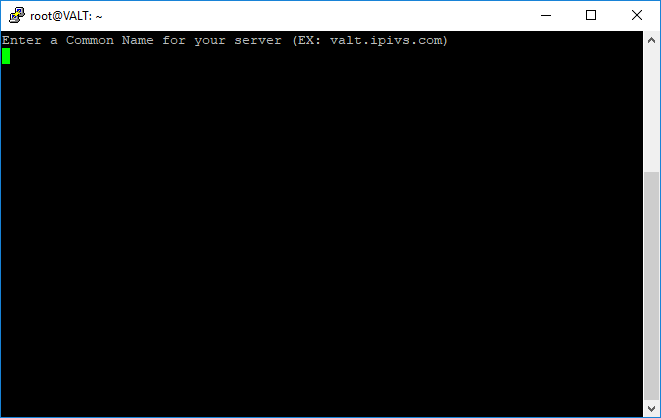
- Enter the common name for your server.
- Note: The DNS entry for the server must already be set up for this to work.
-
- Enter your email address. This will allow Let's Encrypt to notify you about certificate expiration.
-
- If you want to receive marketing emails from Let's Encrypt enter Y, otherwise enter N.
-
- Your certificate should now be installed and should automatically renew every three months as long as your Valt server remains publicly accessible.


Install Cert from Let's Encrypt with DNS (Internal VALT Servers)
- In order to use this feature you will need to be able to add a .txt record to the public DNS server for your domain. This server is most likely maintained by your ISP or your web hosting provider. If you cannot add this record, please select another method for obtaining a certificate.
- In order to use this feature your VALT server must be able to access the internet. If the server cannot access the internet, please select another method for obtaining a certificate.
- Enter y to continue if you have access to the public DNS records for your domain and can add an entry.
-
- Enter the common name for your server.
- Note: The DNS entry for the server must already be set up for this to work.
-
- Enter your email address. This will allow Let's Encrypt to notify you about certificate expiration.
-
- If you want to receive marketing emails from Let's Encrypt enter Y, otherwise enter N.
-
- Answer Y to allow your IP address to be logged as submitting the certificate request.
-
- A DNS txt record will now be displayed. Add that entry to your public DNS server and then wait for a few minutes before pressing enter. If you press enter too quickly the record may not have updated and the validation will fail.
-
- Your certificate should now be installed. Because your server is not publicly accessible you will need to manually renew the certificate every three months. Let's Encrypt will send you a reminder via email to let you know the certificate is about to expire.


Disable HTTPS
This menu option will disable HTTPS. This must be done prior to installing a new certificate.
Renew Let's Encrypt Certificate
This option is for use only with Let's Encrypt certificates that used DNS validation. If you obtained your certificate using HTTP validation, the certificate will renew automatically.
- Answer Y to allow you IP address to be logged as submitting the certificate request.
-
- A DNS txt record will now be displayed. Add that entry to your public DNS server and then wait for a few minutes before pressing enter. If you press enter too quickly the record may not have updated and the validation will fail.
-
- Your certificate should now be installed. Because your server is not publicly accessible you will need to manually renew the certificate every three months. Let's Encrypt will send you a reminder via email to let you know the certificate is about to expire.
VALT Configuration
The VALT configuration menu is used to configure the VALT appliance, by changing it's mode or adding a camera license:

Install License
Contact Support for License Incidents
Configure as Media Server
This option will configure the VALT appliance as a media server. Media servers are used either for additional storage or to provide local storage and streaming at a remote facility. Media servers must work in conjunction with a VALT application server.
WARNING: If your application server utilizes SSL, you MUST install the same certificate and key on the media server prior to enabling it as a media server.

- You will be prompted to enter the IP address for the web server. This should be the IP address of the primary VALT application server, NOT the VALT media server you are currently configuring.
- You will be prompted to confirm that the information you provided is correct. If it is, enter y to continue.
- The VALT appliance will now reconfigure as a media server.

You must now add this appliance as a media server through the web interface on the application server.
Configure as Application Server
This option will cause the VALT appliance to reconfigure itself as an application/web server.
Service Configuration
The services menu allows you to restart various services associated with the VALT application.

Restart Wowza Streaming Engine
The Wowza Streaming Engine acts as an interface for both the cameras and the clients. It receives video streams from the cameras and generates video streams for the clients. If one of your cameras is not connecting, or you are experiencing other video issues, restarting the Wowza Streaming Engine will typically resolve those issues.
Restart VALT Controls
The VALT Controls service handles the embedded nodejs controls in the Application.
Restart Web Server
The web server handles to presentation of the html pages for the VALT application to the client.
System
Setting NTP
- Select Option 5 under the menu, labelled System.
-
- From there, select Option 3 under the submenu, labelled Configure NTP Server.
-
- Enter the address for the NTP Server as directed below:
-
- Select OK.


Restart VALT Server
Reboot the VALT Appliance.
Shutdown VALT Server
Shutdown the VALT Appliance.
Shell
This option will allow you to exit to the shell.