Command Line Menu - Set IP's
- Select your interface from the options listed.
-
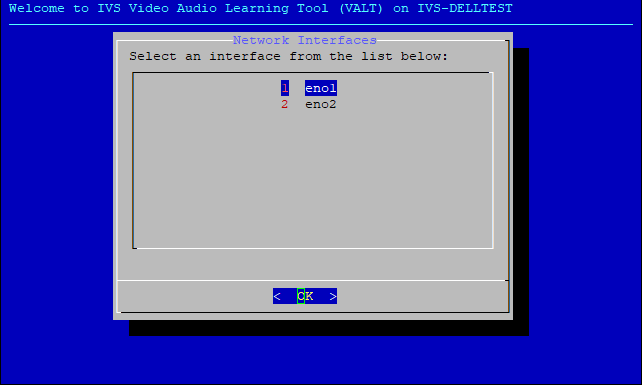
- Note: If you want to configure a teamed interface or a VLAN, you must first configure VLAN or teaming, then these interfaces will be displayed as options to set an IP address on.
-

- Select Static or DHCP.
-

Static
- Enter an IP address for the interface in the format ###.###.###.###
-
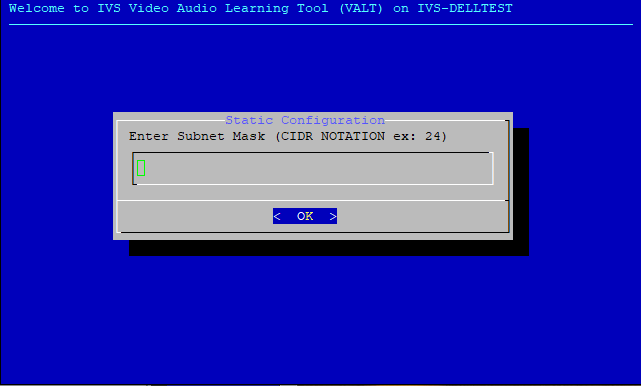
- Enter a subnet mask for the interface in the format ##
- Click the link to see a CIDR Notation chart.
-
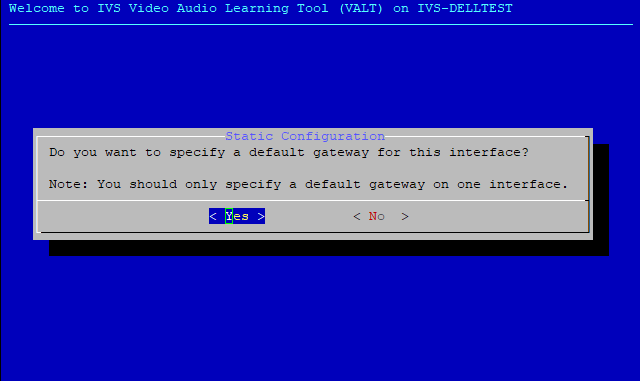
- You will be asked if you want to enter a gateway, enter Yes or No.
- Note: You should only enter a gateway for one interface. Defining more than one gateway may cause communications problems. Additionally, you do not need to define a gateway if the appliance does not need to communicate with devices (clients, cameras, internet access, etc) on another subnet.
-
- If you answered Yes, enter the gateway address for the interface in the format ###.###.###.###
-
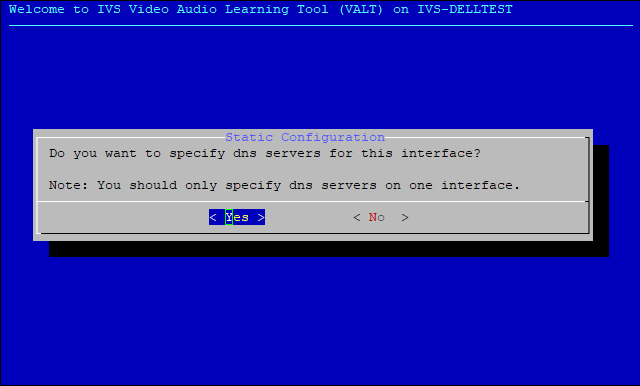
- You will be asked if you want to enter dns servers, enter Yes or No.
- Note: You only need to enter DNS servers on one interface. Entering DNS servers on multiple interfaces will not cause any problems, but it also will not provide any benefit. Additionally you do not need to provide DNS servers on any interface if the appliance will not have any internet access.
-
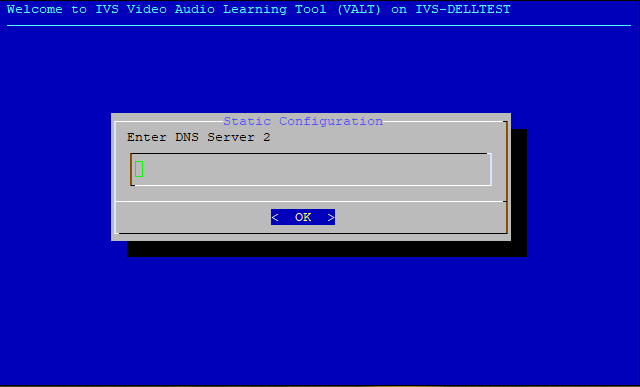
- If you answered Yes, enter two dns servers.
- If additional DNS servers are required, please contact VALT technical support
-
- Review the information you entered carefully. If everything is correct, enter Yes to continue. Otherwise enter No and you will be prompted to enter the configuration again.
-
- You will be asked if this interface will be utilized for client access, enter either Yes or No.
-

- Each VALT appliance must have one and only one interface designated for clients to access the appliance. The IP address of this interface is the address you will type into your web browser to access the VALT application. By designating an interface for client access, the menu will automatically configure the VALT software to listen on the IP address assigned to that interface. The changes will not take effect until the VALT appliance has been rebooted.
-
- Please reboot the Valt Server to complete changes.
-


DHCP
If you want to utilize DHCP to configure the IP address of the VALT appliance, you must set a DHCP reservation for the server.

- After selecting DHCP, you will be asked if this interface will be utilized for client access, enter either Yes or No.
- Each VALT appliance must have one and only one interface designated for clients to access the appliance. The IP address of this interface is the address you will type into your web browser to access the VALT application. By designating an interface for client access, the menu will automatically configure the VALT software to listen on the IP address assigned to that interface. The changes will not take effect until the VALT appliance has been rebooted.
- Enter the IP Address of the interface when prompted.
- If you have opted to configure the VALT appliance via DHCP, you will need to provide the IP address that has been reserved for the appliance. That IP address is utilized by the VALT software to listen for client access.
- Please reboot the VALT Server to complete changes.