IVS HDMI Encoder - Setup and Configuration
Contents
Powering up the Encoder
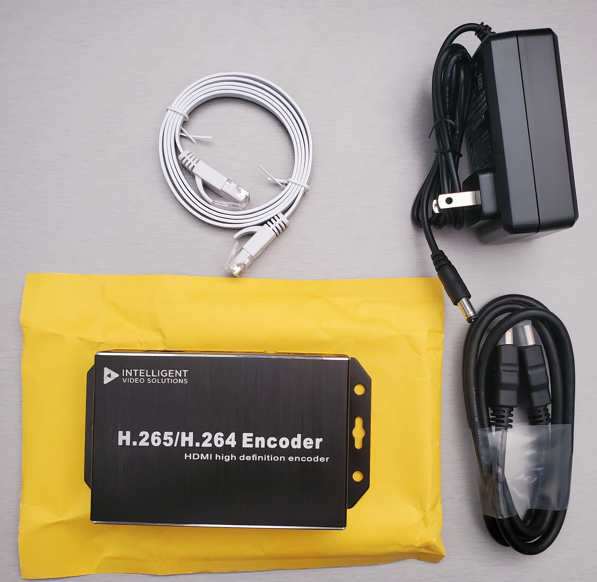
- Unpack the contents of the Encoder Package.
- Find the 12V power supply and the ethernet cable and connect both to the back of the encoder.
- Connect the Power brick of the 12V power supply to a 120V Outlet.
- Connect the other end of the ethernet cable to your computer directly or via a USB-C to ethernet adapter.
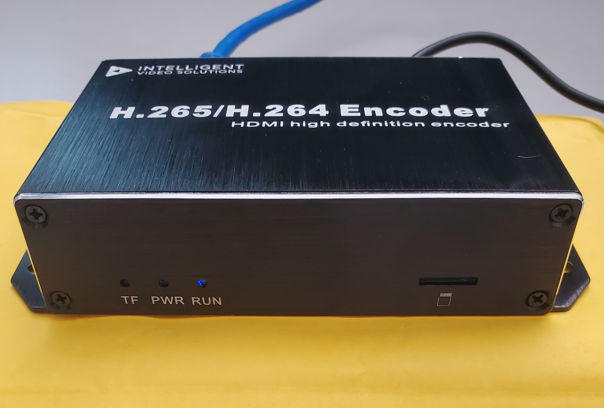
- The "Run" LED should light up blue as pictured once the encoder has powered up.
- At this point we are ready to reconfigure the networking on your computer to connect to the encoder
Connecting to the Encoder
- On your computer, open control panel.
- Search for and open Network and Sharing Center.
- Click on the active "Ethernet" Connection on the right.
- Within the Status popup window, click "Properties".
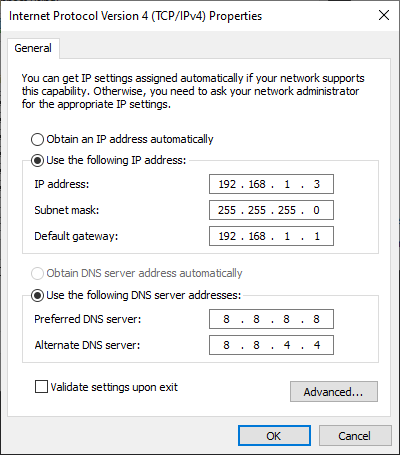
- Within the Properties popup window, double click "Internet Protocol Version 4 (TCP/IPv4)".
- Adjust the properties to match the picture below.
- Remember to come back and change all the settings back to automatic if you want your ethernet to work normally later!
- Click "OK" on this popup and the popup below it to apply the new settings
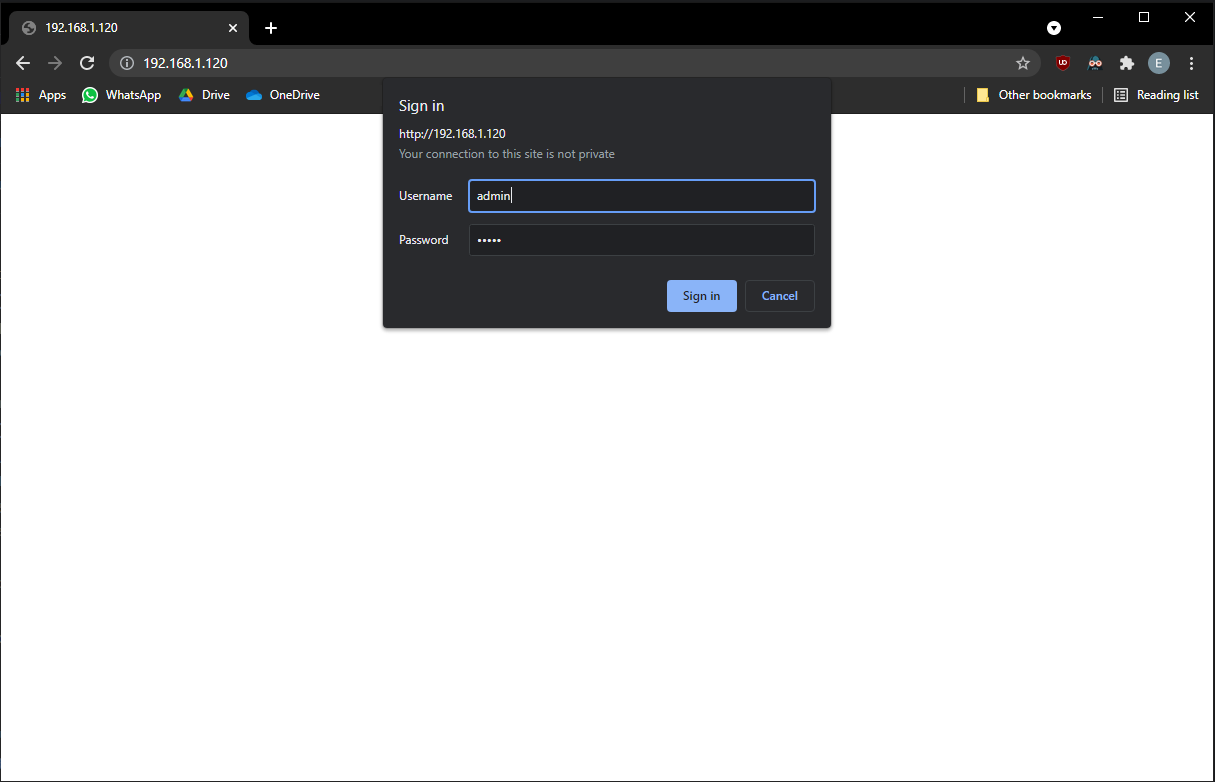
- Navigate to http://192.168.1.120 in Google Chrome
- Provide the default credentials of admin/12345 or admin/admin51 for the login popup that appears (pictured below)
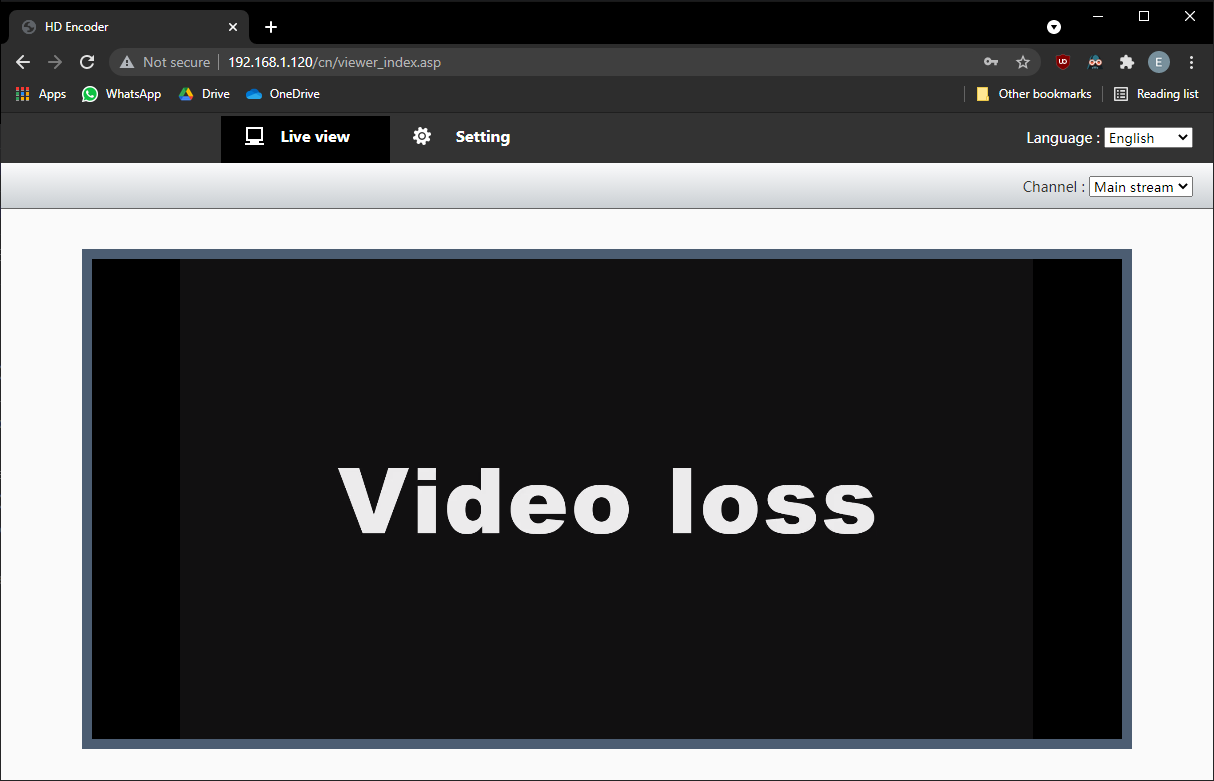
- If the Encoder Web Interface (pictured below) appears, you are ready to configure the Encoder!
Configuring the Encoder
- From the encoder Web Interface, select the Settings tab at the top. You will be taken to the settings menu, which is organized into tabs.
Adjust the System Mode
- Select the "System" tab and then click the "System status" Menu from the right pane.
- Adjust the options in this Menu to match the configuration in the picture below
- Click "Save" to preserve your changes

Validate Encoder Firmware and Obtain MAC Address
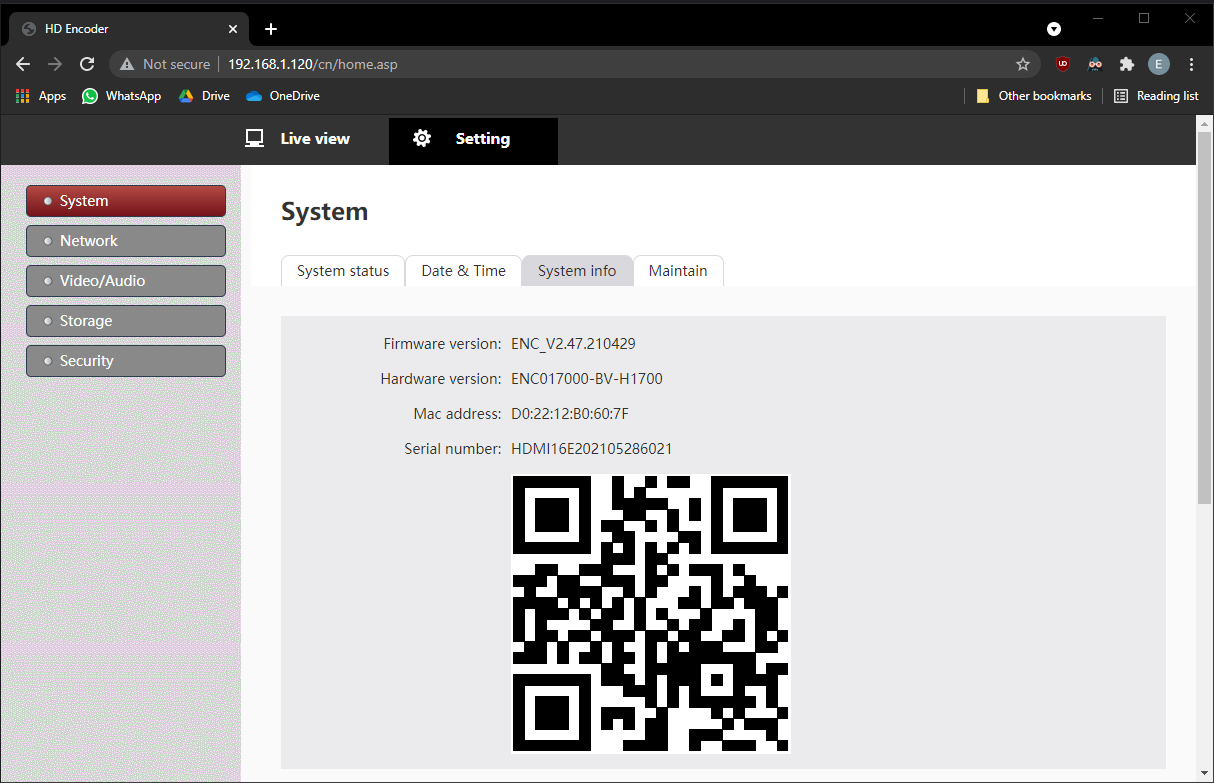
- Select the "System" tab and then click the "System Info" Menu from the right pane.
- You should be presented with the following information
- If the Firmware version listed is lower than ENC_V2.47.210429, Consult the "Firmware Upgrade" Portion of this article
- Record the MAC Address listed if needed
Adjust Encoder Video Settings
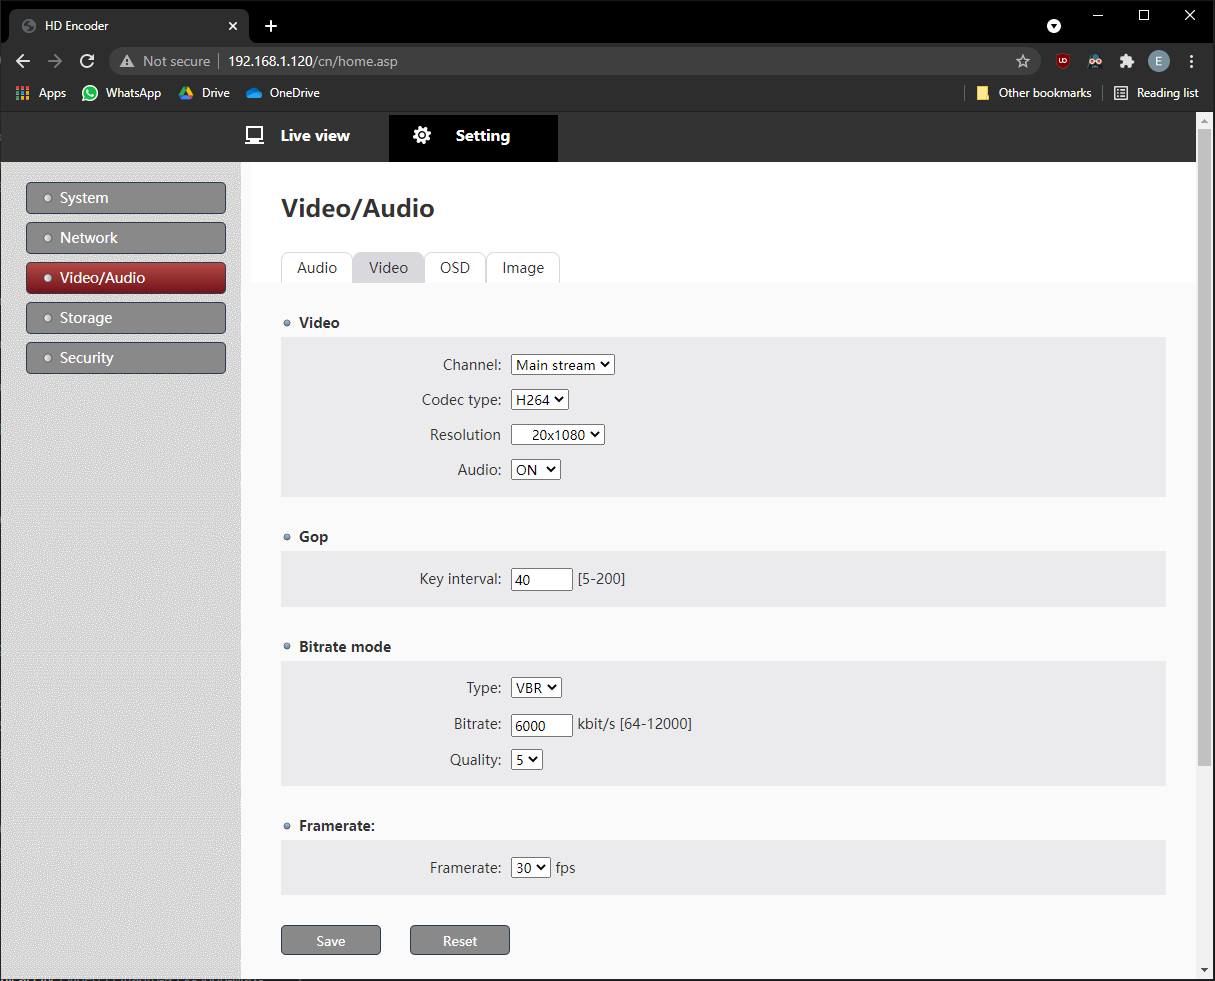
- Select the "Video/Audio" Tab and then click the "Video" Menu from the right pane.
- Adjust the options in this Menu to match the configuration in the picture below
- Optionally, you can Switch "Audio" to "OFF" If do not want audio included in the encoder feed.
- Click "Save" to preserve your changes
Adjust Encoder Audio Settings
- Select the "Video/Audio" Tab and then click the "Audio" Menu from the right pane.
- You can configure the encoder for HDMI Audio using the audio carried by a native HDMI Signal or for Line In Audio using the 3.5mm audio jack. Instructions for both are below.
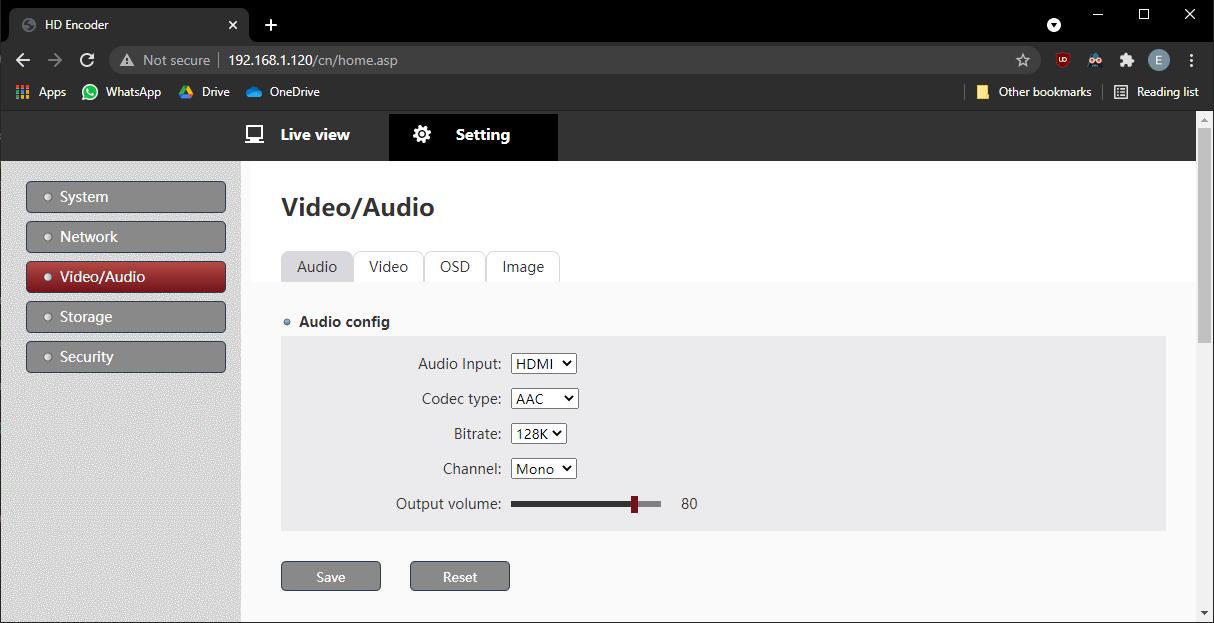
HDMI Audio
- Adjust the options in this Menu to match the configuration in the picture below
- Click "Save" to preserve your changes
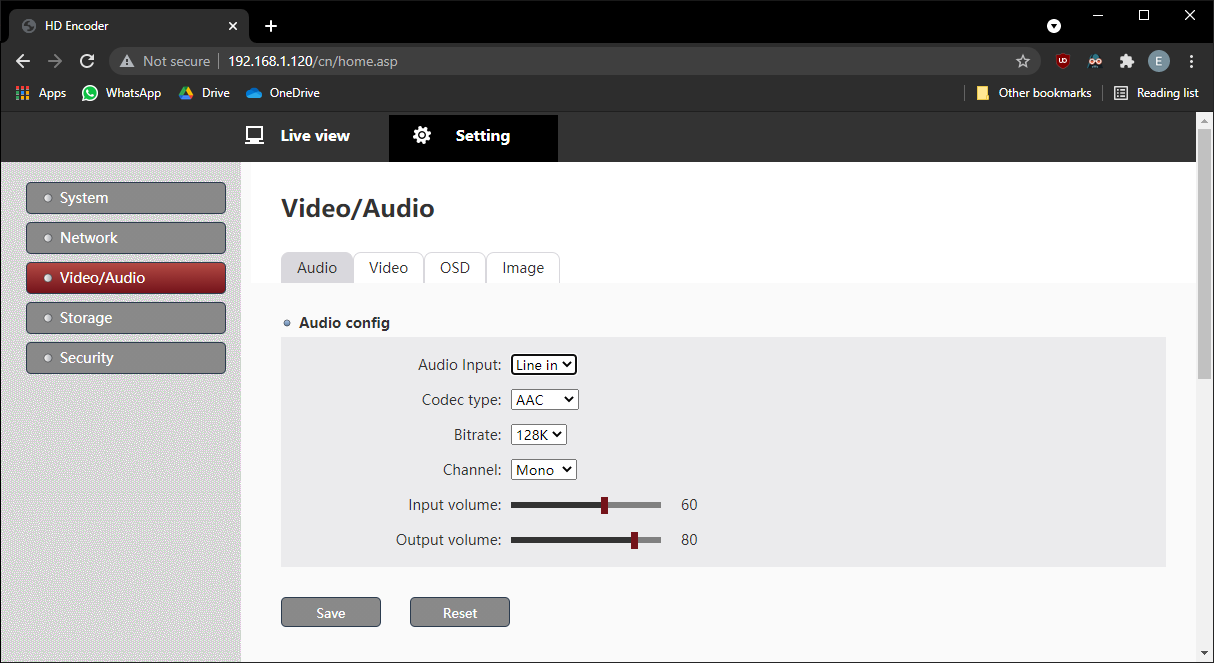
Line In Audio
- Adjust the options in this Menu to match the configuration in the picture below
- Click "Save" to preserve your changes
Adjust Encoder Network Settings
NOTE THAT ADJUSTMENTS TO THE NETWORK SETTINGS WHICH ARE SAVED WILL DISCONNECT YOU FROM THE ENCODER.
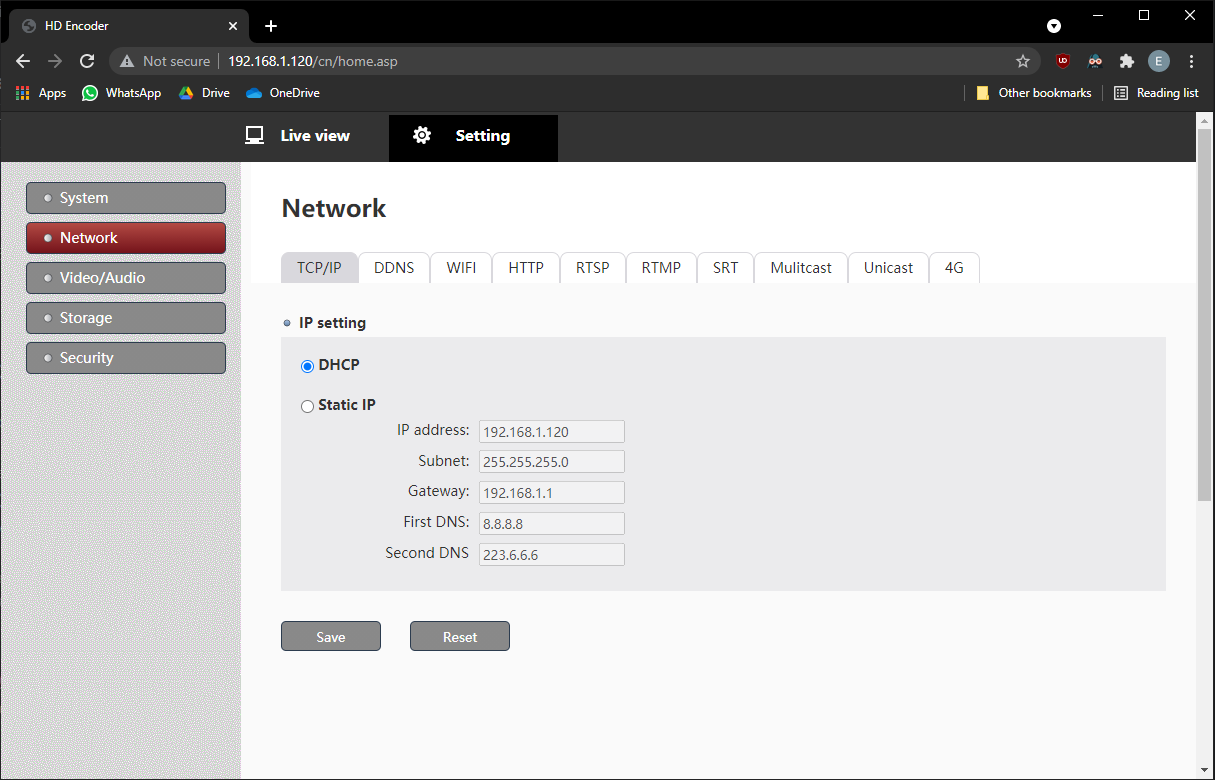
- Select the "Network" Tab and then click the "TCP/IP" Menu from the right pane.
- You can configure the encoder for DHCP or a Static IP. Instructions for both are below.
DHCP
- Select the DHCP radio button as pictured below.
- Click "Save" to apply your changes.
- Once the Encoder is set to DHCP, it does not fall back to a static IP if there is no DHCP server, you must prepare a DHCP lease in order to fix the IP for access to the encoder web interface.
Static IP
- Select the "Static IP" Radio button
- Fill in the IP Address, Subnet Mask, Gateway, and DNS Servers that you want set for the encoder.
- Click "Save" to apply your changes.
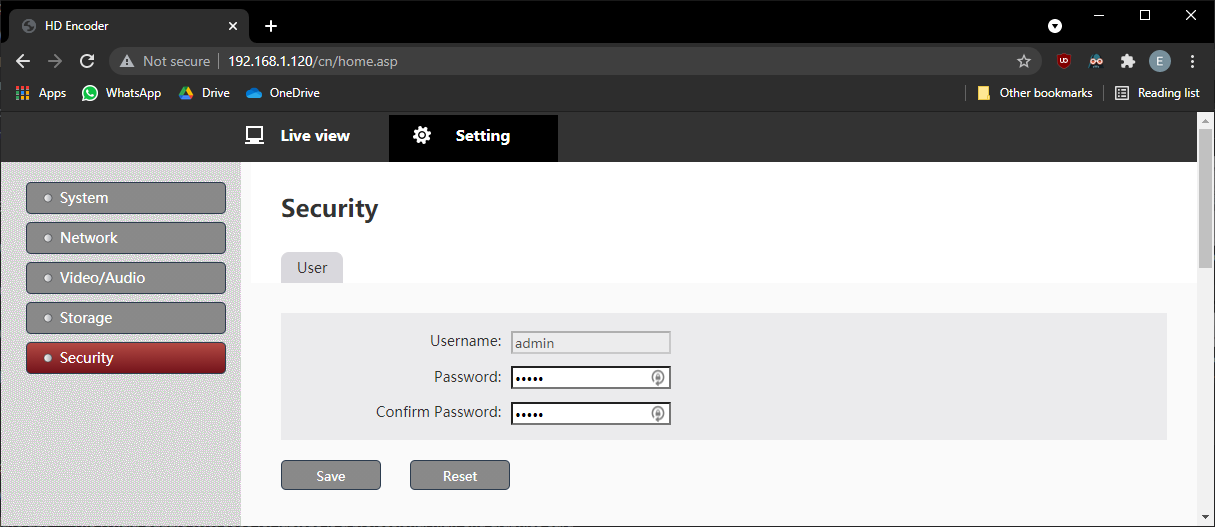
Adjust Encoder Credentials
- Select the "Security" Tab.
- You should see the menu pictured below
- Adjust the password to be "admin51" and confirm it.
- Click "Save" to preserve your changes
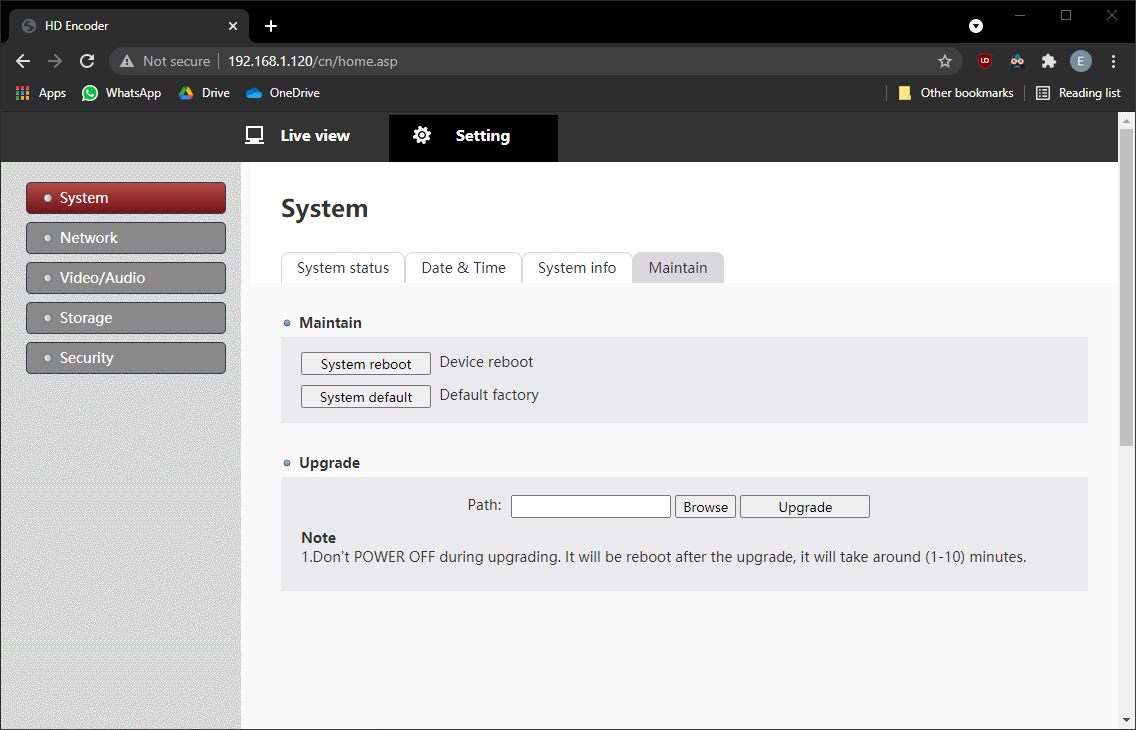
Firmware Upgrade
- Select the "System" Tab and then click the "Maintain" Menu from the right pane.
- You should see the menu pictured below
- Click "Browse" and select the upgraded firmware file, contact IVS Support to be provided with the Firmware file if you do not already have it.
- Click "Upgrade" and wait for the process to complete with an "Upgrade Successful" popup.
- Click the "System info" Menu and check that the firmware upgrade has gone through.
Adding the Encoder in VALT
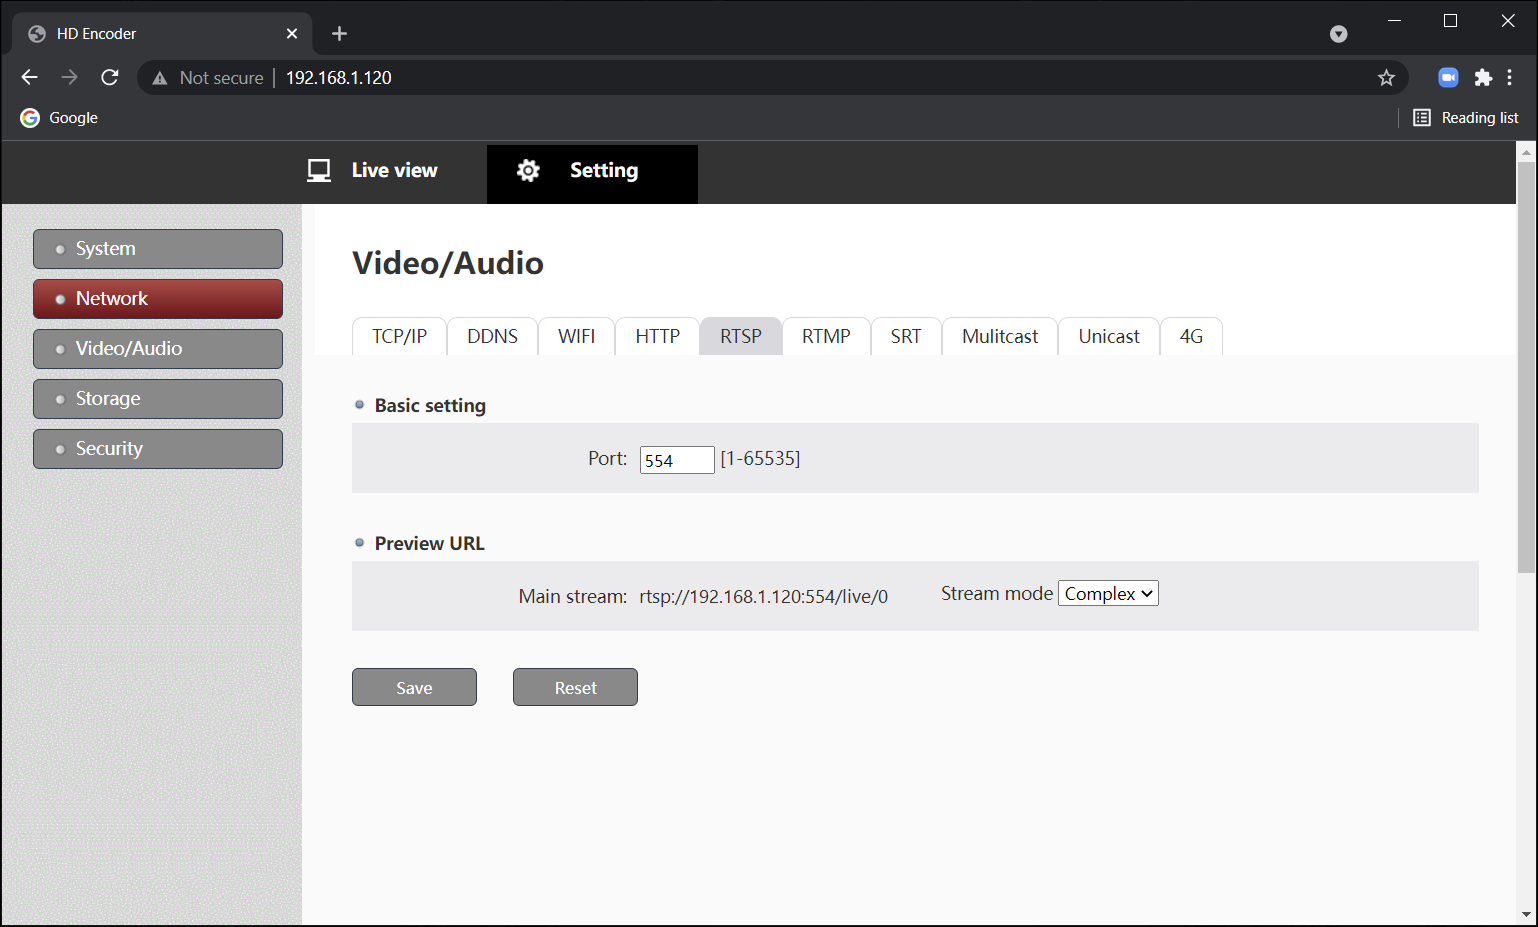
- On the encoder, Select the "Network" Tab and then click the "RTSP" Menu from the right pane.
- You should see the menu pictured below
- Find the section labeled "Preview URL" and copy the url that has this format
rtsp://<encoder_ip>:554/live/0 - In VALT, navigate to Admin -> Rooms and Cameras
- Click "Add Stream"
- Enter in a name for the stream
- Enter in the Encoder IP
- Enter in the encoder credentials
- Select a room to assign the encoder to
- Click "Save"