Installing BEAM
Add an iOS Device on the Server
- 1) Go to the client interface (using Chrome, Firefox, or other standard web browser).
- 2) Log in to the client (default username: “admin” password: “admin”).
- 3) Click on Admin -> Rooms -> Add Device.
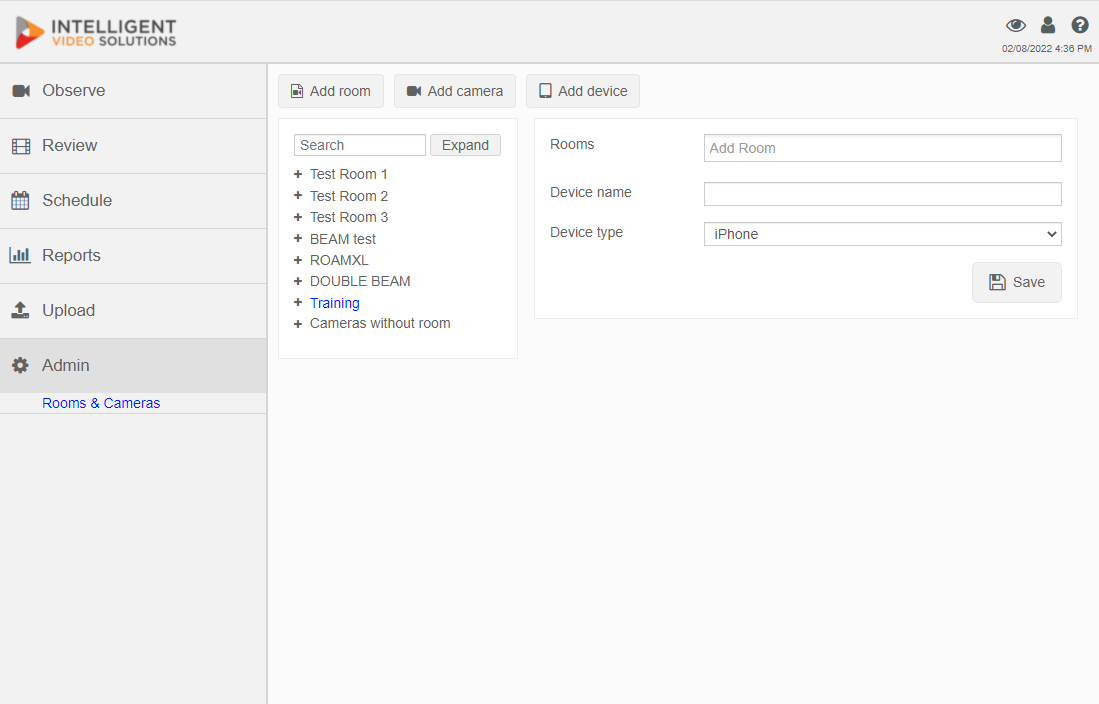
- 4) Enter the rooms associated with the device.
- 5) Enter a name for the device.
- 6) Select the Device type (iPad/iPhone).
- 7) Click Save.
- 8) Locate the device in the list of devices and click on it.
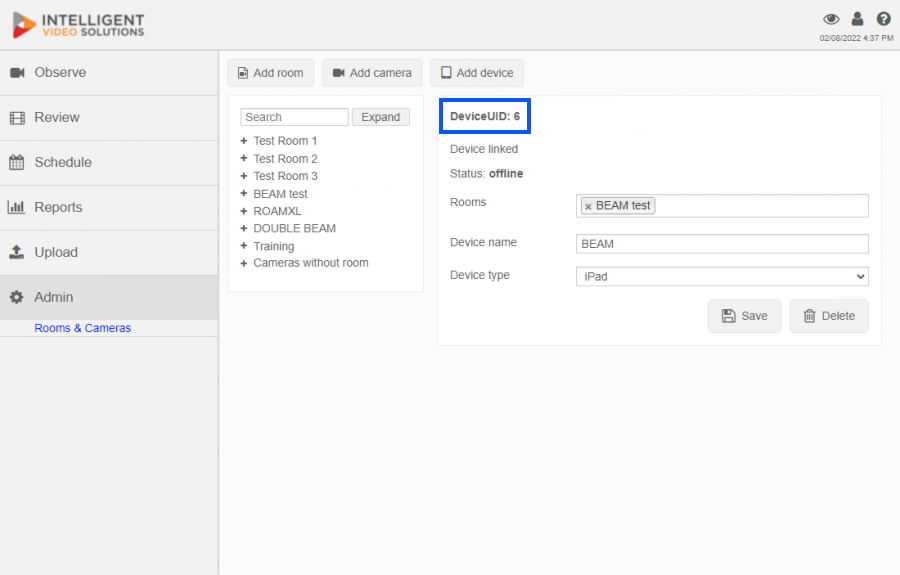
- 9) Note the DeviceUID, as it will be needed to install the app on the iPad.
- For additional information about iOS device configuration click here.
Ipad/Iphone Installation
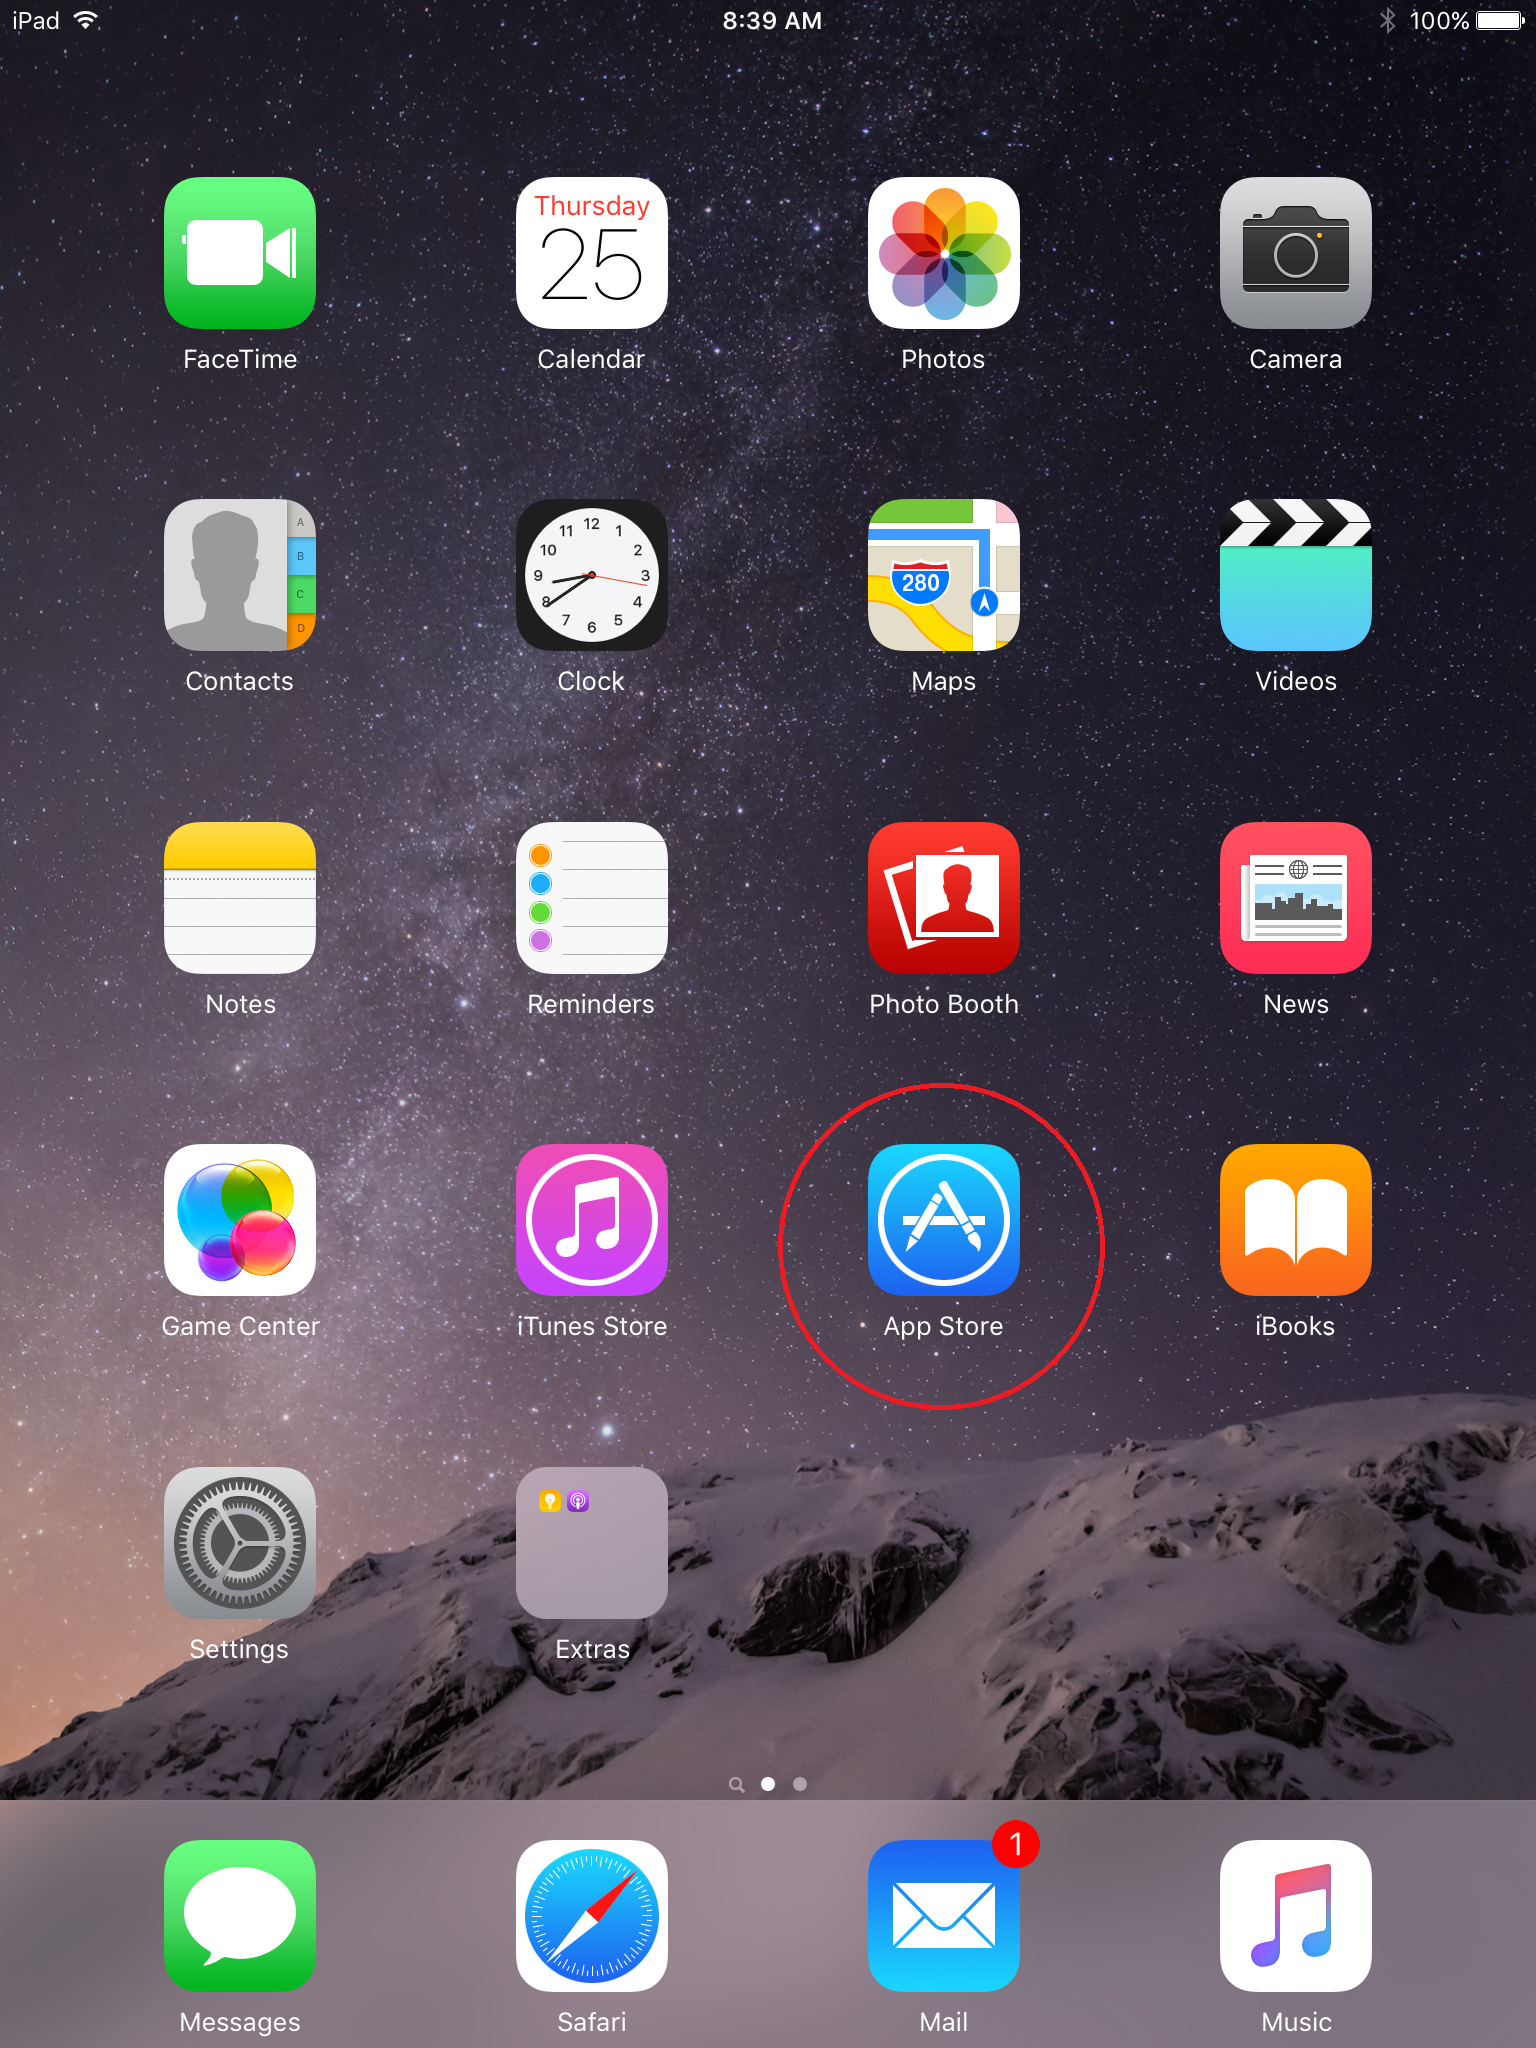
1) Open the App Store by touching the App Store icon on your iPad or iPhone.
2) Touch the search field in the upper right corner and type in IVS Beam.
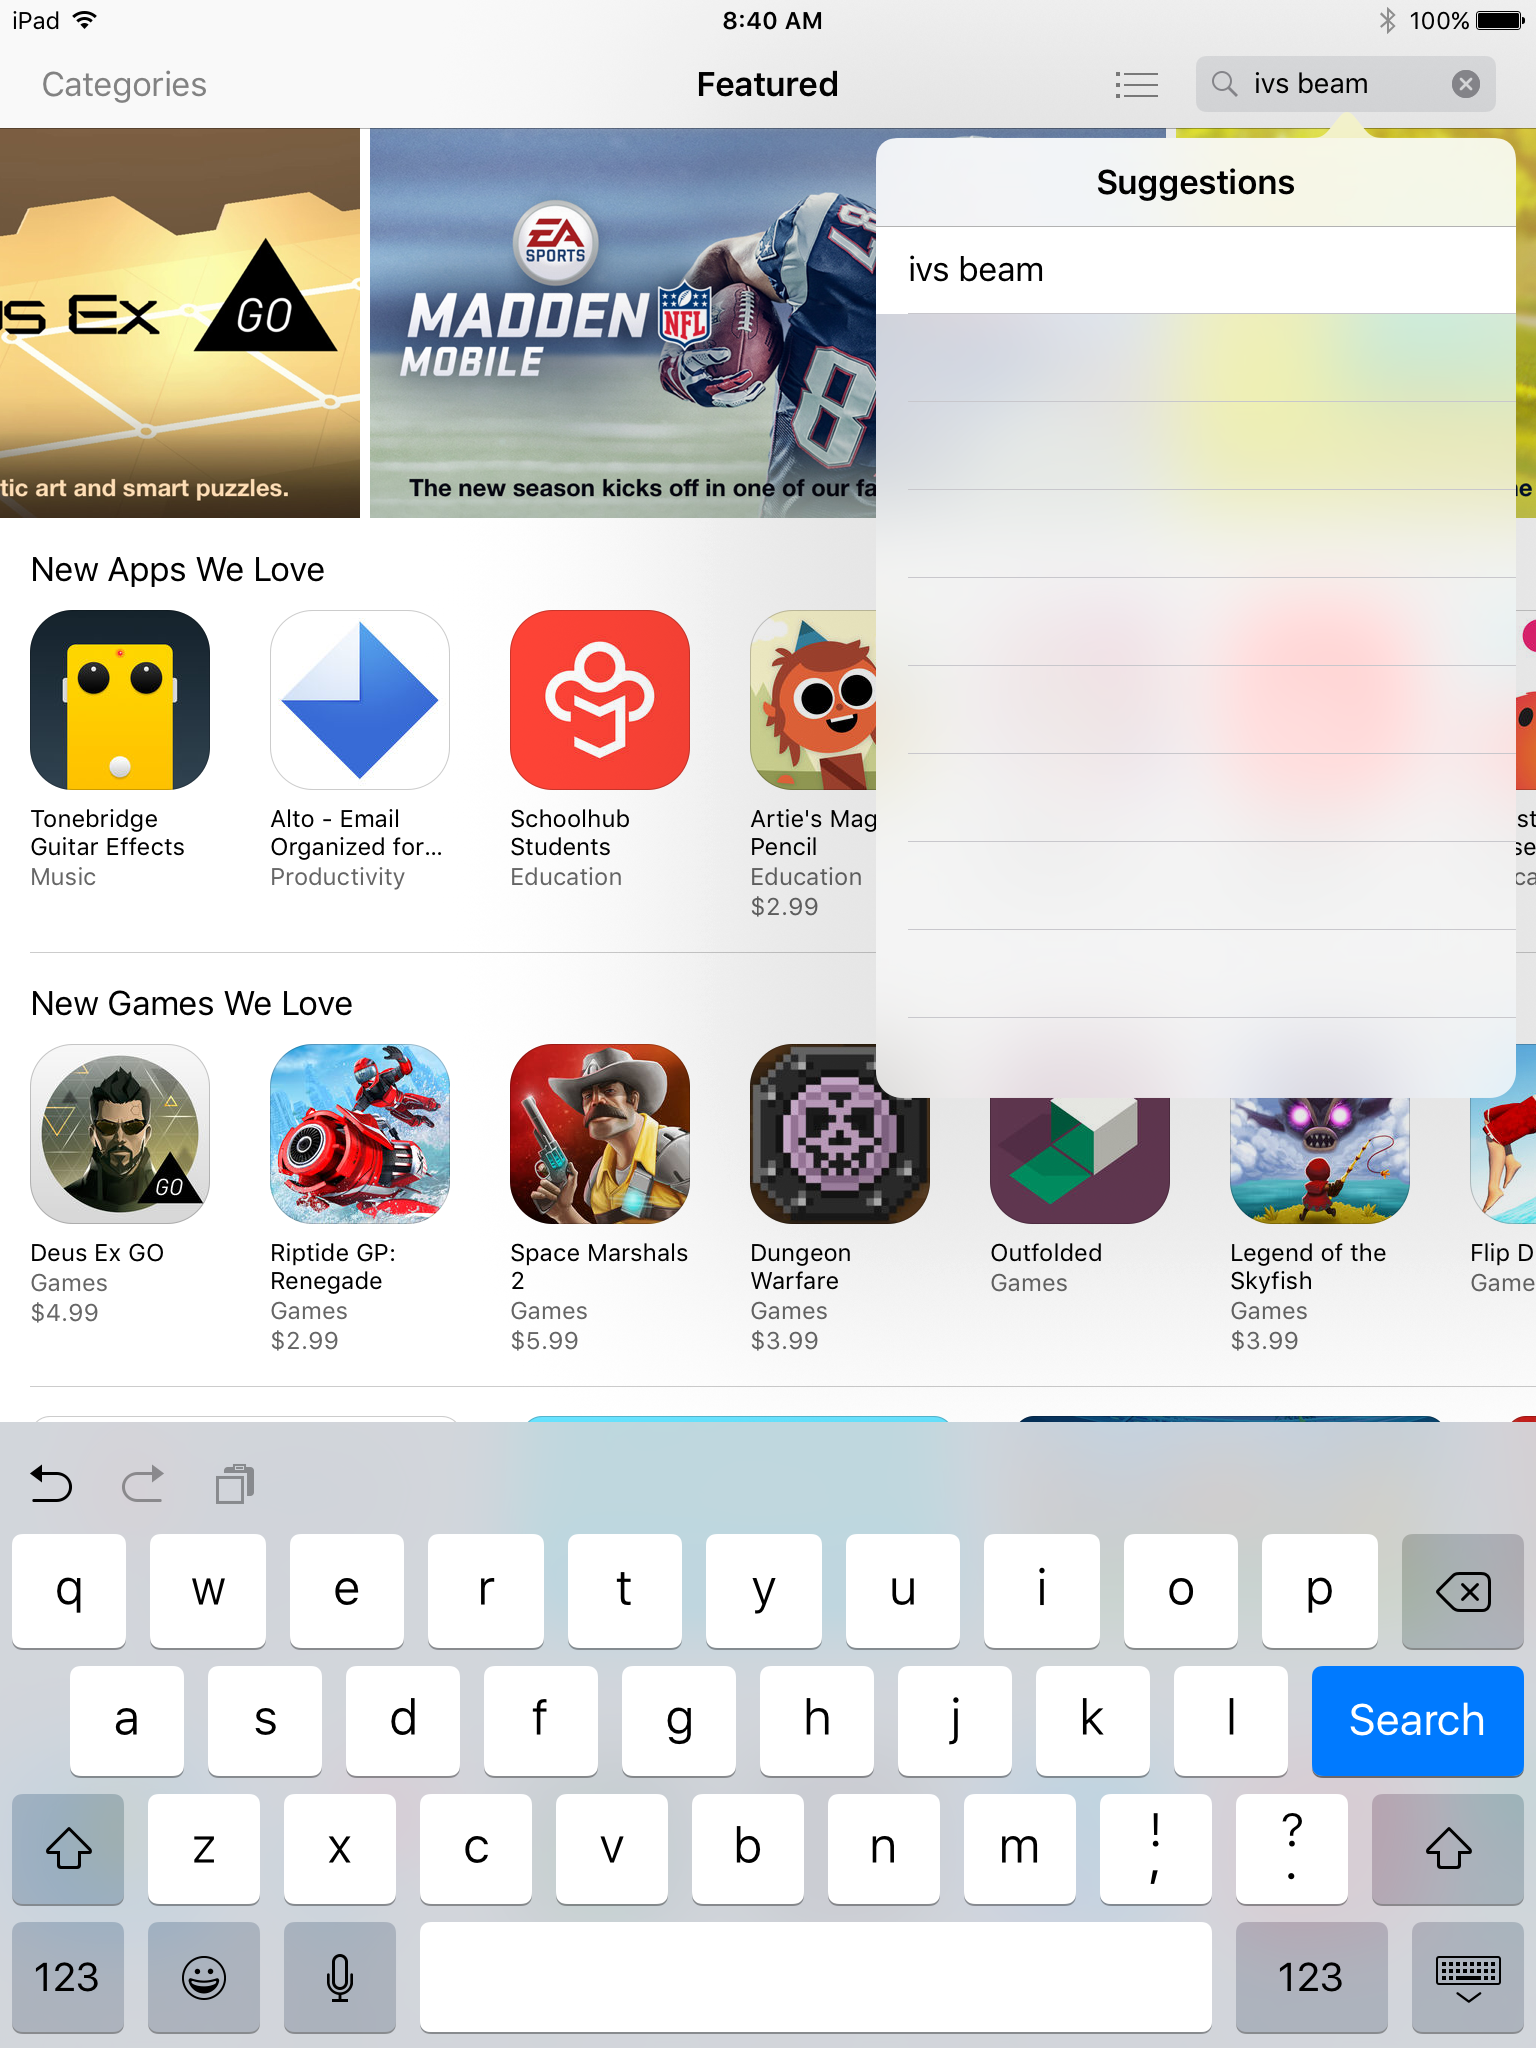
3) Touch Search.
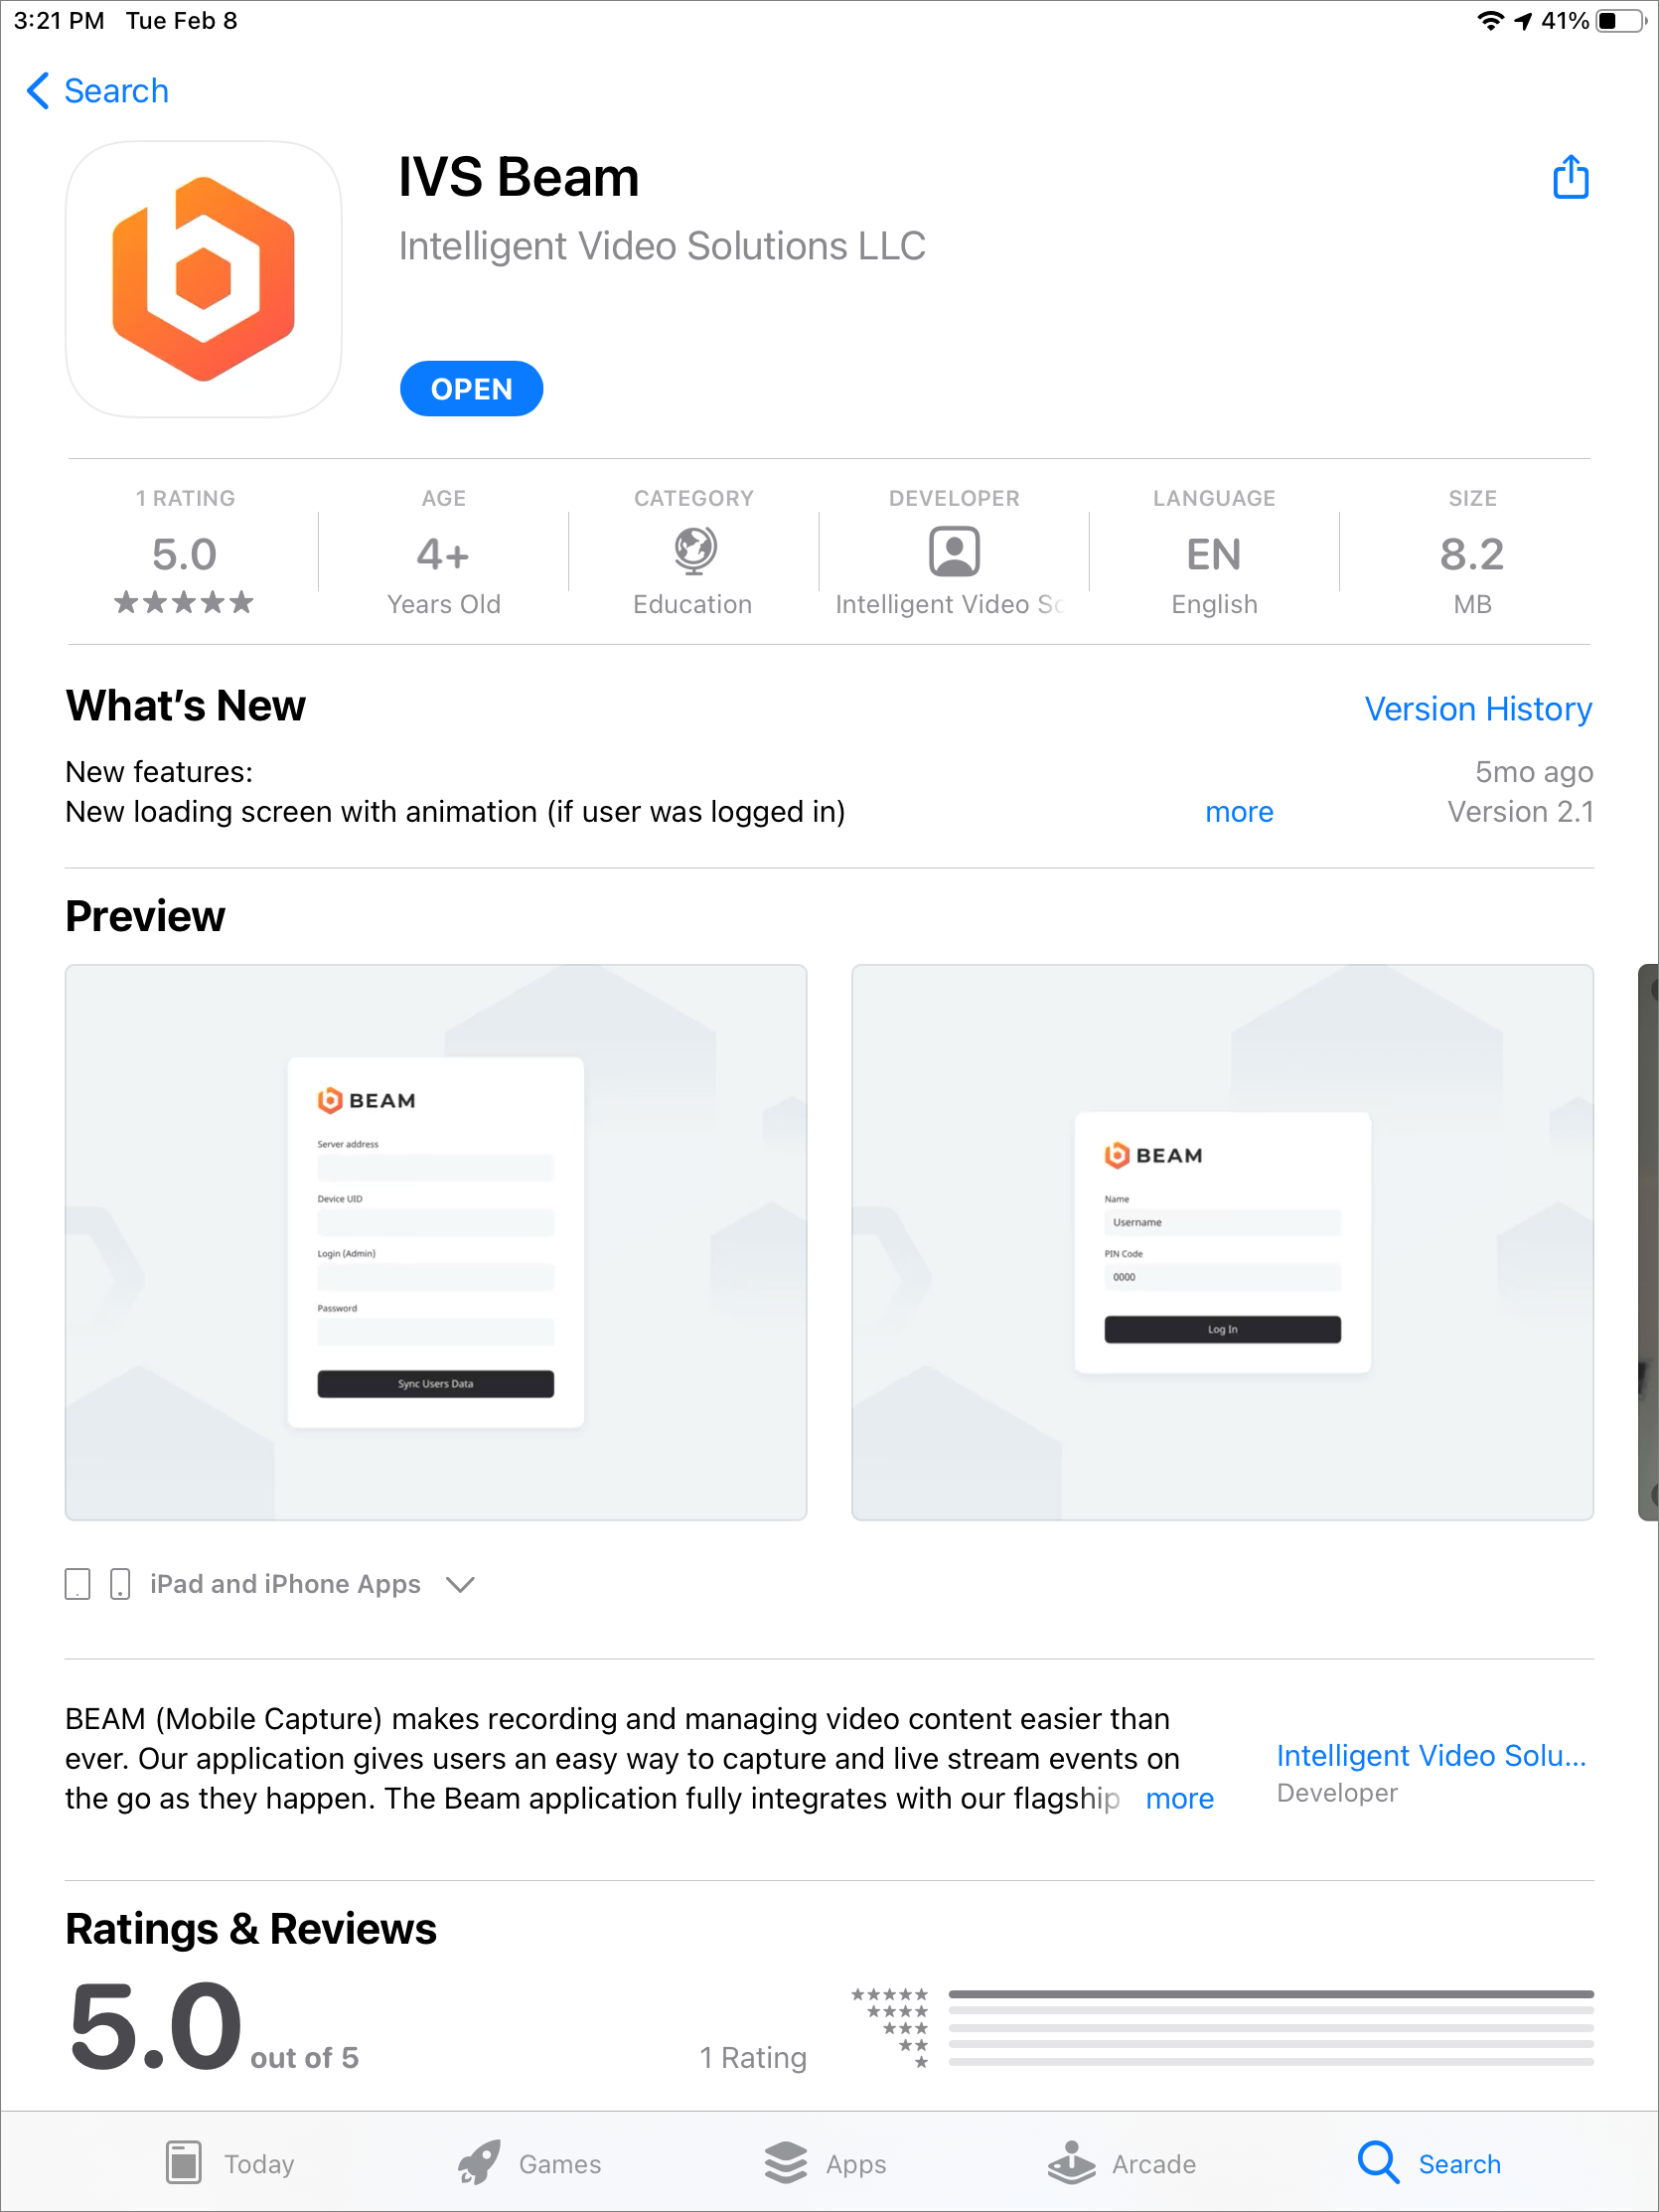
4) Touch the Get/Install/Cloud icon to download the app.
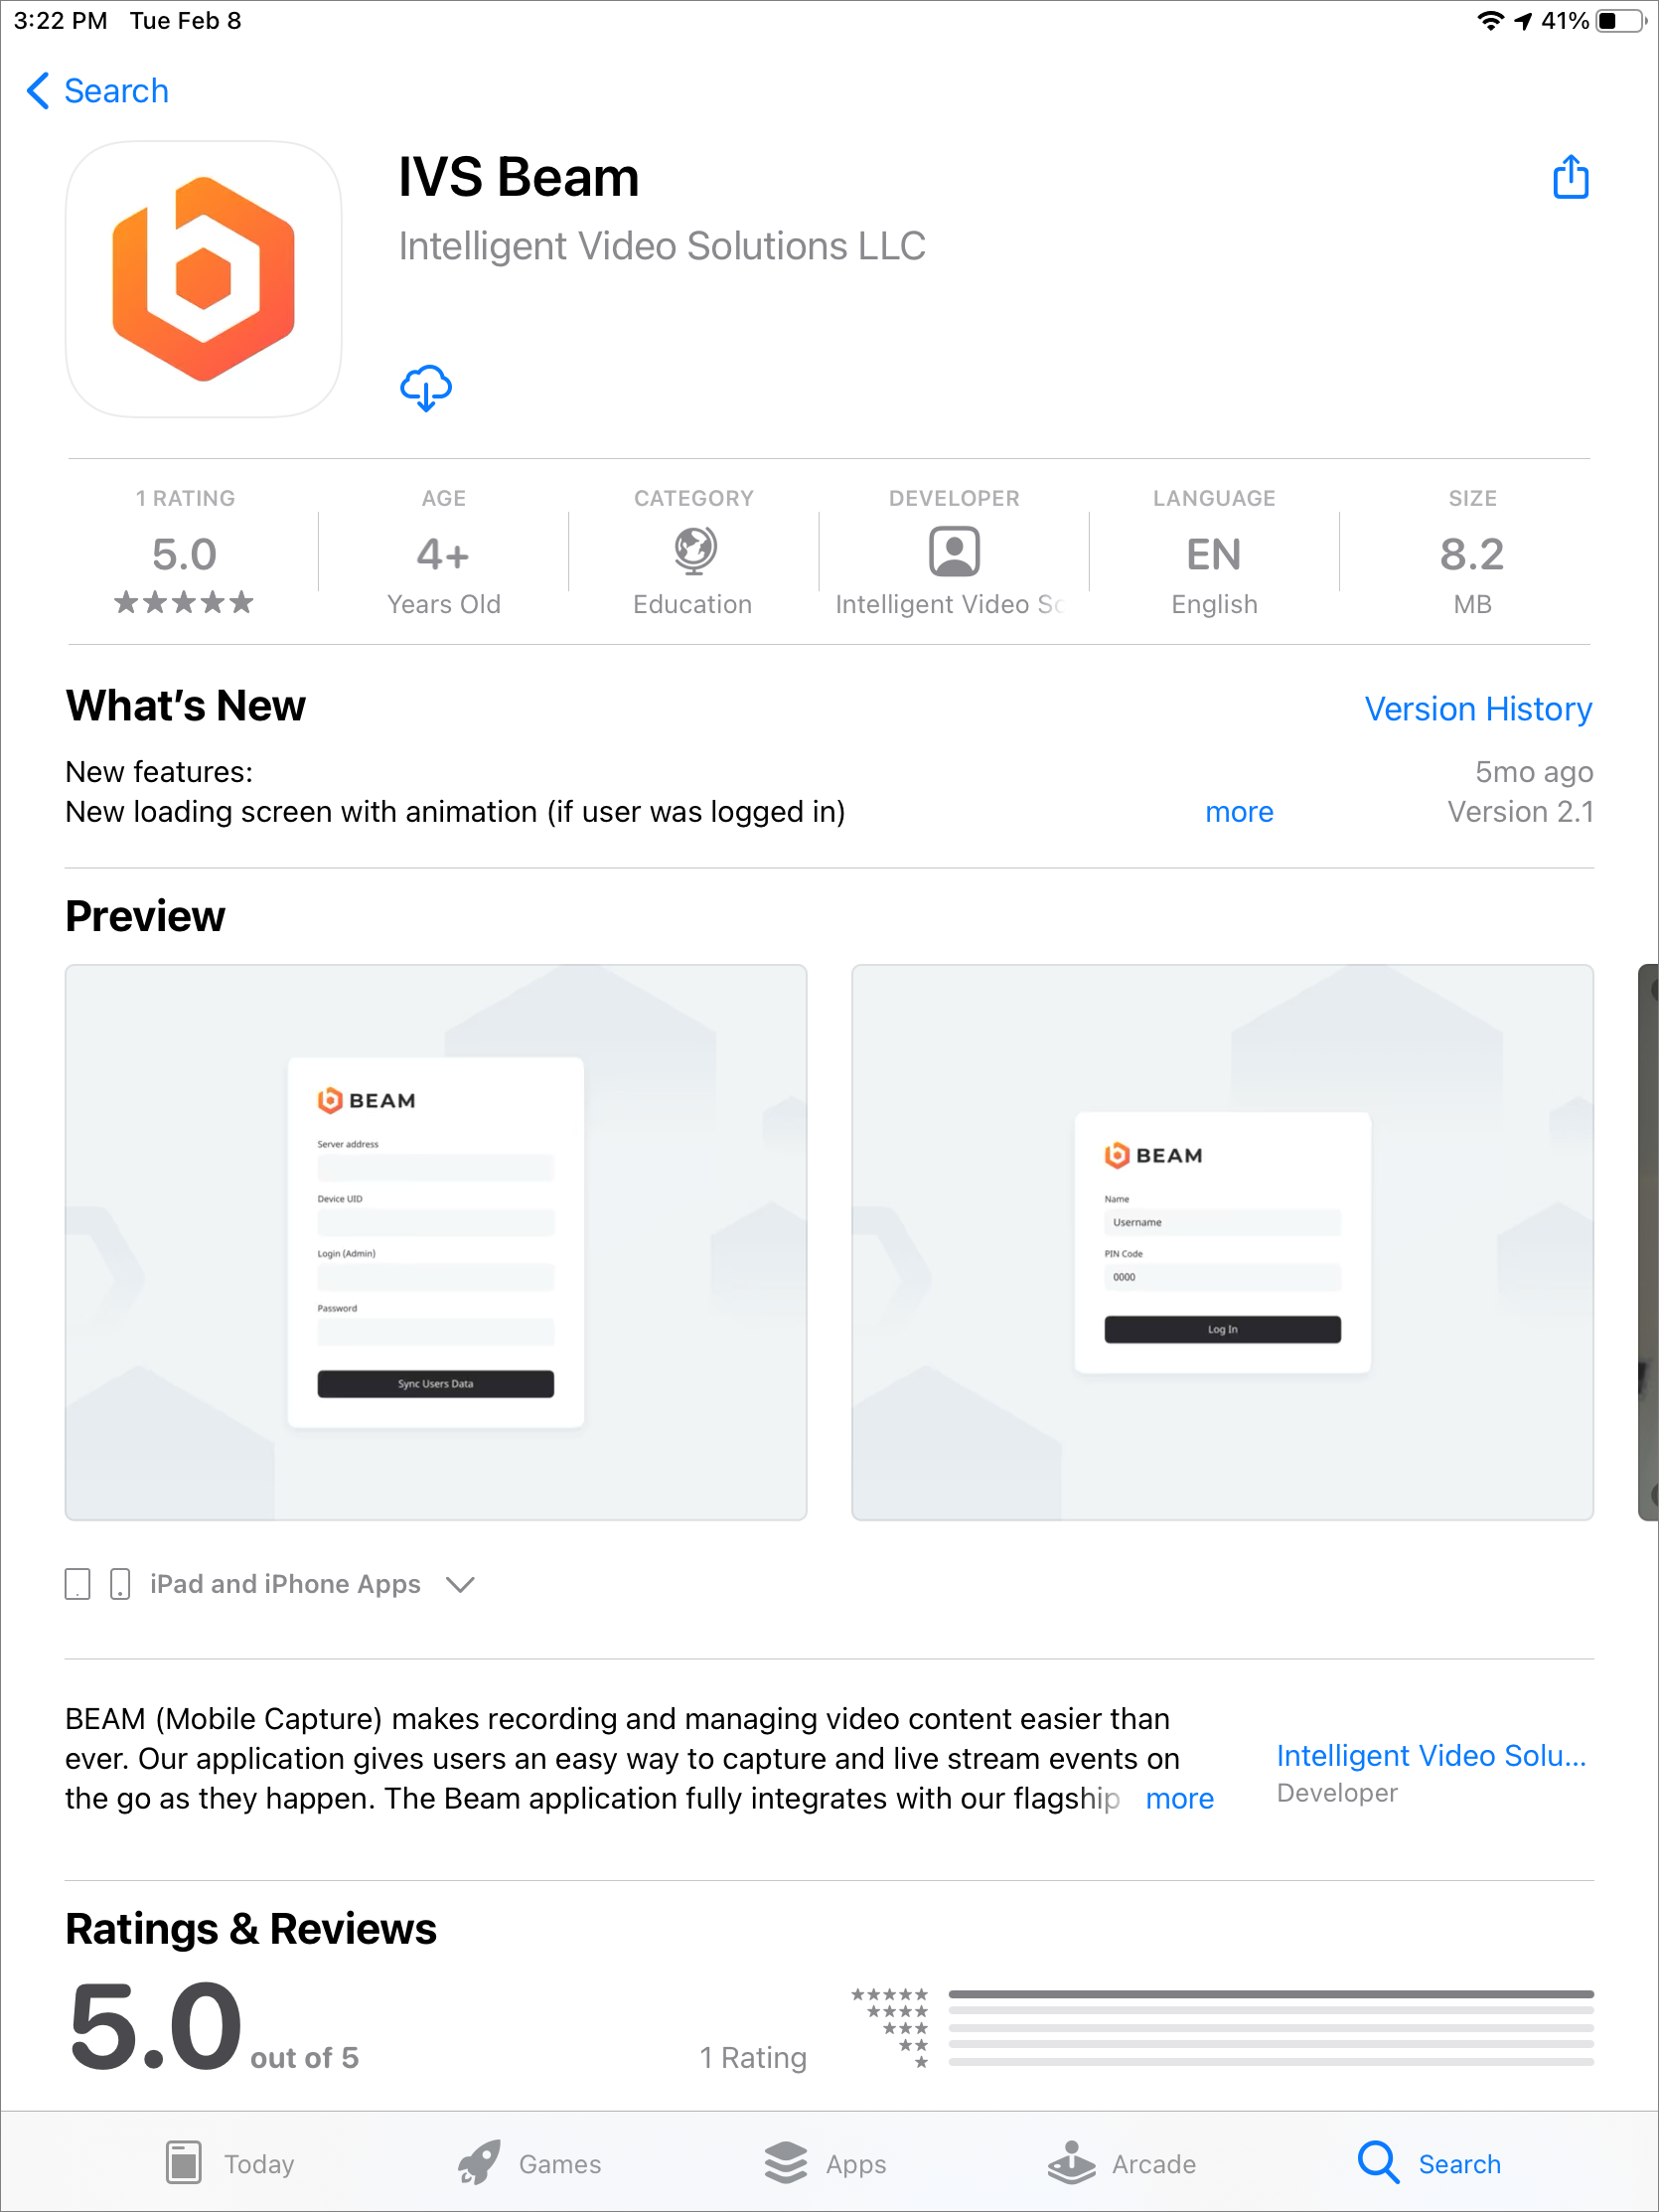
5) After the installation is complete, touch Open to open the app.
6) You will be prompted to enter the Server Address, Device UID, username and password.
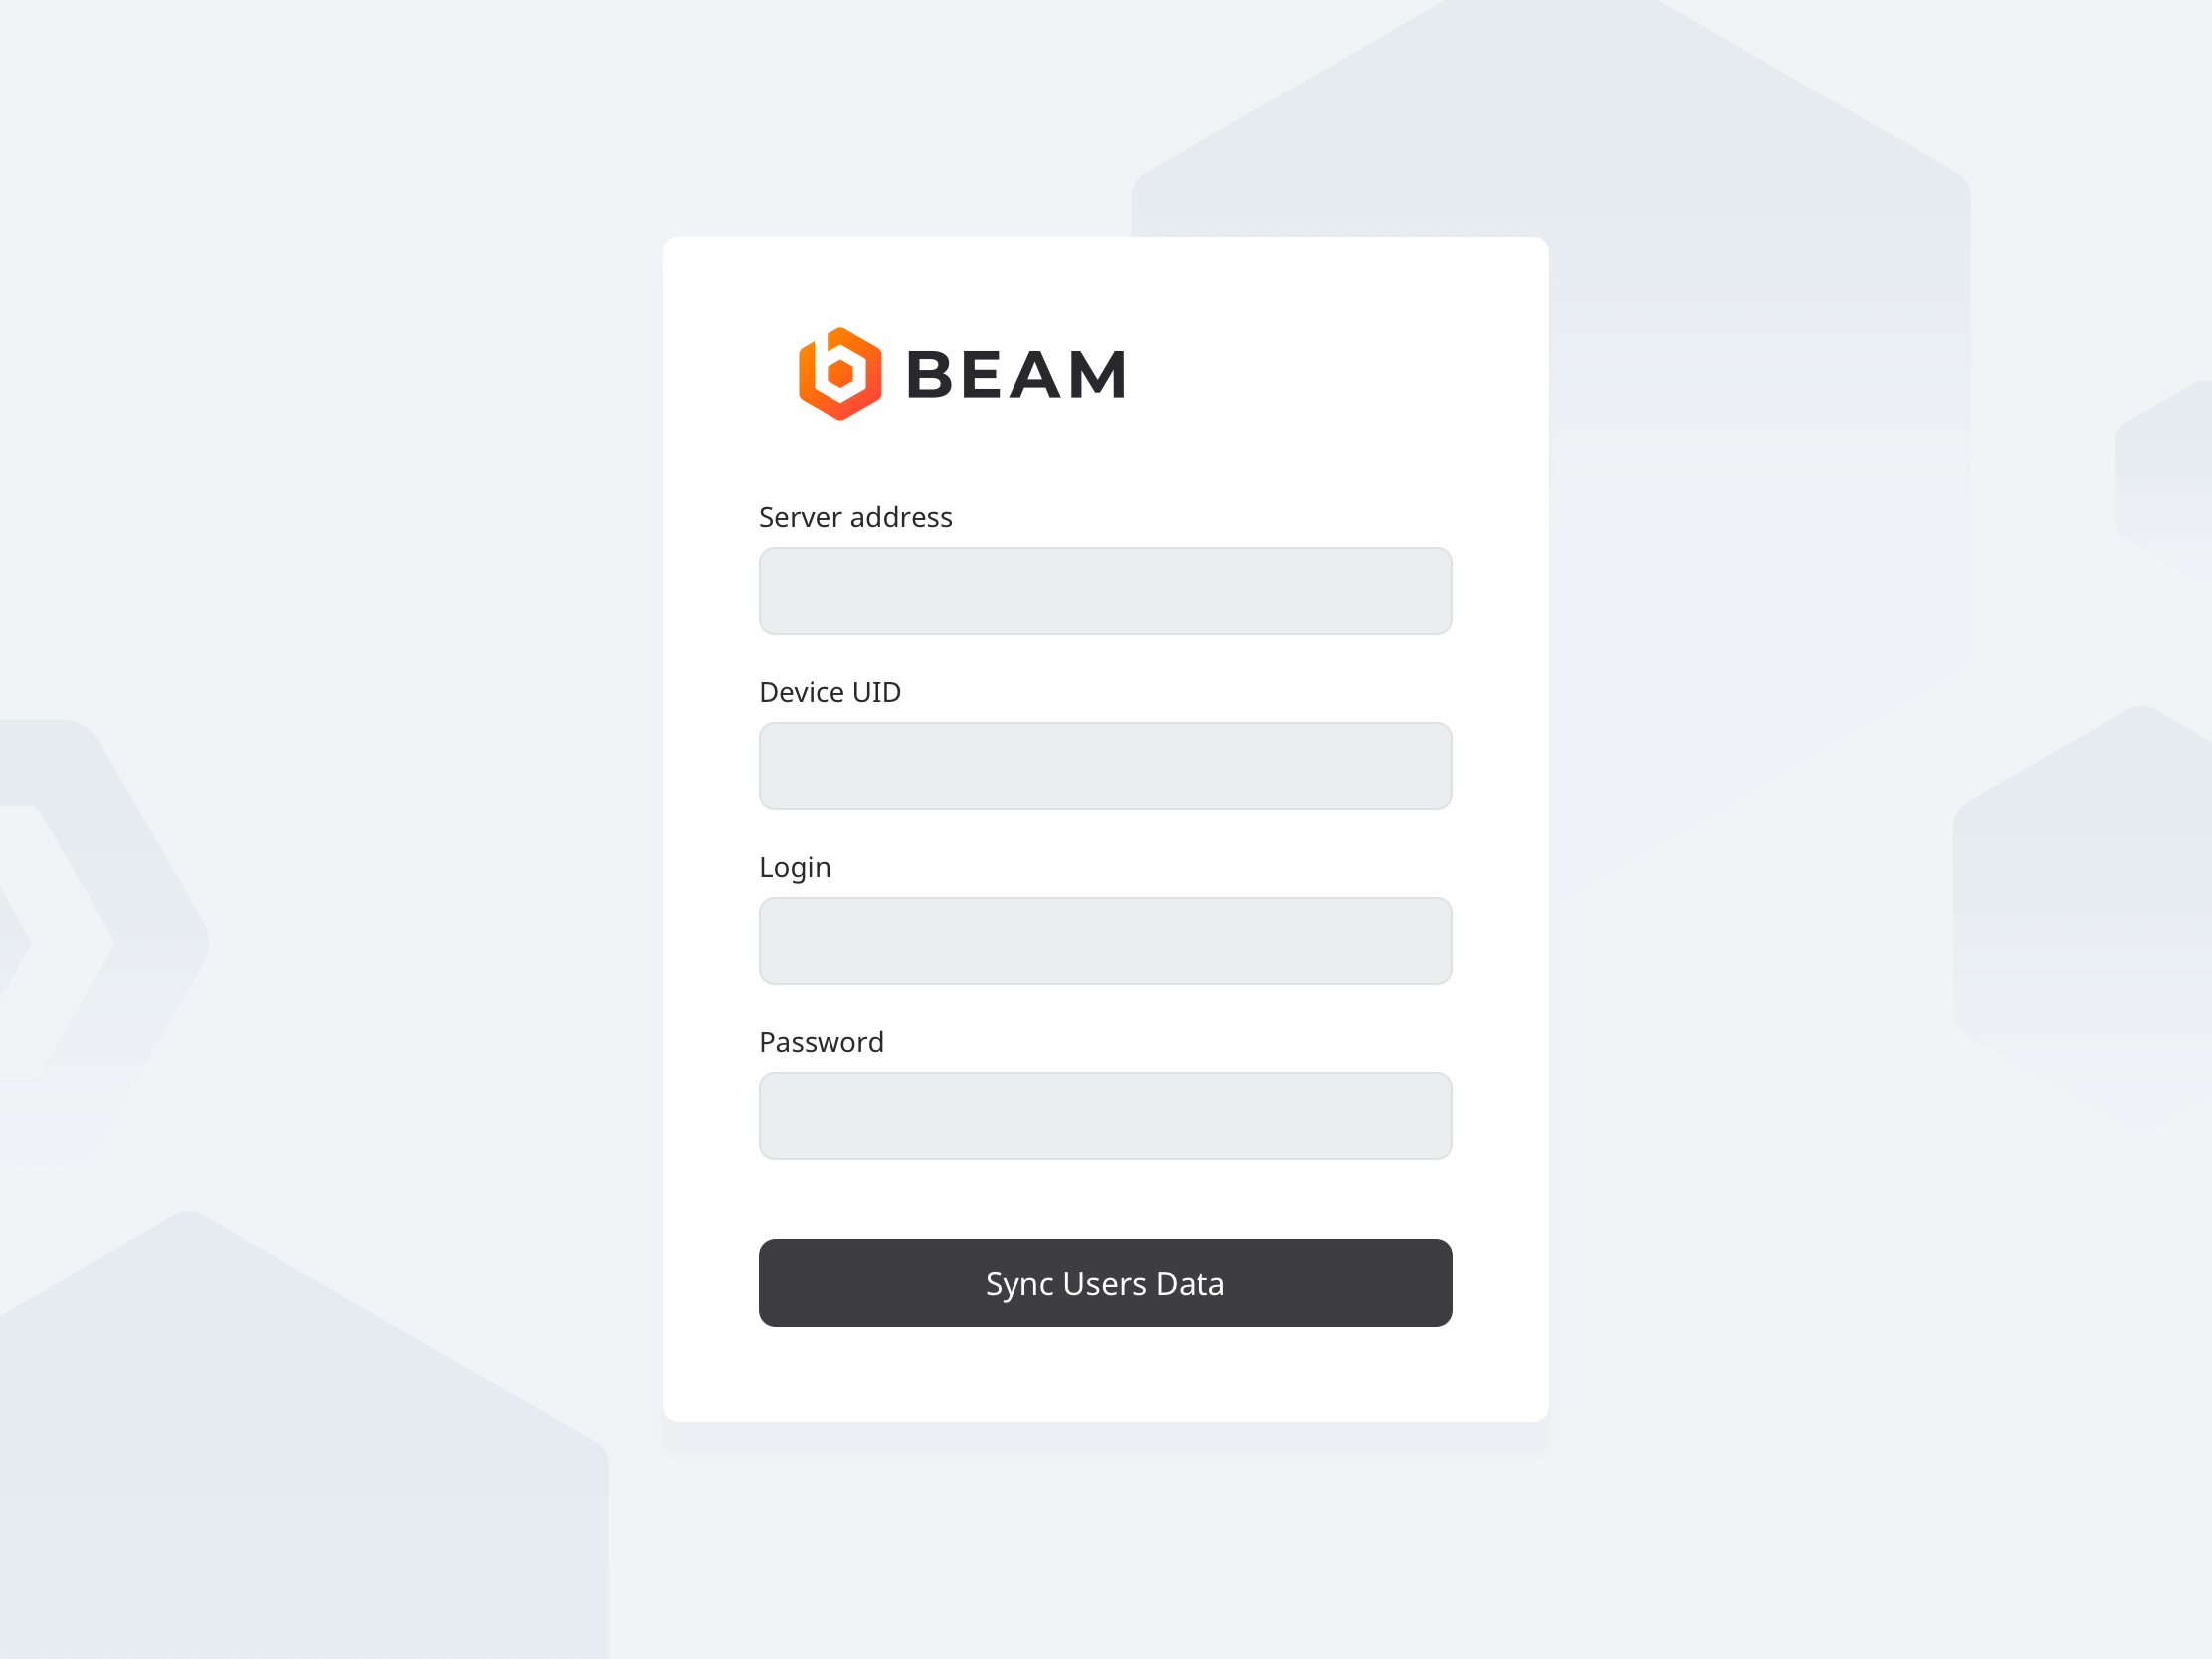
| Server Address | Enter the IP address or FQDN of the server. It must be entered as http://<ipaddress> or https://<fqdn> if you are using SSL |
| Device UID | You can obtain this by pulling up the iPad device on the server. |
| Username | This must be a local account with administrator rights. |
| Password |
7) Touch Sync User Data.
8) You will now be prompted to enter your username. This should be the username of the individual that will be utilizing the device, as that is the user the videos will be stored under. The user can log out and another user can log in at any time.
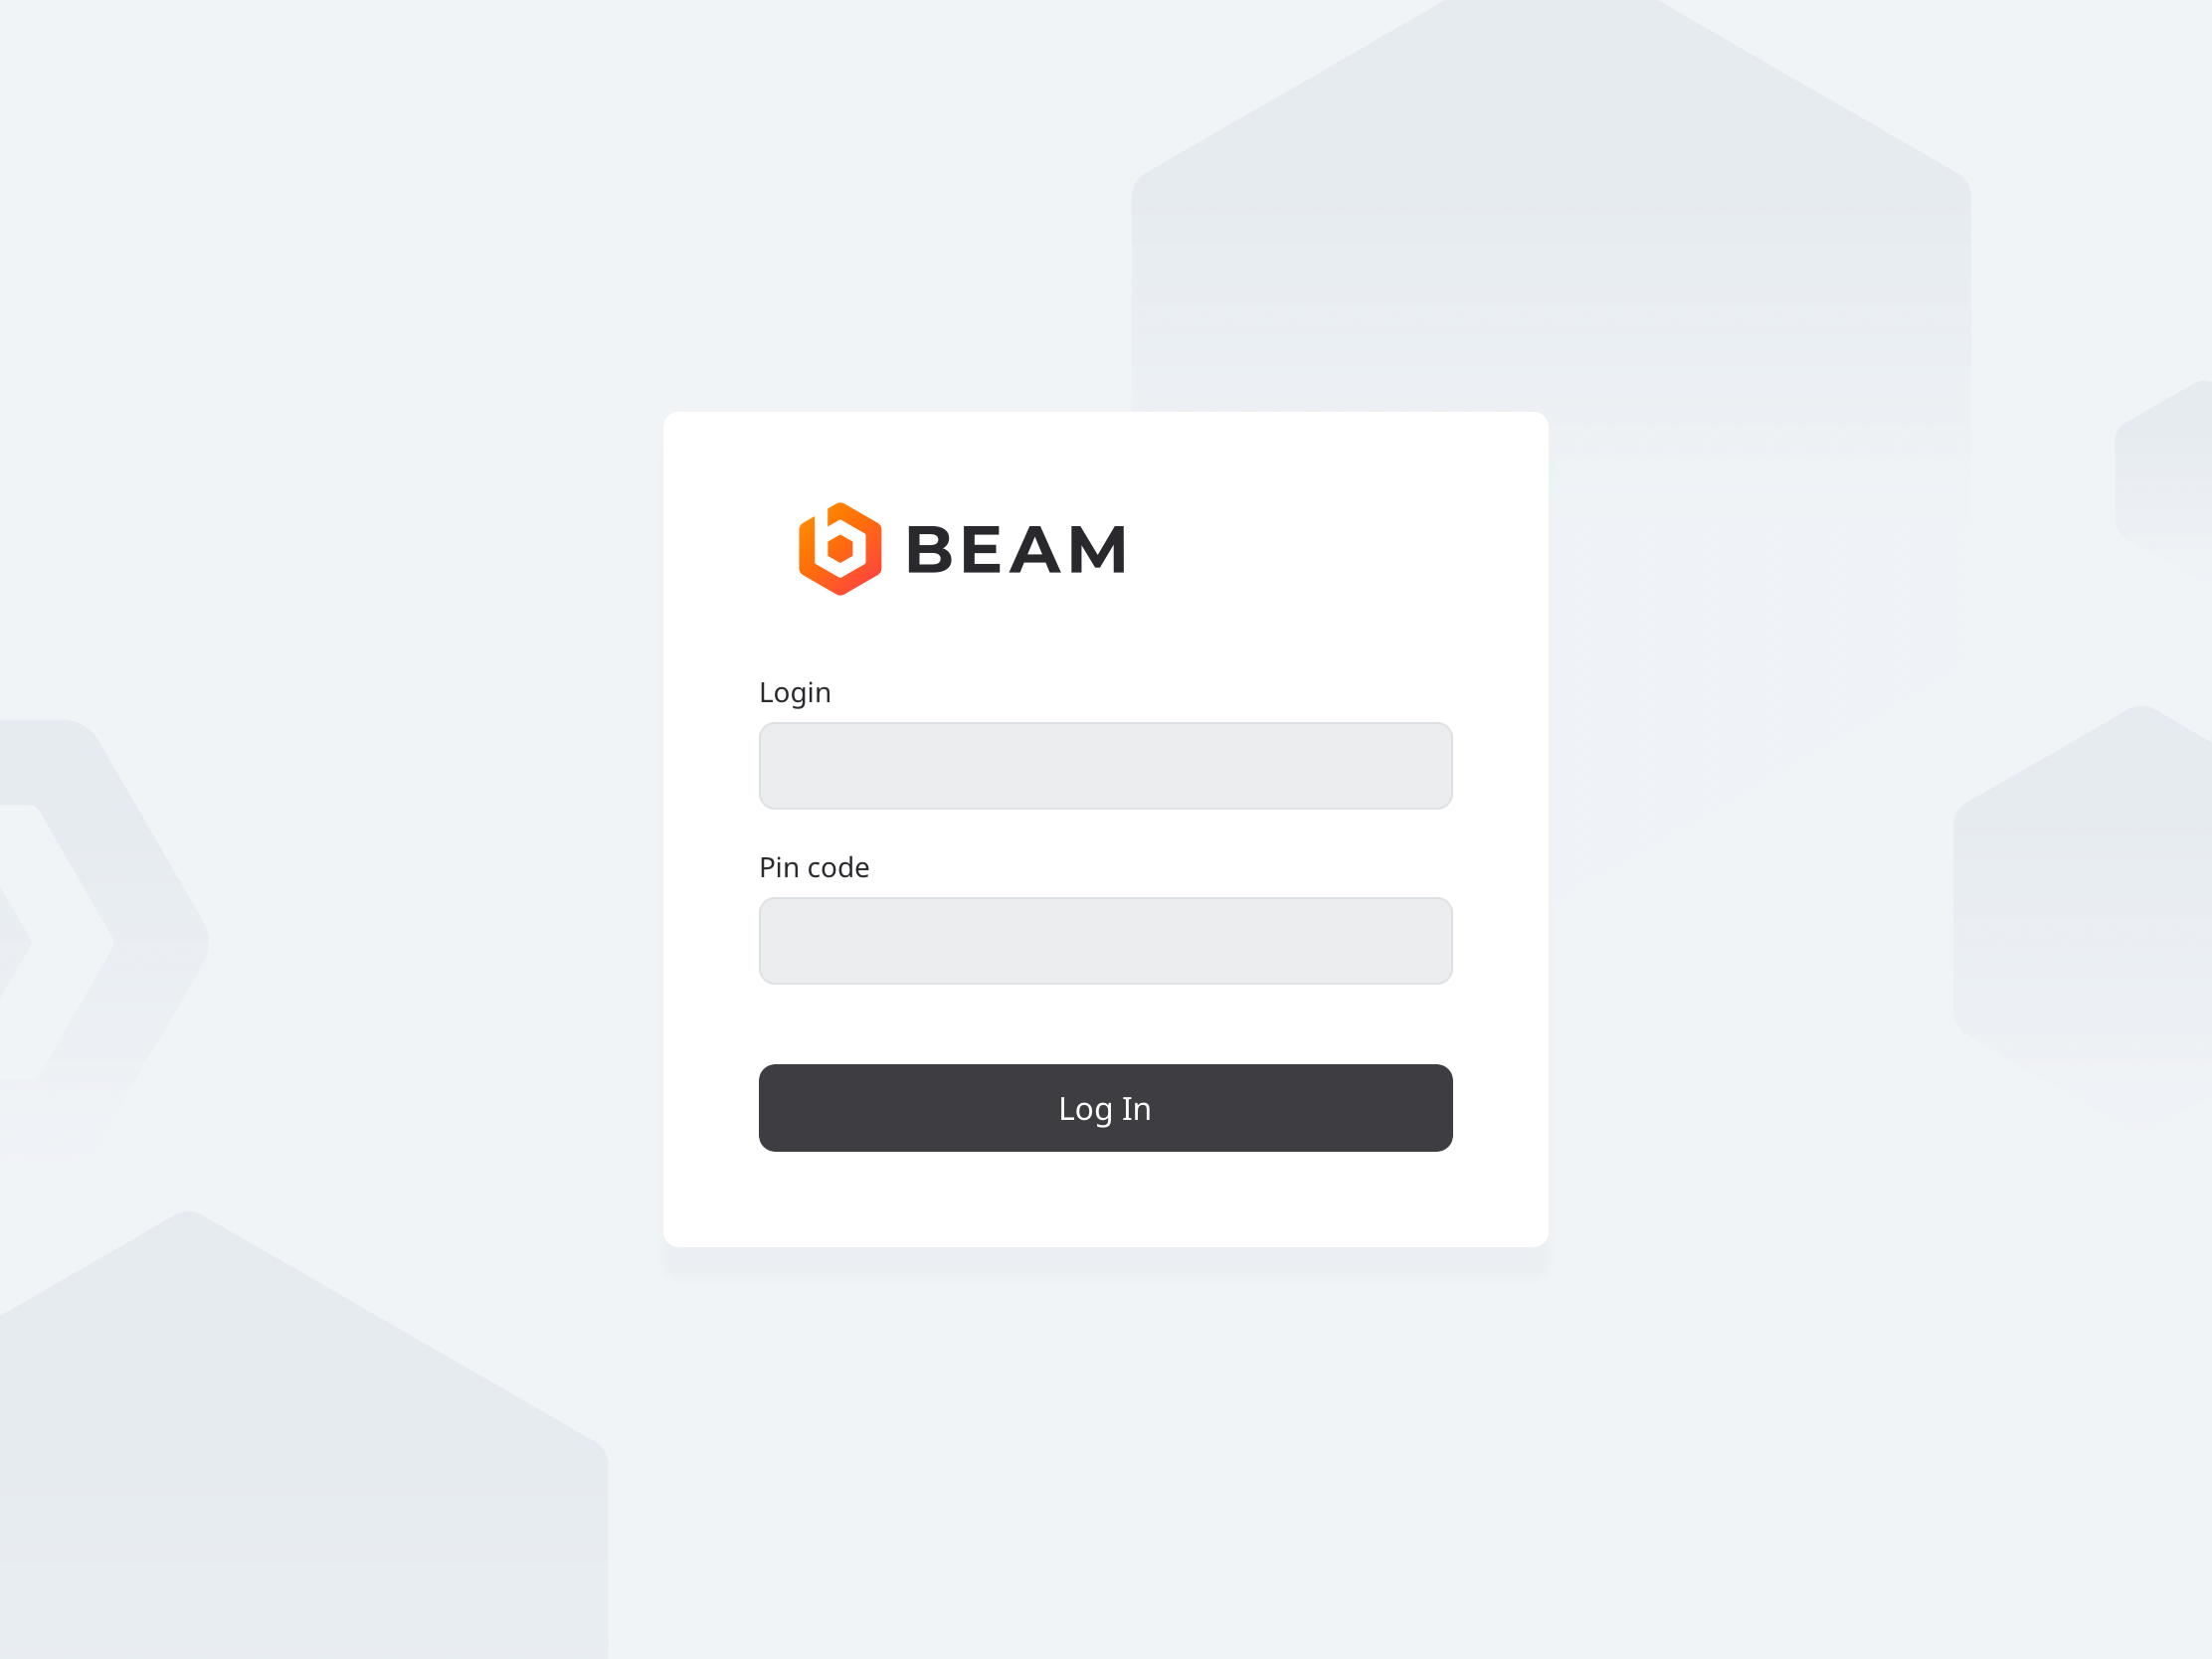
9) Enter the username & pin code (if pin code has been assigned).
10) Touch Login

IVS Beam Software User Guide
- Starting the App
- BEAM Sync Users Data
- User Interface
- Recording
- Synchronizing Files
- Changing Settings
Install SSL Certificate for BEAM iPads
Install SSL Certificate Profile on the iPad
- Transfer the same SSL certificate installed on the VALT server to the iPad.
- This could be done via email, OneDrive share link, Box share link, etc.
- See more under Tools, below.
- Install the certificate profile onto the iPad by following one of these two methods:
- Open the file from Mail, Files, Safari, or AirDrop.
- The iPad will prompt: "Profile Downloaded - Review the profile in Settings if you want to install it."
- Open Settings > General > VPN & Device Management
- Select the VALT server certificate in the list under the heading "Downloaded Profile" and click Install at the top-right
- You may be prompted to enter the device password, then click Install once again
- Open the file from Mail, Files, Safari, or AirDrop.
- Enable full root trust for the certificate, per Apple's documentation.
- Go to Settings > General > About > Certificate Trust Settings
- Under "Enable full trust for root certificates", flip the switch on for your installed certificate.
- Verify that the certificate is correctly installed by navigating to your VALT web page and checking for any certificate errors.
Tools
You can access and download the certs from the VALT server by using this 3rd party app Inspect - View TLS certificate
Common Issues
- I installed the SSL Certificate, but BEAM still isn't connecting to VALT
- If the SSL Certificate installed on the VALT Server has multiple certificate chains, ensure each certificate chain is individually installed on the iPad.
- I installed an SSL Certificate on the iPad, but I don't see it in the list of certificates to enable full root trust for
- Only root certificates will appear in this list. All certificate chains need to be installed, but only the root certificate needs to have the full root trust enabled.