Installing a VALT Virtual Appliance
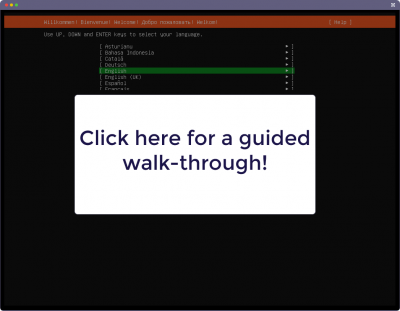
Please click on the image below for a guided walk-through of installing the VALT appliance. Otherwise, please continue reading and follow the steps on this page.
Getting Started
- Download the Ubuntu 24.04 ISO here
- Deploy the ISO in your Virtual Environment
- Reference the table on the right for the recommended specs.
✎
IVS recommends allocating 100 GB to the root drive.
- Launch the Console
| Licenses | Cores | Memory |
|---|---|---|
| 5 | 4 | 16 GB |
| 15 | 8 | 16 GB |
| 25 | 16 | 32 GB |
| 30 | 20 | 40 GB |
| 40 | 24 | 48 GB |
| 50 | 32 | 64 GB |
Minimum Storage Requirement
⚠
IVS requires a minimum size of a 2TB separate disk being allocated for video storage
OS Installation
- Select your Language.
- Verify your Keyboard configuration.
- Choose Ubuntu Server for the base installation.
- Select Continue without updating.
- Select a network interface to configure.
- Select either Automatic (DHCP) or Manual.
- Click Done.
- If your network has a proxy server, enter in the address, otherwise, click Done.
- Address should be in this form:
http://[[username][:password]@]host[:port]/ - Verify that the Ubuntu mirror location passes the network connectivity tests and click Done.
- Uncheck ☐ Set up this disk as an LVM group.
- Ensure ☑ Use an entire disk is selected and select Done.
- Verify the Storage Configuration and select Done.
- Select Continue.
- Create the User Profile.
- Your Name:
- IVS Admin
- Your server’s name:
- ivs-valt
- Pick a username:
- ivsadmin
- Choose a password:
- Set a safe and secure password
- Confirm your password:
- Enter in the same password
- Check Skip for now.
- Select and check ☑Install OpenSSH server.
- Select No for Import SSH identity and select Done.
- When prompted to add in Featured Server Snaps, just select Done.
- The OS will be installed.
- When the Install complete is done, select Cancel update and reboot.
🕮
The default is DHCP. Take note of the IP, as this will be used when accessing the server later.
Installing VALT
⚠
Reach out to the IVS Support Team to assist with installing the VALT appliance