LDAP Configuration
From IVS Wiki
Jump to:
navigation
,
search
»
Info
🕮
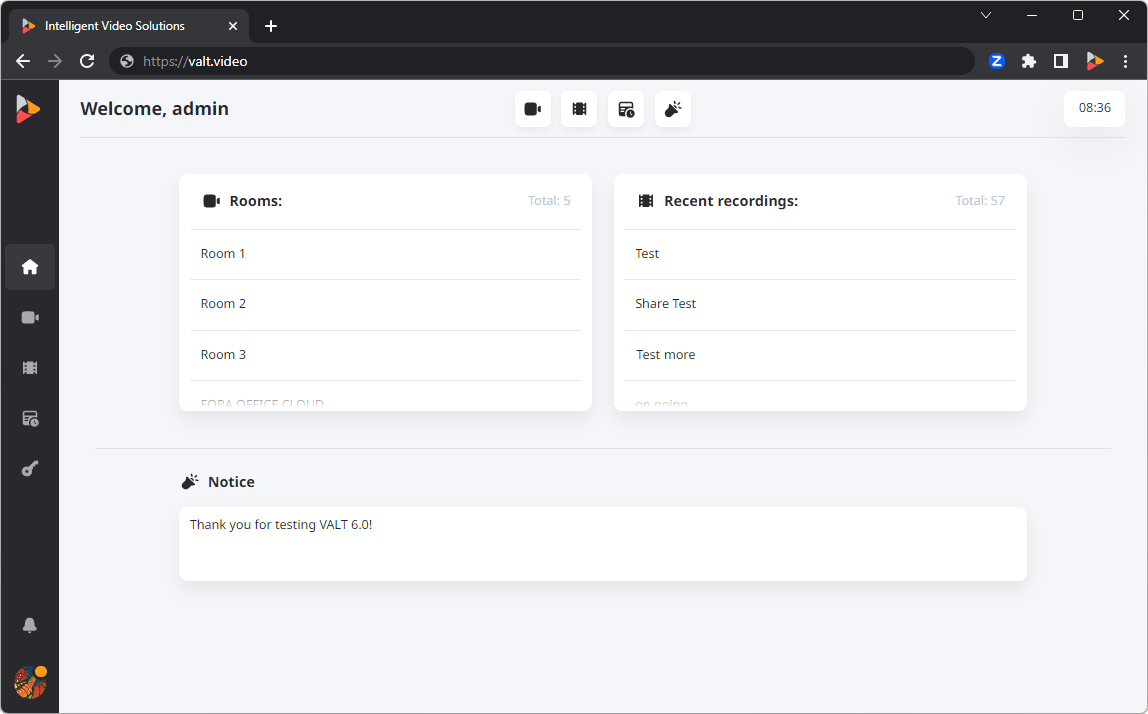
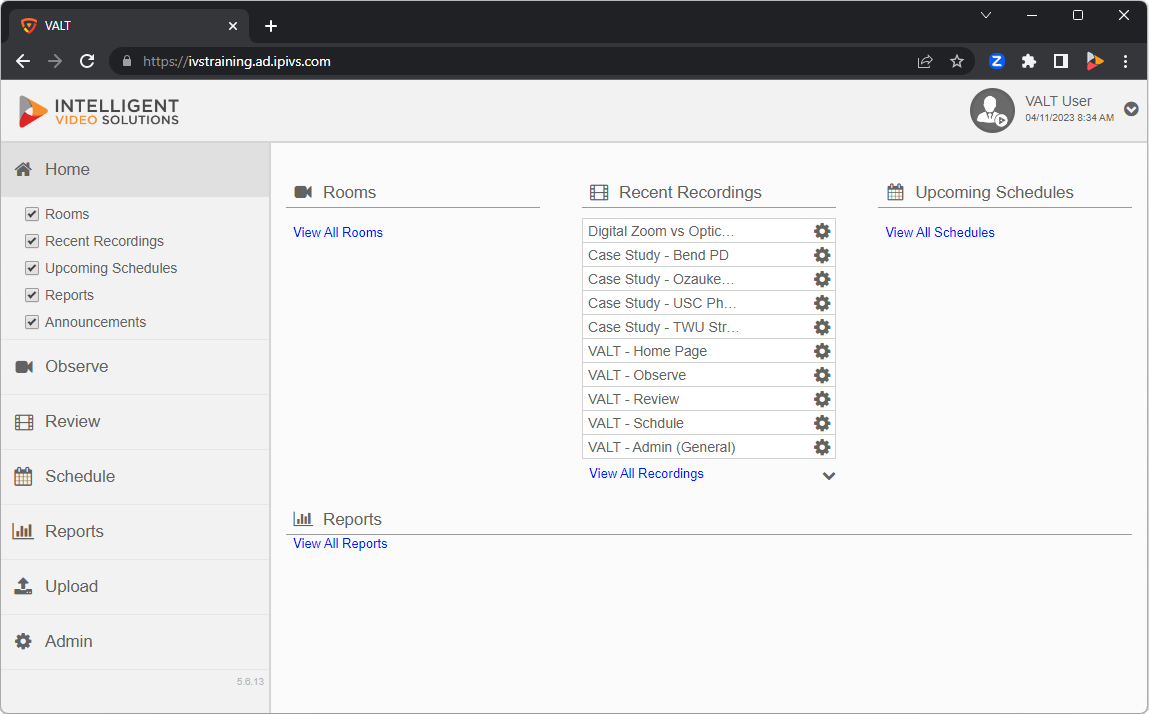
Select your version of VALT by
clicking the image
that matches your user interface!
VALT 6
VALT 6 LDAPS
VALT 5
»
VALT 6
»
VALT 5
Navigation menu
Personal tools
Log in
Namespaces
Page
Discussion
Variants
Views
Read
View source
View history
More
Search
Navigation
Main IVS Website
Contact Support
Customer Feedback
VALT Software
Information
Manual
API
Installation
Video & Audio
Mobile
Servers
Accessories
Troubleshooting
VALT
Video & Audio
Servers
Tools
What links here
Related changes
Special pages
Printable version
Permanent link
Page information