Template:Connecting The Microphone Verifact D
From IVS Wiki
Connecting the Microphone
- Using a stud finder, scan the mounting location of the Verifact D ensure the microphone is not mounted on a stud.
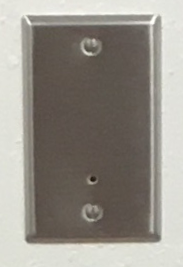
- Cut a hole into the drywall, large enough to fit the mud ring into it securely.
-
- Using the hole saw, drill a hole above the drop ceiling in line with the hole drilled where the Verifact D is mounted.
- Feed one end of the the 22/2 audio cables through the hole. (If mounting on a hard surface, attached Datacom box to the wall).
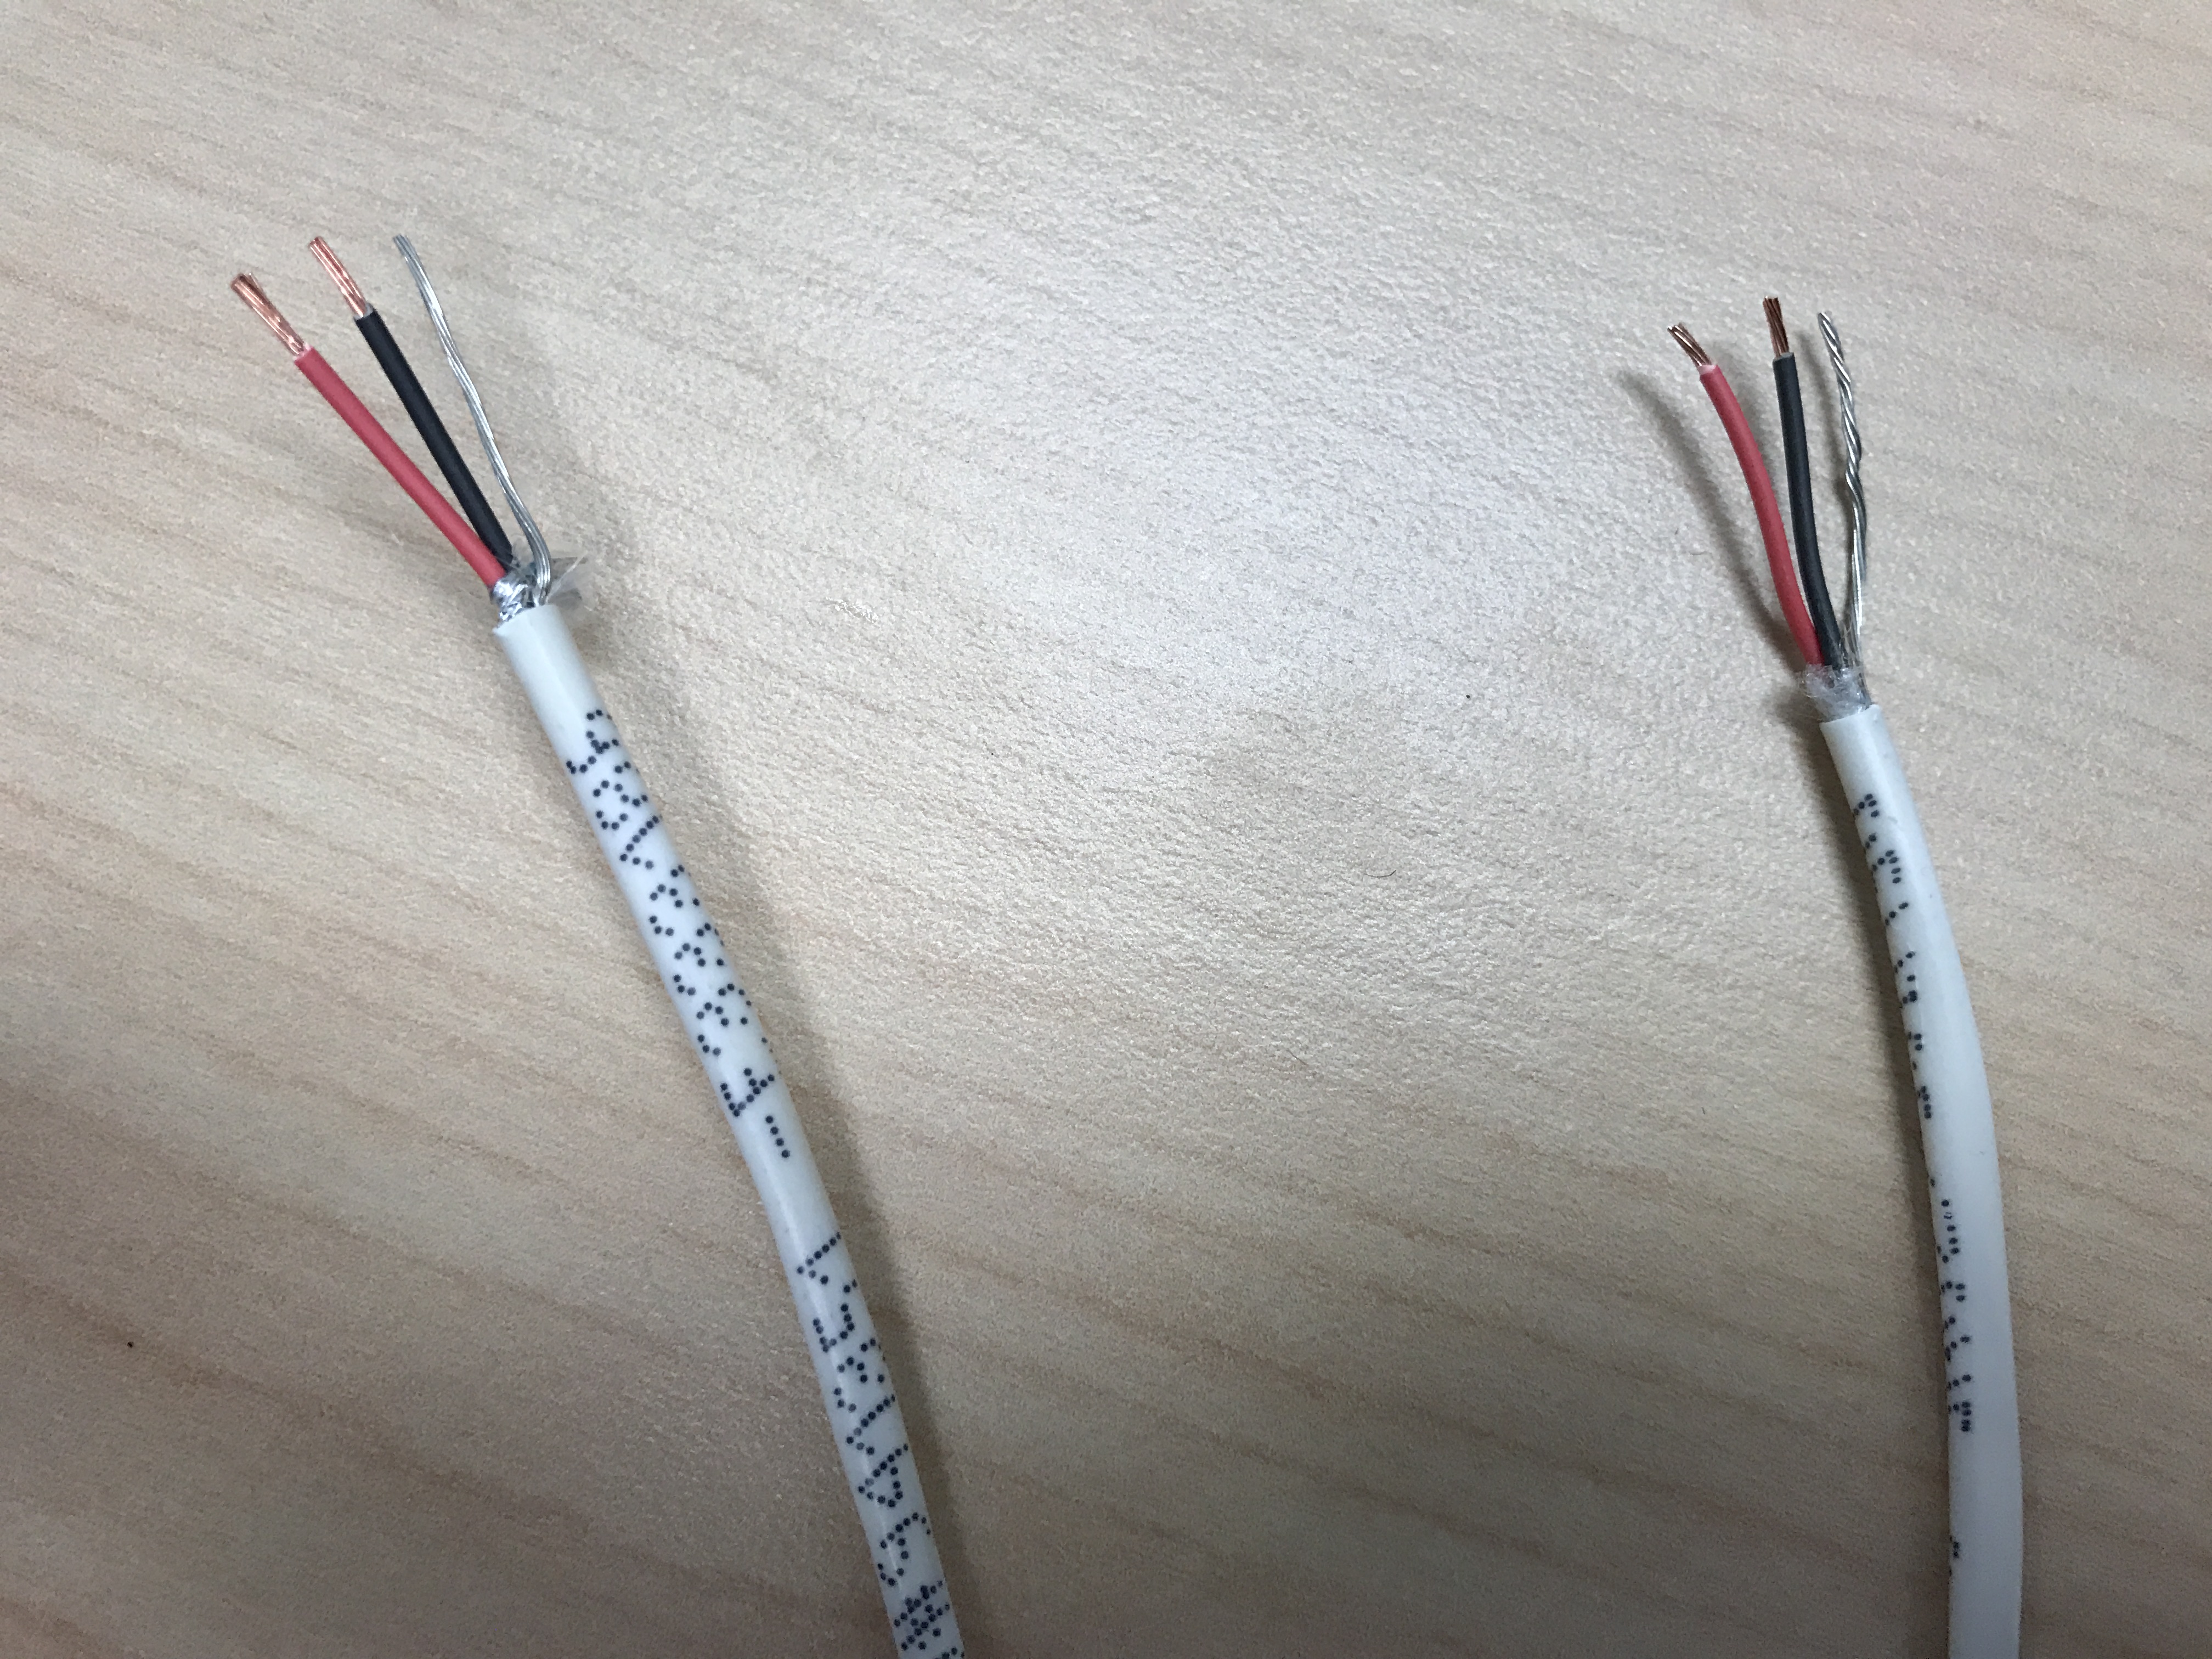
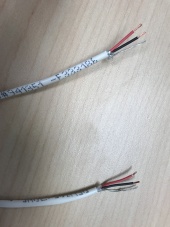
- Strip the jacket off the 22/2, revealing the red, black, and common (bare wire) on both sides of the cable.
- Remove the string and plastic casings covering the red and black cables. Strip the red and black jackets off the wire exposing the copper. Cut copper evenly on both ends (See picture)
-
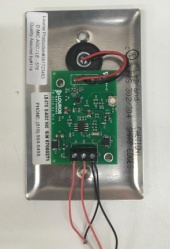
- Connect the 22/2 cables to the Verifact-D phoenix terminal as follows; Audio - Red to B, Black to C, Power - Red to A, Black to C (See Picture).
-
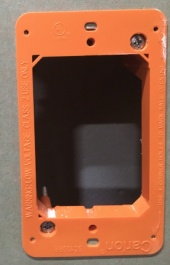
- Align Verifact-D with mud ring or Datacom box and screw in securely.
-