Template:P3245LV Mount The Camera
Mount the Camera
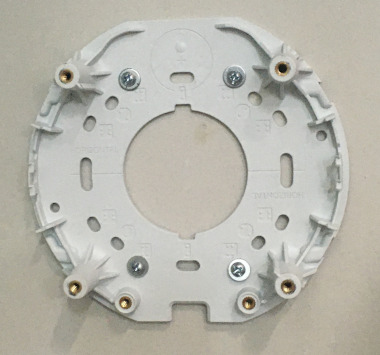
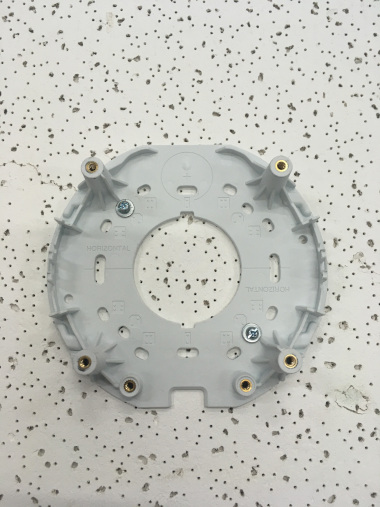
Drywall mounting instructions
- Using a stud finder, scan the mount location to ensure the camera is not mounted on a stud.
- Using a pencil, mark the four holes for the mount plate.
- Using a 3/16" drill bit, drill the marked locations and
- Install anchors and attach the mount plate using screws and washers.
- Using a hole saw or paddle bit, cut a hole centered in the wall plate where cables will pass through.
- Using the hole saw, drill a hole above the drop ceiling in line with the hole drilled where the camera is mounted.
- Cut two lengths of 22/2 long enough to reach the mounting location of the microphone.
- Using glow rods or fish tape, fish the network drop or patch cable in addition to the two sections of 22/2 audio cable through the drywall.
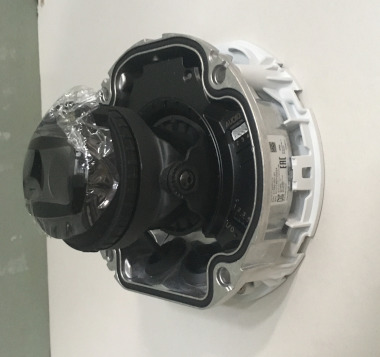
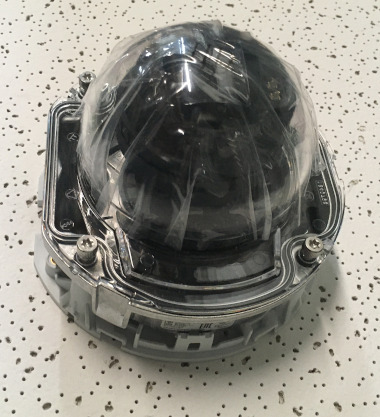
- Attach the camera the the mount plate
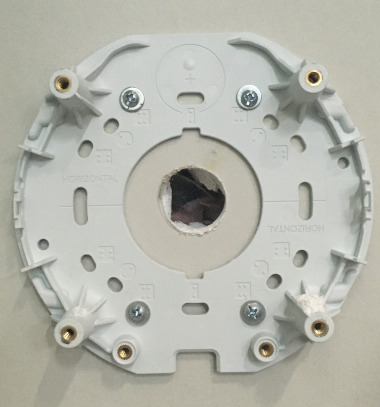
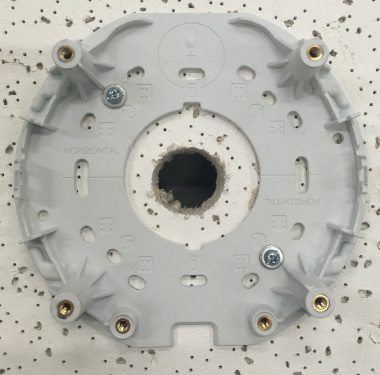
Drop Ceiling mount instructions
- If mounting to drop ceiling, determine where the camera will be located on the tile. Ensure that there will be clearance on the tile to secure the dome in place.
- Using two toggle bolts, secure the mount plate.
- Using a 1" paddle bit, drill a hole centered in the opening of wall plate. This is where cables will pass through.
- Cut two lengths of 22/2 long enough to reach the mounting location of the microphone.
- Using glow rods or fish tape, fish the network drop and 2 sections of 22/2 audio cable into the drop ceiling.
- Attach camera to mount plate.
-
Note: Be careful not to press too hard and damage the ceiling tile