VALT Room Schedule Display
Contents
Configuration
How to Connect
DHCP
The VALT Room Schedule Display will automatically pull an IP address from DHCP. The IP address can be obtained by reviewing the DHCP leases on the associated DHCP server. The hostname of the device is ScheduleDisplay.
Manual
You can retrieve the IP address from the smart button directly by plugging in a keyboard and running the following command from the console: ifconfig | more
The ip address will be listed under interface eth0.
Manually Setting an IP Address
In order to set the ip address manually, connect to the device using the ivsadmin user. The ivsuser account can not change any settings. If you are connecting from the console, type su ivsadmin to change accounts. There will be a prompt for the ivsadmin password.
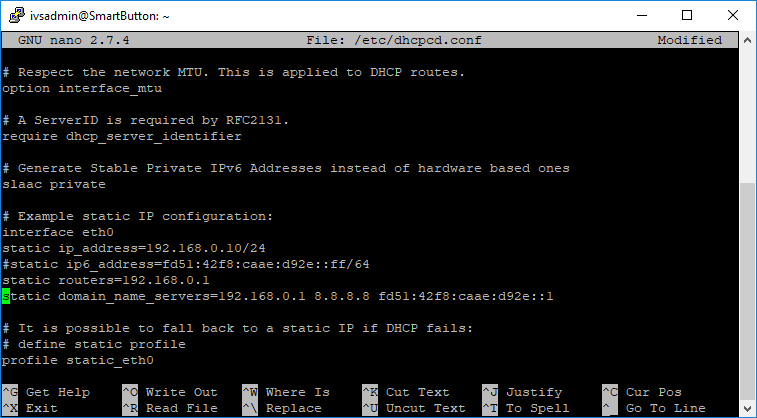
- Type sudo nano /etc/dhcpcd.conf and press enter
- Scroll down until to the section for interface eth0.
- Remove the # at the start of the lines for static ip_address, static routers, and static domain_name_servers.
- Update the ip configuration to reflect the correct settings for the environment.
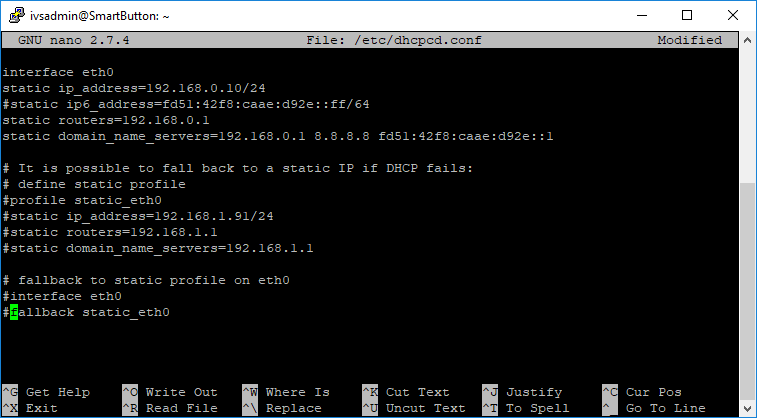
- Comment out the remaining lines in the file by adding a # to the start of the line.
Configuring the Room Schedule Display
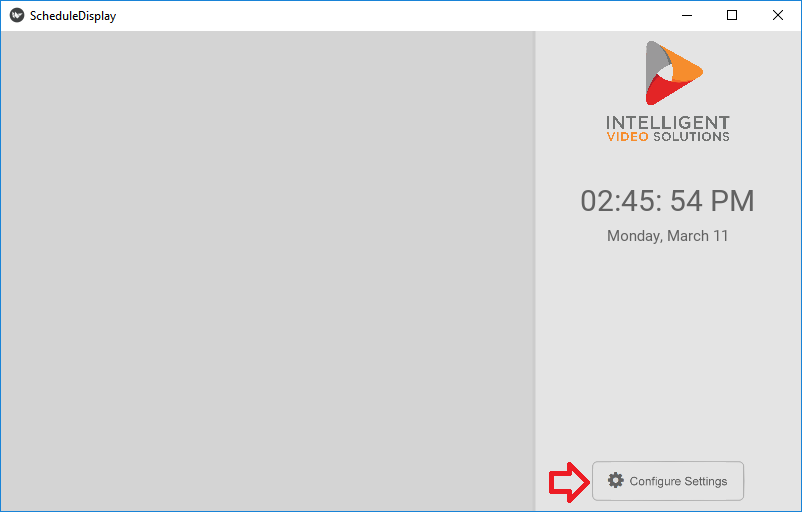
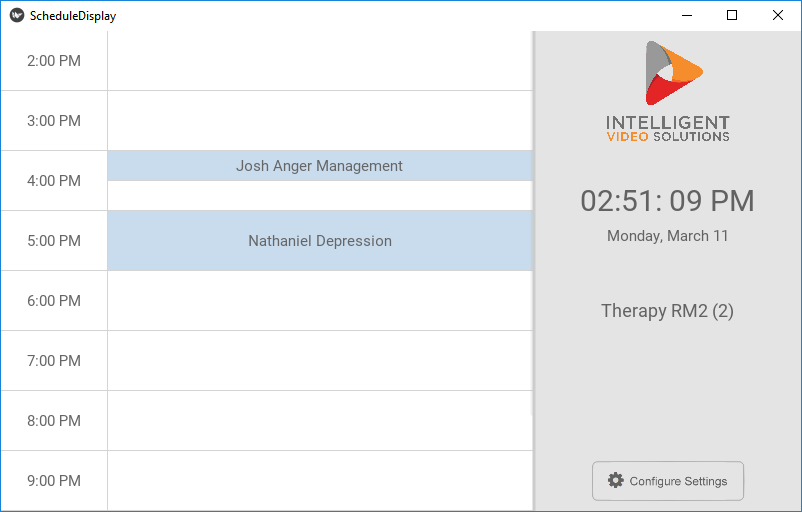
Upon initial startup the Room Schedule Display should boot up to a blank schedule as seen in the picture below.
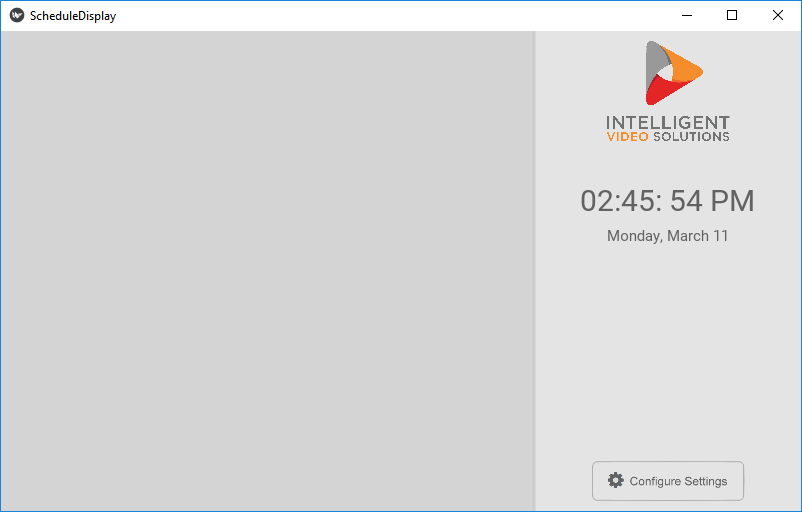
- Click Configure Settings
- Enter the password for the Room Schedule Display.
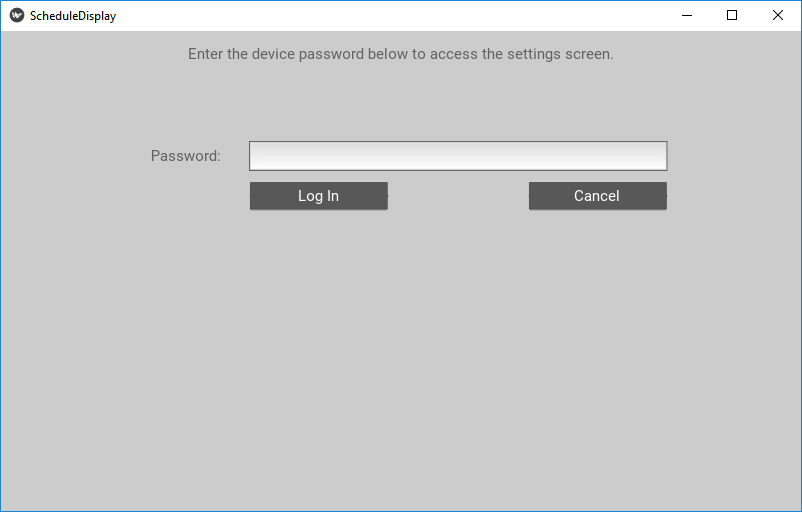
- The default password is admin51.
- Click Log In
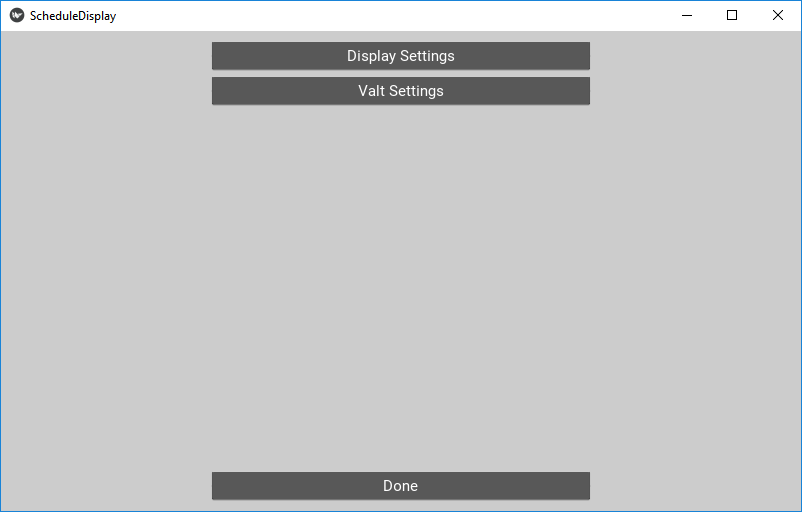
- Select the appropriate settings menu from the available options.

Display Settings
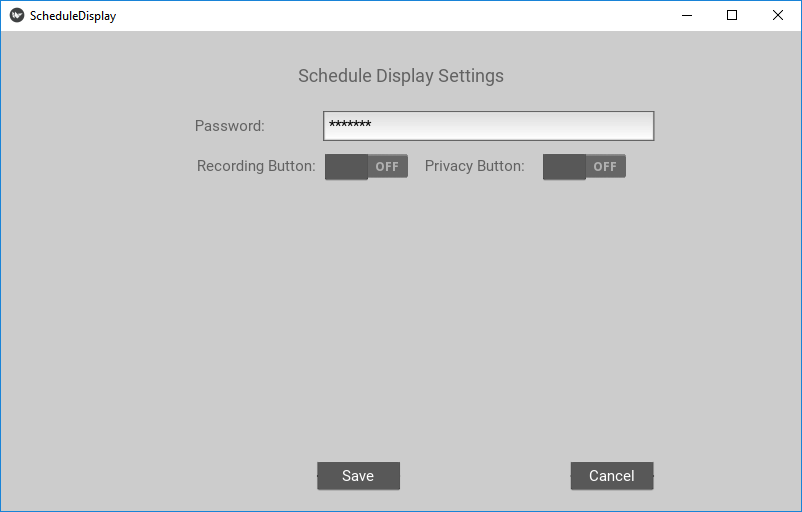
Display Settings Password Access password for the settings page on the VALT Room Schedule Display Recording Button Turns on or off the ability to start and stop recordings from the VALT Room Schedule Display Privacy Button Turns on or off the ability to enable privacy mode from the VALT Room Schedule Display
Note: The privacy mask must be configured on the camera before the privacy button will function.
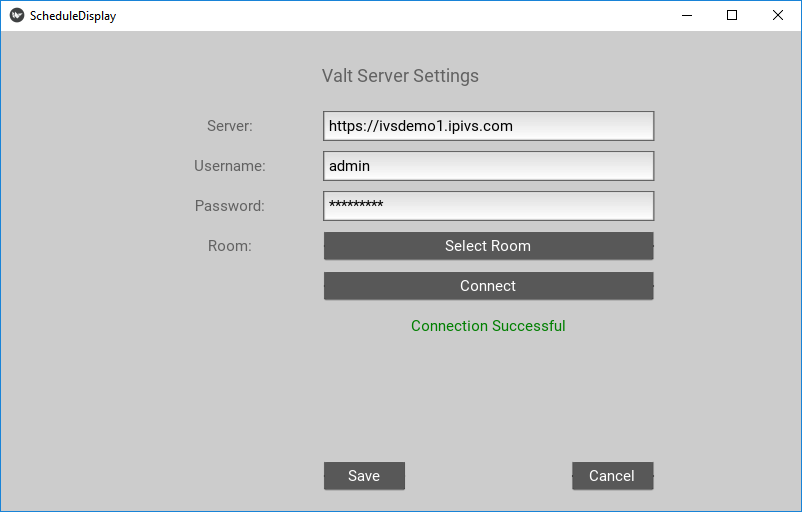
VALT Settings
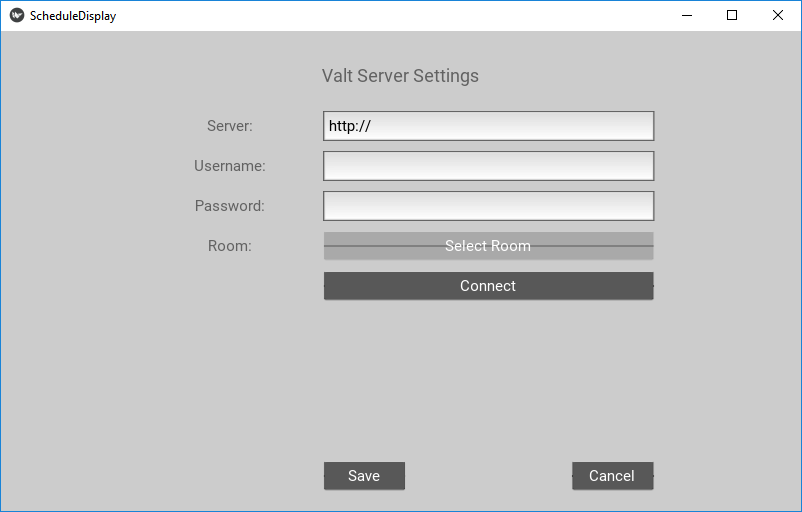
VALT Settings Server URL for the VALT server Username Username for the VALT server. It is recommended to create a service account for this purpose. Password Password for the specified user account. Room Room for which the schedule will be displayed on the VALT Room Schedule Display. Connect Attempts to connect to the VALT server using the provided url and credentials.
- Enter the required information into the fields provided.
- Click the connect button.
- If all the entered information is correct, a Connection Successful message will be received.
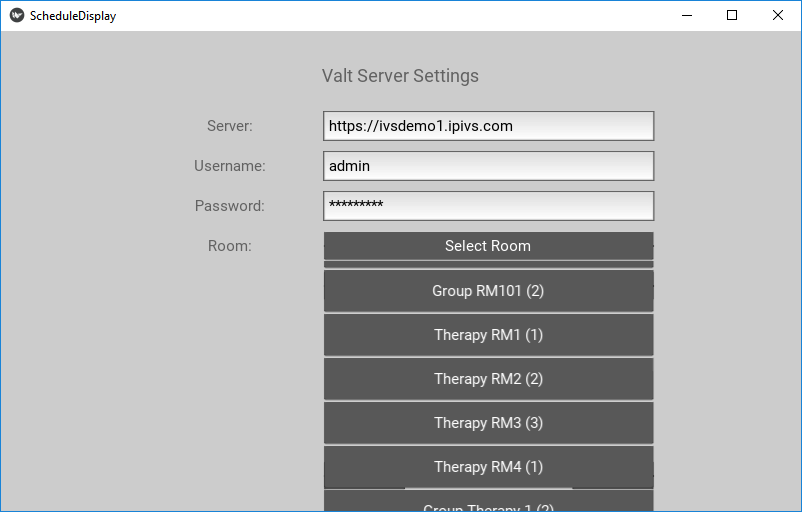
- Select the room from the dropdown list. This will only be available once a connection is established with the VALT server.
- Click Save
- The room schedule should now be displayed on screen.
Disable the Fan
- Connect to the VALT Room Schedule Display via SSH
- Type sudo nano /boot/config.txt and press enter.
- Scroll down to the bottom of the file and add the following line:
- disable_poe_fan=1
- Save the file
- Reboot the VALT Room Schedule Display.