Difference between revisions of "IVS Wiki:BEAM Manual"
IVSWikiBlue (talk | contribs) |
IVSWikiBlue (talk | contribs) |
||
| Line 14: | Line 14: | ||
{{Manual lvl 2 | title = Switch Server | content = | {{Manual lvl 2 | title = Switch Server | content = | ||
| − | The {{img - icon | file = Beam icob(sign-out-option).png | width = 16px}} <strong>Logout</strong> | + | The {{img - icon | file = Beam icob(sign-out-option).png | width = 16px}} <strong>Logout</strong> button will allow you to logout or disconnect BEAM from your VALT server or to change the server settings. |
| + | |||
| + | {{Aside - Warning | hue = 50 | content = Switching servers will <strong>delete</strong> all videos that are not yet uploaded to VALT.}} | ||
{{img - resize | file = BEAM Manual 2.0 Navigation 02.png}} | {{img - resize | file = BEAM Manual 2.0 Navigation 02.png}} | ||
}} | }} | ||
| Line 23: | Line 25: | ||
{{Manual lvl 2 | title = Prepare Recording | content = | {{Manual lvl 2 | title = Prepare Recording | content = | ||
| − | + | The {{img - icon | file = Beam icon(hour glass).png | width = 16px}} <strong>Prepare</strong> button is used to arm a room for an active recording. This option allows you to fill in all the information fields ahead of the recording. | |
{{img - resize | file = BEAM Manual 2.0 Navigation 03.png}} | {{img - resize | file = BEAM Manual 2.0 Navigation 03.png}} | ||
}} | }} | ||
| Line 32: | Line 34: | ||
{{Manual lvl 2 | title = Flip Camera | content = | {{Manual lvl 2 | title = Flip Camera | content = | ||
| − | + | The {{img - icon | file = Beam icon(flip cam).png | width = 16px}} <strong>Flip Camera</strong> buttons allows users to toggle between the front and rear cameras of your device. | |
{{img - resize | file = BEAM Manual 2.0 Navigation 04.png}} | {{img - resize | file = BEAM Manual 2.0 Navigation 04.png}} | ||
}} | }} | ||
| Line 41: | Line 43: | ||
{{Manual lvl 2 | title = Record | content = | {{Manual lvl 2 | title = Record | content = | ||
| − | + | The {{img - icon color | file = Record.png}} <strong>Recording</strong> button will prompt the user to fill out an Information Template before beginning the reocrding. | |
{{img - resize | file = BEAM Manual 2.0 Navigation 05.png}} | {{img - resize | file = BEAM Manual 2.0 Navigation 05.png}} | ||
}} | }} | ||
| Line 50: | Line 52: | ||
{{Manual lvl 2 | title = Stream | content = | {{Manual lvl 2 | title = Stream | content = | ||
| − | + | The {{img - icon | file = Beam icon(wifi-signal).png | width = 18px}} <strong>Stream</strong> button will allow the user to Stream or Stream and Record. Both options will allow the BEAM video stream to be viewable in VALT. The video will show up as a [[VALT_Manual_Observe#Filter|Stream]] in the VALT application. | |
{{img - resize | file = BEAM Manual 2.0 Navigation 06.png}} | {{img - resize | file = BEAM Manual 2.0 Navigation 06.png}} | ||
}} | }} | ||
Revision as of 09:48, 9 April 2025
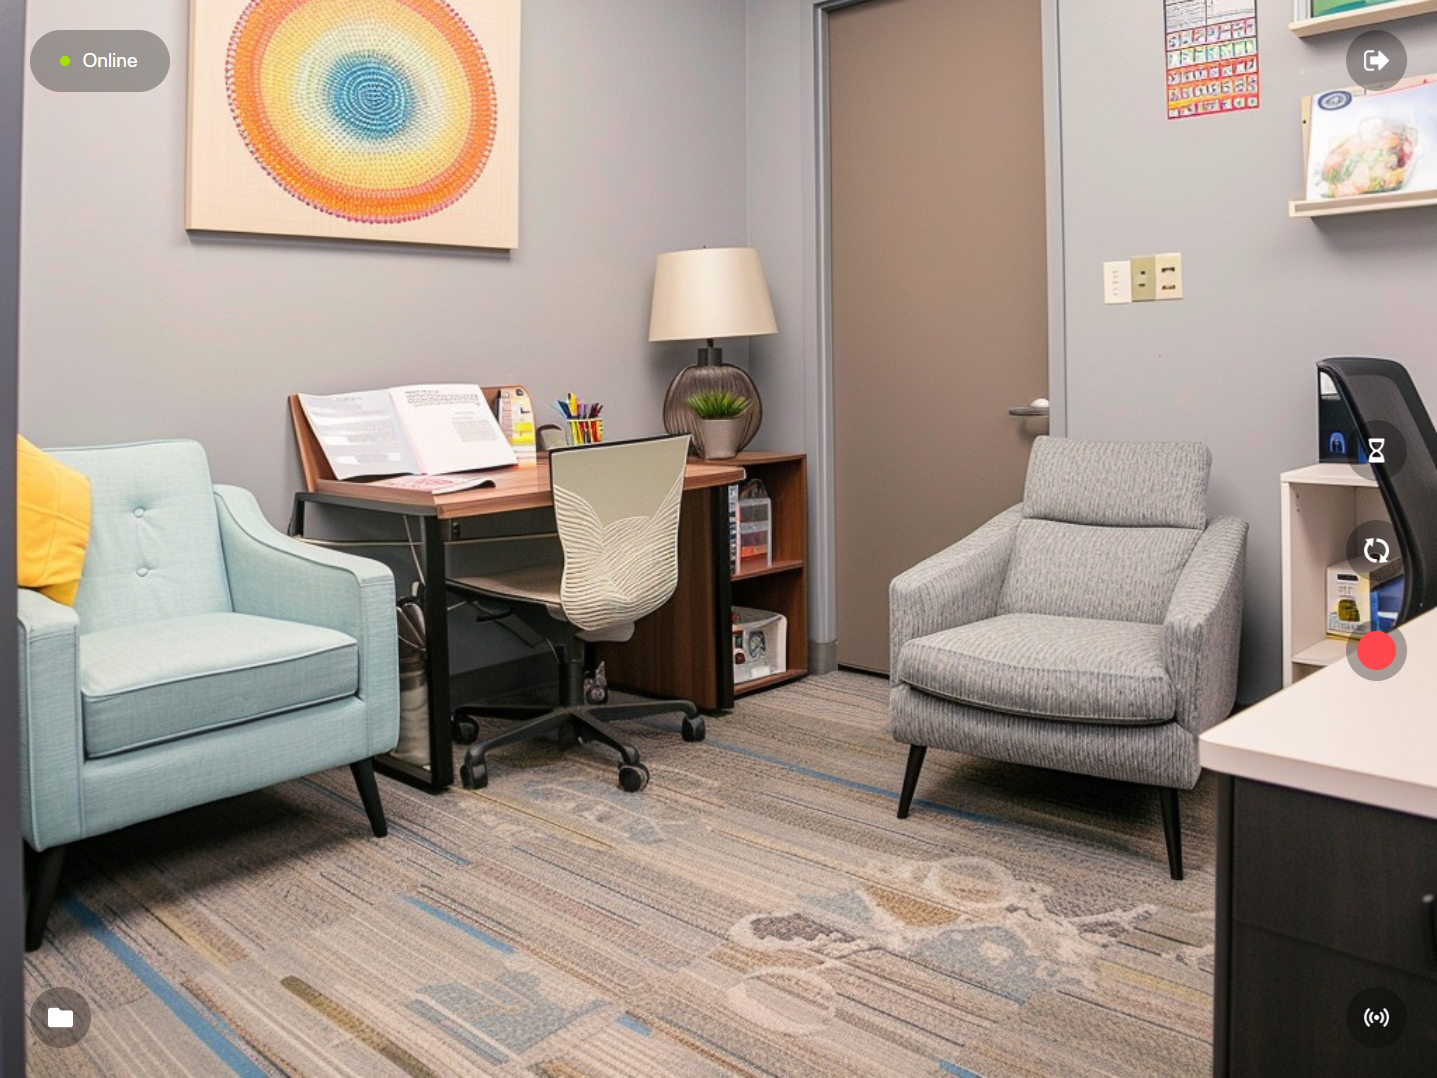
Once logged into BEAM, you will be greated to a camera view with a variety of buttons to perform actions.
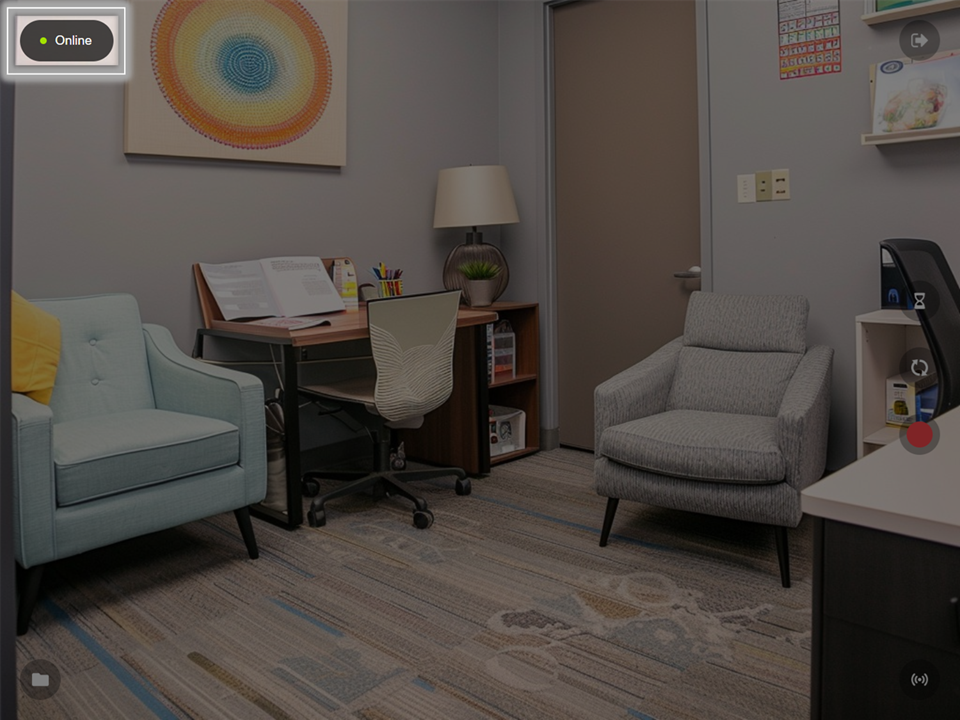
Connection Status
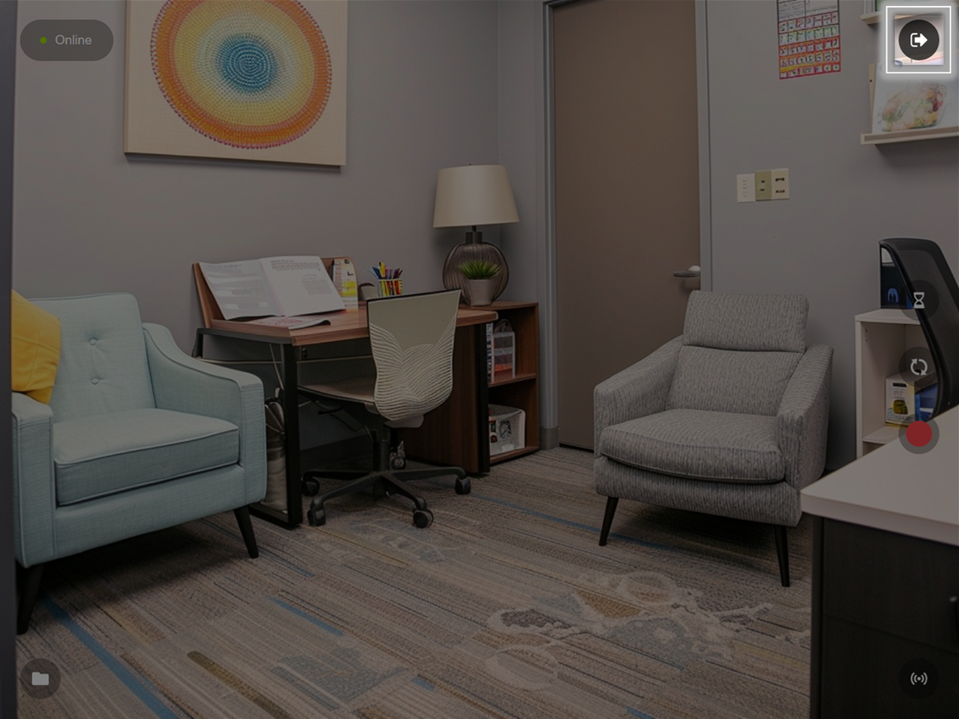
Switch Server
The ![]() Logout button will allow you to logout or disconnect BEAM from your VALT server or to change the server settings.
Logout button will allow you to logout or disconnect BEAM from your VALT server or to change the server settings.
⚠
Switching servers will delete all videos that are not yet uploaded to VALT.
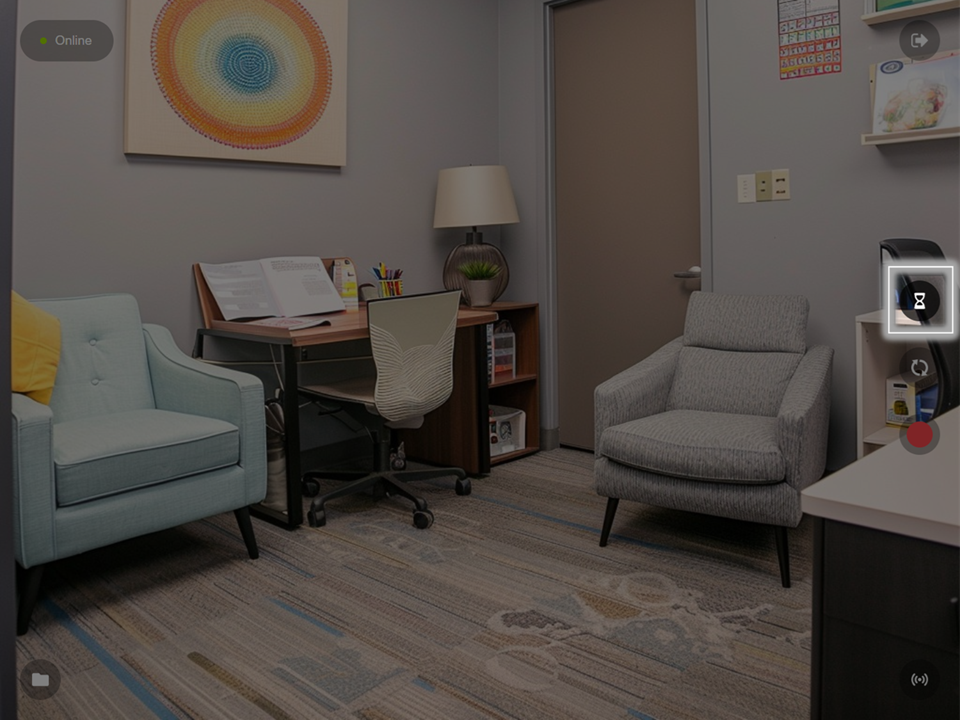
Prepare Recording
The ![]() Prepare button is used to arm a room for an active recording. This option allows you to fill in all the information fields ahead of the recording.
Prepare button is used to arm a room for an active recording. This option allows you to fill in all the information fields ahead of the recording.
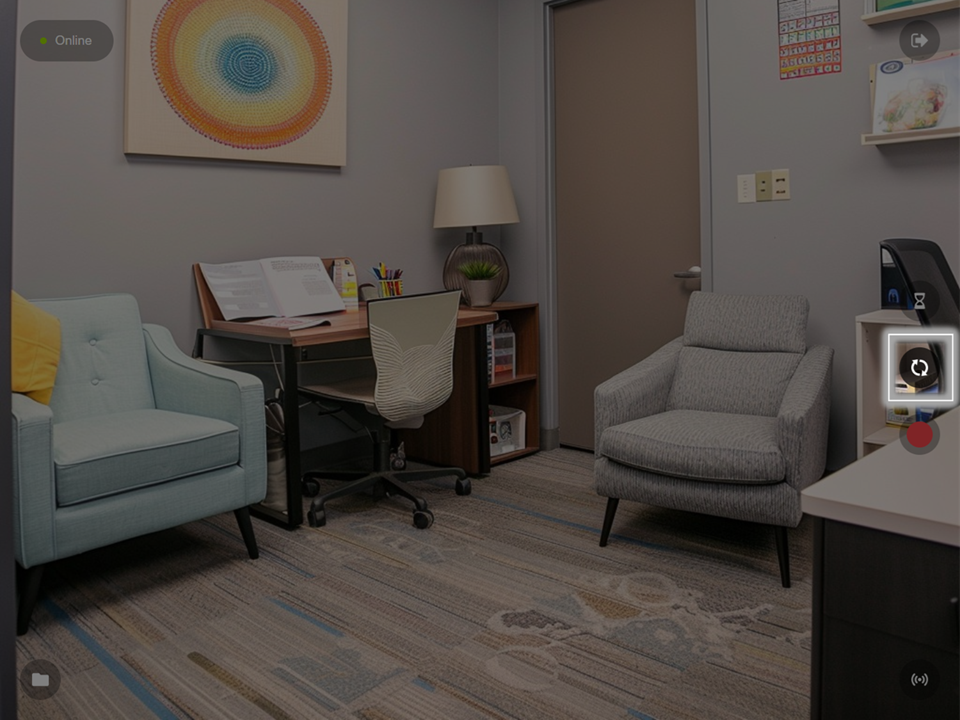
Flip Camera
Record
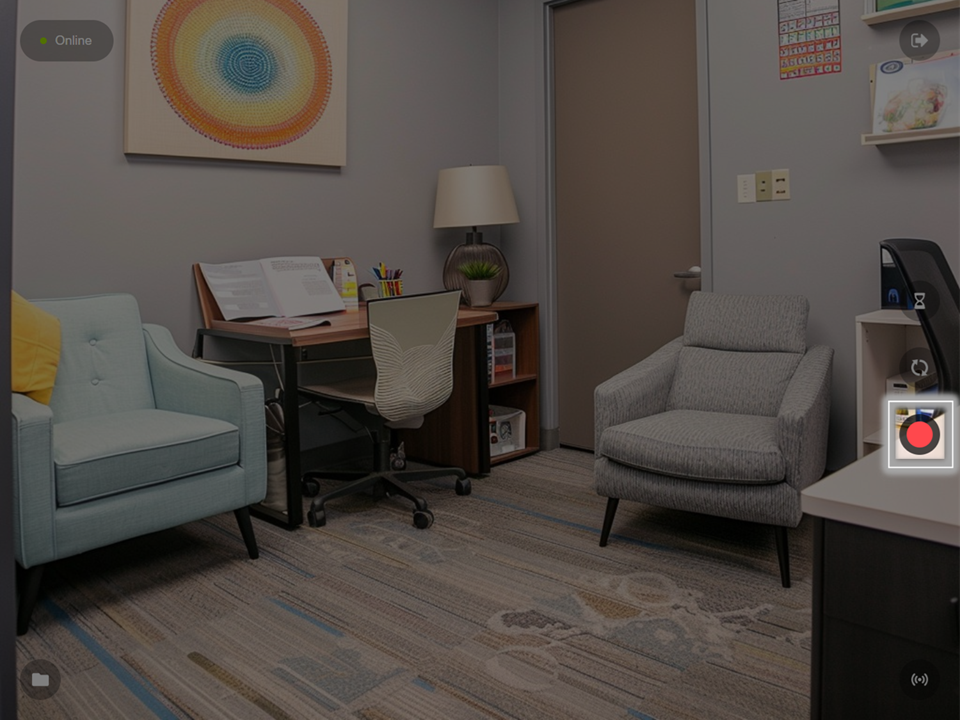
The ![]() Recording button will prompt the user to fill out an Information Template before beginning the reocrding.
Recording button will prompt the user to fill out an Information Template before beginning the reocrding.
Stream
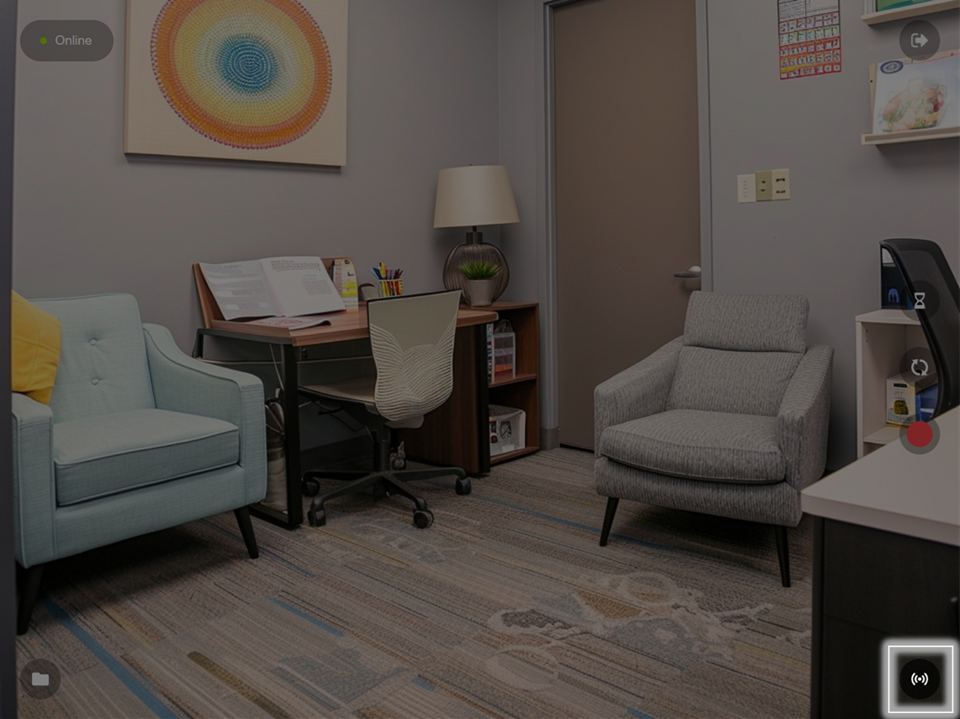
The ![]() Stream button will allow the user to Stream or Stream and Record. Both options will allow the BEAM video stream to be viewable in VALT. The video will show up as a Stream in the VALT application.
Stream button will allow the user to Stream or Stream and Record. Both options will allow the BEAM video stream to be viewable in VALT. The video will show up as a Stream in the VALT application.
Files
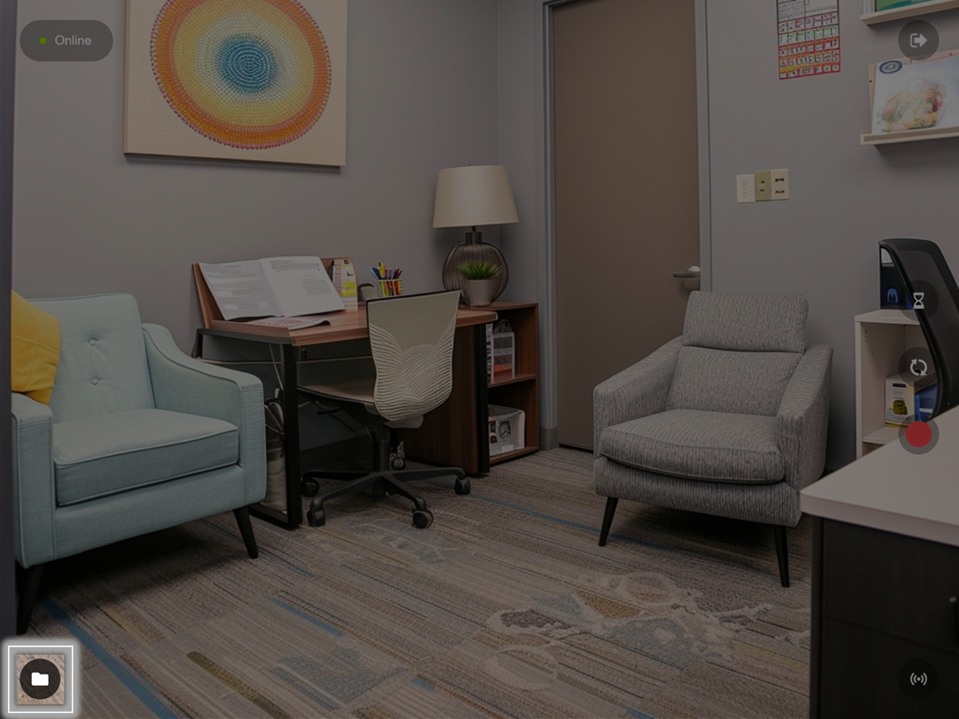
Touch to see recordings stored on this device and change sync settings.
