Difference between revisions of "VALT Accessories"
IVSWikiBlue (talk | contribs) |
IVSWikiBlue (talk | contribs) |
||
| (14 intermediate revisions by the same user not shown) | |||
| Line 1: | Line 1: | ||
| − | =Privacy Switch= | + | {{Article - Manual | content = |
| − | + | <h1>VALT Accessories</h1> | |
| − | The Privacy switch is used to enable/disable live monitoring in a room, regardless of permissions. The privacy switch interfaces directly to the camera(s) within the room. A single privacy switch can control any number of cameras within a room. When privacy mode is enabled within a room, it will mask the video and mute the audio for all cameras within the room. If privacy mode is enabled before or while a recording is taking place, this will not interrupt the recording, and the recording will instead record masked video/muted audio for the duration that the privacy mode was enabled for. | + | {{Manual lvl 2| title = Privacy Switch | content = |
| − | + | The Privacy switch is used to enable/disable live monitoring in a room, regardless of permissions.The privacy switch interfaces directly to the camera(s) within the room. A single privacy switch can control any number of cameras within a room. When privacy mode is enabled within a room, it will mask the video and mute the audio for all cameras within the room. If privacy mode is enabled before or while a recording is taking place, this will not interrupt the recording, and the recording will instead record masked video/muted audio for the duration that the privacy mode was enabled for. | |
| − | |||
| − | |||
| − | |||
| − | |||
| − | + | {{Img with key - width | width = 1200px | file = privacy-complete.jpg | list = | |
| − | + | <li>Privacy Disabled (Software)</li> | |
| − | + | <li>Privacy Disabled (Switch)</li> | |
| − | + | <li>Privacy Enabled (Software)</li> | |
| − | + | <li>Privacy Enabled (Switch)</li> | |
| + | }} | ||
| − | =Start/Stop Button= | + | {{Aside | content = |
| + | Please see our [[Privacy_Switch|Privacy Switch Guide]] for additional information regarding installing or configuring Privacy Switches.}} | ||
| + | }} | ||
| + | |||
| + | {{hr}} | ||
| + | |||
| + | {{Manual lvl 2| title = Start/Stop Button | content = | ||
One option capable of starting and/or stopping a recording is to use a simple momentary contact button, integrated into the button with an LED that will also be lit to indicate when a recording is active. Buttons are tied to rooms within the software, while from an author's perspective, each button is also assigned an author (when the button is pressed it will use this user to author the recording). IVS sells buttons that have been validated to work with our software with an integrated LED (shown below). IVS offers two LED options for recording indication: Red (shown below) and Blue. | One option capable of starting and/or stopping a recording is to use a simple momentary contact button, integrated into the button with an LED that will also be lit to indicate when a recording is active. Buttons are tied to rooms within the software, while from an author's perspective, each button is also assigned an author (when the button is pressed it will use this user to author the recording). IVS sells buttons that have been validated to work with our software with an integrated LED (shown below). IVS offers two LED options for recording indication: Red (shown below) and Blue. | ||
| − | Please see our [[Start/Stop_Button| Start/Stop Button Guide]] for additional information regarding installing or configuring Start/Stop Buttons. | + | {{Img with key - width | width = | file = button1.jpg | list = |
| + | <li>Shows the button when a recording is not active for the associated room.</li> | ||
| + | <li>Shows the button when a recording is active for the associated room.</li> | ||
| + | }} | ||
| + | |||
| + | {{Aside | content = | ||
| + | Please see our [[Start/Stop_Button| Start/Stop Button Guide]] for additional information regarding installing or configuring Start/Stop Buttons.}} | ||
| + | }} | ||
| − | + | {{hr}} | |
| − | |||
| − | |||
| − | =Recording LED= | + | {{Manual lvl 2| title = Recording LED | content = |
A recording LED can be mounted inside or outside a room to indicate when a recording is taking place. | A recording LED can be mounted inside or outside a room to indicate when a recording is taking place. | ||
| − | Please see our [[Recording_LED|Recording LED Guide]] for additional information regarding installing or configuring Recording LEDs. | + | {{Img with key - width | width = | file = rec-led-on-off.jpg | list = |
| + | <li>Shows the LED when a recording is not active.</li> | ||
| + | <li>Shows the LED when a recording is active.</li> | ||
| + | }} | ||
| + | |||
| + | {{Aside | content = | ||
| + | Please see our [[Recording_LED|Recording LED Guide]] for additional information regarding installing or configuring Recording LEDs.}} | ||
| + | }} | ||
| − | + | {{hr}} | |
| − | |||
| − | |||
| − | =Recording Sign= | + | {{Manual lvl 2| title = Recording Sign| content = |
A recording LED sign can be mounted inside or outside a room to indicate when a recording is active. | A recording LED sign can be mounted inside or outside a room to indicate when a recording is active. | ||
| − | + | {{Img with key - width | width = 1000px | file = recording-led.jpg | list = | |
| + | <li>Shows the sign when a recording is not in progress.</li> | ||
| + | <li>Shows the sign when a recording is in progress.</li> | ||
| + | }} | ||
| − | [[ | + | {{Aside | content = |
| − | + | Please see [[Recording_Sign|Recording Sign Guide]] for additional information regarding installing or configuring Recording Signs.}} | |
| − | + | }} | |
| − | =Access Control= | + | {{hr}} |
| + | |||
| + | {{Manual lvl 2| title = Access Control - <em>Discontinued</em> | content = | ||
| + | {{Section - Expand | title = Information | color = #f6c62a | content = | ||
Access Control readers can be configured to start and/or stop a recording with the VALT software. Readers are tied to rooms, and card numbers are tied to specific users. The advantage of using an access card and reader is the software can understand who started the recording, and apply the correct author to the recording automatically. | Access Control readers can be configured to start and/or stop a recording with the VALT software. Readers are tied to rooms, and card numbers are tied to specific users. The advantage of using an access card and reader is the software can understand who started the recording, and apply the correct author to the recording automatically. | ||
| − | + | {{Img with key - width | width = | file = access_cont.jpg | list = | |
| − | + | <li>Example of card reader used to start and stop a recording.</li> | |
| − | + | <li>Axis A1001 required to interface access reader with VALT software.</li> | |
| + | }} | ||
| − | + | {{Aside | content = | |
| − | + | Please see our [[Access_Control_Install|Access Control Guide]] for additional information regarding installing or configuring Access Control readers.}} | |
| + | }} }} }} | ||
| − | + | [[Category:VALT]] | |
| − | |||
| − | |||
Latest revision as of 08:29, 18 March 2025
VALT Accessories
Privacy Switch
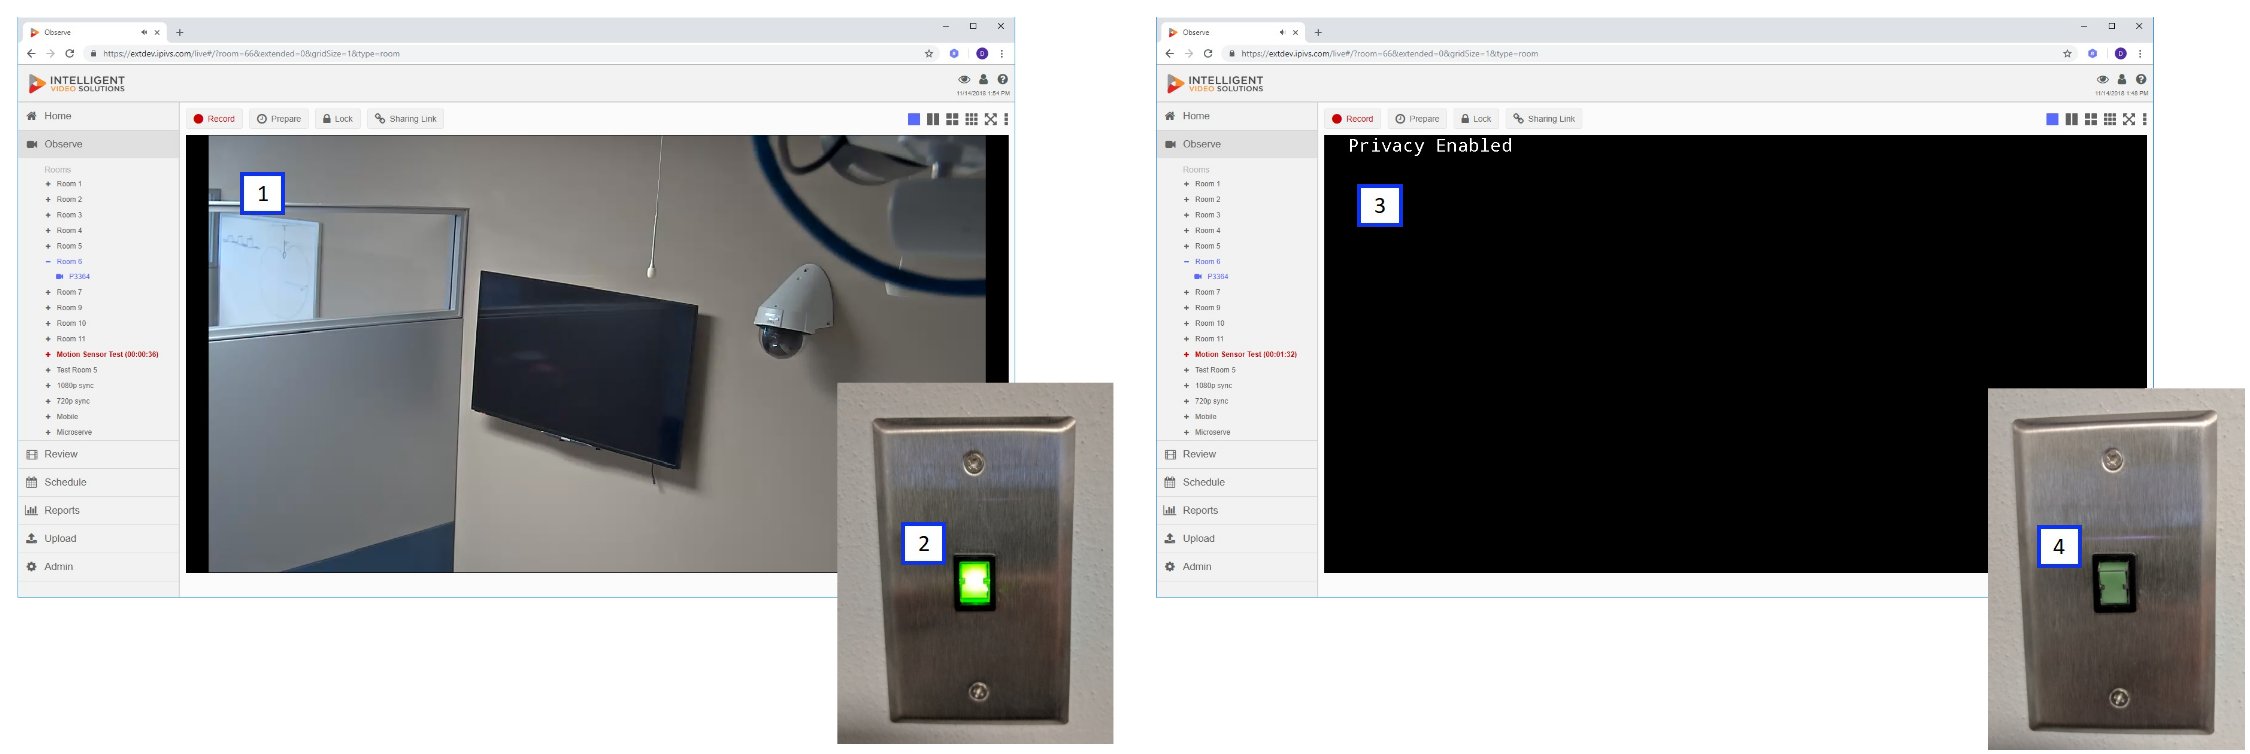
The Privacy switch is used to enable/disable live monitoring in a room, regardless of permissions.The privacy switch interfaces directly to the camera(s) within the room. A single privacy switch can control any number of cameras within a room. When privacy mode is enabled within a room, it will mask the video and mute the audio for all cameras within the room. If privacy mode is enabled before or while a recording is taking place, this will not interrupt the recording, and the recording will instead record masked video/muted audio for the duration that the privacy mode was enabled for.
- Privacy Disabled (Software)
- Privacy Disabled (Switch)
- Privacy Enabled (Software)
- Privacy Enabled (Switch)
Start/Stop Button
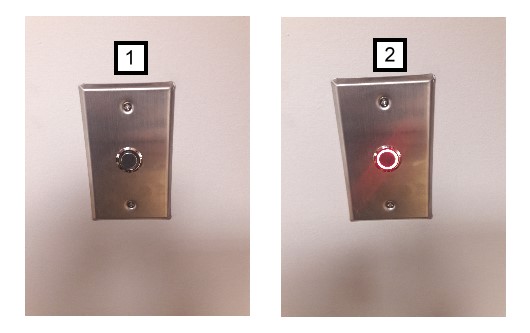
One option capable of starting and/or stopping a recording is to use a simple momentary contact button, integrated into the button with an LED that will also be lit to indicate when a recording is active. Buttons are tied to rooms within the software, while from an author's perspective, each button is also assigned an author (when the button is pressed it will use this user to author the recording). IVS sells buttons that have been validated to work with our software with an integrated LED (shown below). IVS offers two LED options for recording indication: Red (shown below) and Blue.
- Shows the button when a recording is not active for the associated room.
- Shows the button when a recording is active for the associated room.
Recording LED
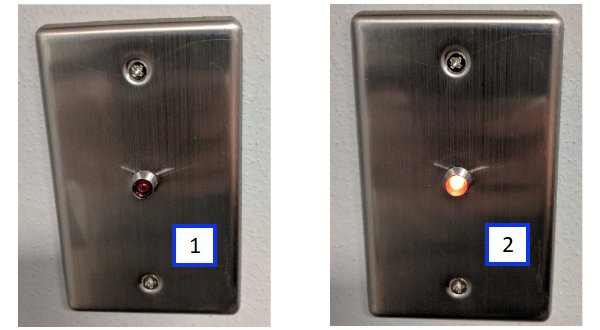
A recording LED can be mounted inside or outside a room to indicate when a recording is taking place.
Recording Sign
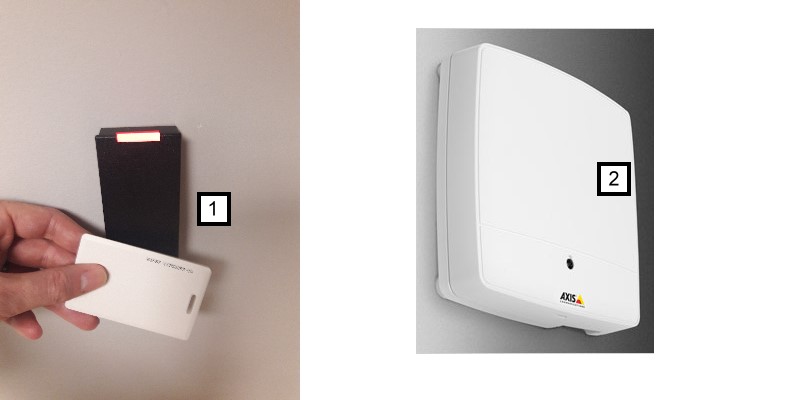
A recording LED sign can be mounted inside or outside a room to indicate when a recording is active.


