Difference between revisions of "LDAP Configuration"
IVSWikiBlue (talk | contribs) |
IVSWikiBlue (talk | contribs) |
||
| (64 intermediate revisions by the same user not shown) | |||
| Line 1: | Line 1: | ||
| − | + | {{Dashboard Layout | content = | |
| − | + | {{Dashboard Row | content = | |
| − | + | {{Dashboard Widget with Title | title = Info | background-color = #008aab | text-color = white | content = | |
| − | + | {{Aside - Helpful | content = Select your version of VALT by <b>clicking the image</b> that matches your user interface!}} | |
| − | + | * [[VALT 6 - LDAP Configuration | VALT 6]] | |
| − | [[ | + | * [[VALT 6 - LDAPS Configuration | VALT 6 LDAPS]] |
| − | + | * [[VALT 5 - LDAP Configuration | VALT 5]] | |
| − | + | }} }} | |
| − | + | {{Dashboard Row | content = | |
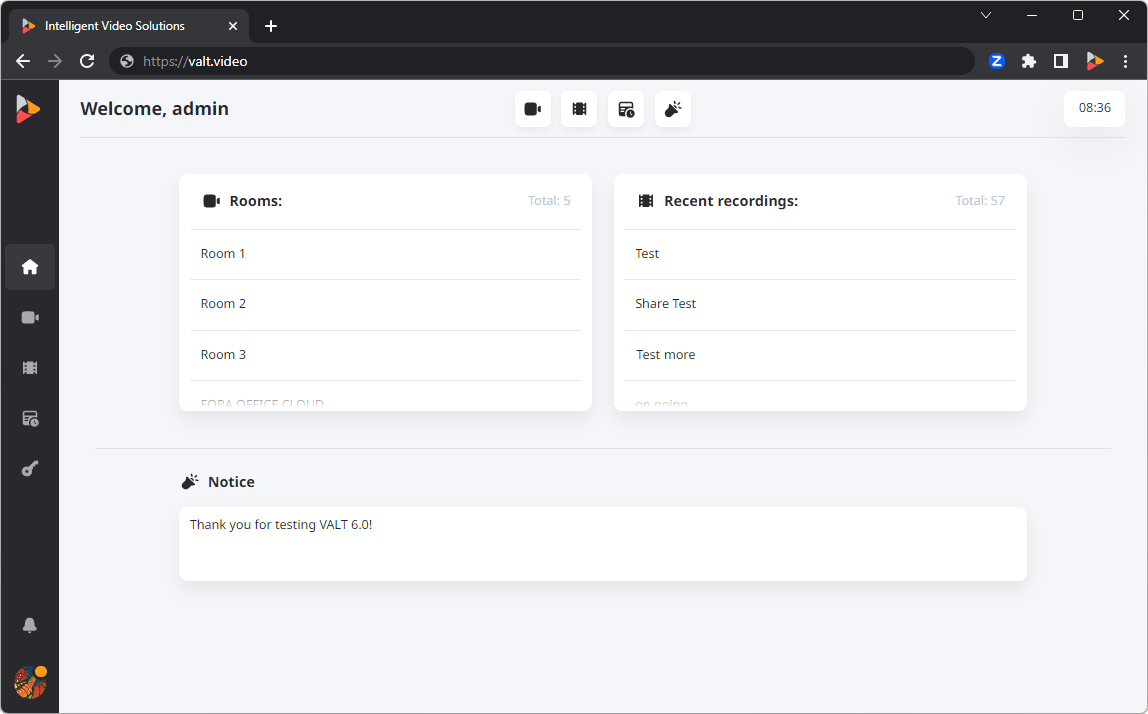
| − | + | {{Dashboard Widget with Title | title = VALT 6 | background-color = #ff661b | text-color = white | content = | |
| − | + | {{img - resize| file = VALT 6.0 Home Page.png | link = {{fullurl:VALT 6 - LDAP Configuration}} | width = 900px}} | |
| − | + | }} | |
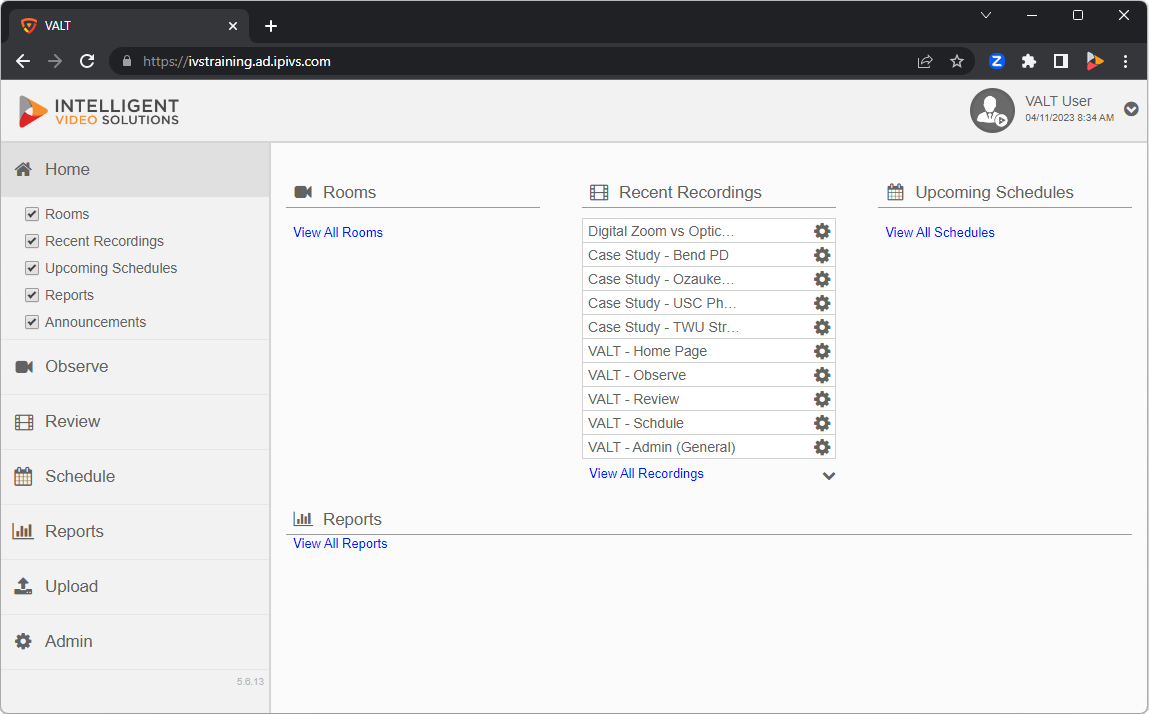
| − | + | {{Dashboard Widget with Title | title = VALT 5 | background-color = #FF8200 | text-color = white | content = | |
| − | + | {{img - resize | file = VALT 5 6 13 Home Page.png | link = {{fullurl:VALT 5 - LDAP Configuration}} | width = 900px}} | |
| − | + | }} }} }} | |
| − | 5 | ||

