|
|
| (41 intermediate revisions by the same user not shown) |
| Line 1: |
Line 1: |
| − | ==Connecting to the LDAP Server== | + | {{Dashboard Layout | content = |
| − | #Navigate to the VALT software either through the IP Address or the FQDN using Chrome, Firefox, or other standard web browser | + | {{Dashboard Row | content = |
| − | #Log in using your login credentials
| + | {{Dashboard Widget with Title | title = Info | background-color = #008aab | text-color = white | content = |
| − | #: - (Default credentials: Username = ''admin'' | Password = ''admin'')
| + | {{Aside - Helpful | content = Select your version of VALT by <b>clicking the image</b> that matches your user interface!}} |
| − | #Click on '''Admin''' -> '''Users & Groups''' -> '''LDAP''' -> '''Show Advanced Settings'''
| + | * [[VALT 6 - LDAP Configuration | VALT 6]] |
| − | #:[[File:LDAP1.png|1000px]]
| + | * [[VALT 6 - LDAPS Configuration | VALT 6 LDAPS]] |
| − | #Scroll down to '''Servers'''
| + | * [[VALT 5 - LDAP Configuration | VALT 5]] |
| − | #:[[File:LDAP_Server_Box.png|1000px]]
| + | }} }} |
| − | #Enter in your LDAP Server information
| + | {{Dashboard Row | content = |
| − | #:<table>
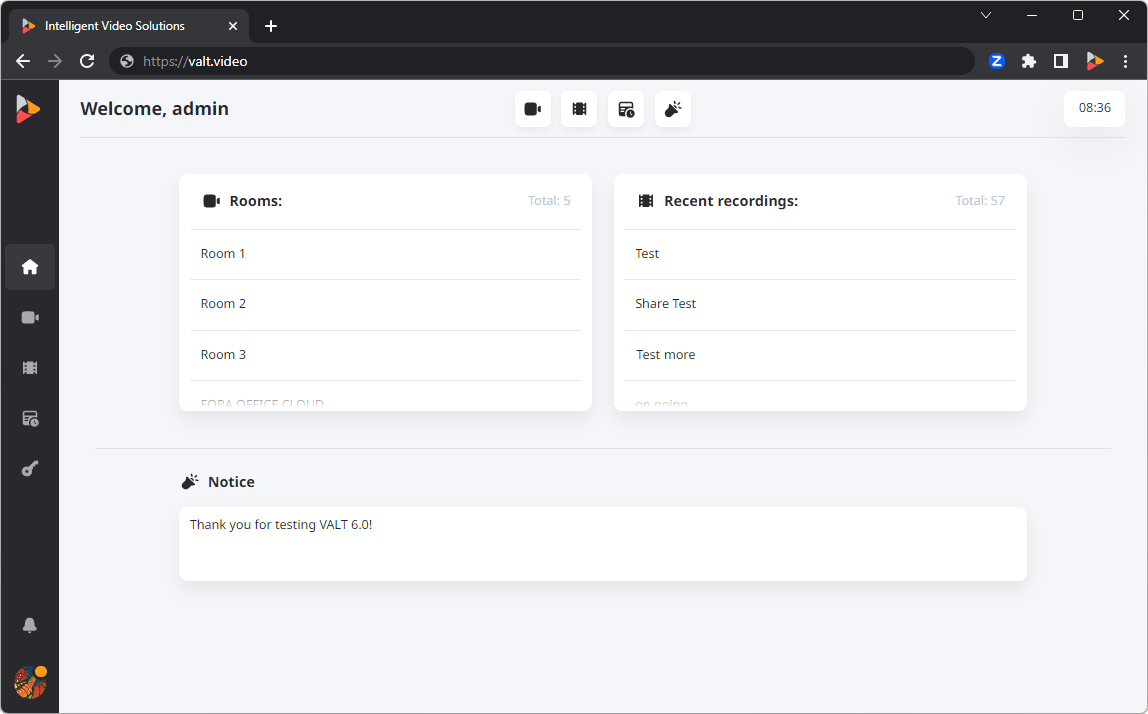
| + | {{Dashboard Widget with Title | title = VALT 6 | background-color = #ff661b | text-color = white | content = |
| − | <tr>
| + | {{img - resize| file = VALT 6.0 Home Page.png | link = {{fullurl:VALT 6 - LDAP Configuration}} | width = 900px}} |
| − | <th rowspan="7">[[File:Updated_LDAP_Server_Config.png]]</th>
| + | }} |
| − | </tr>
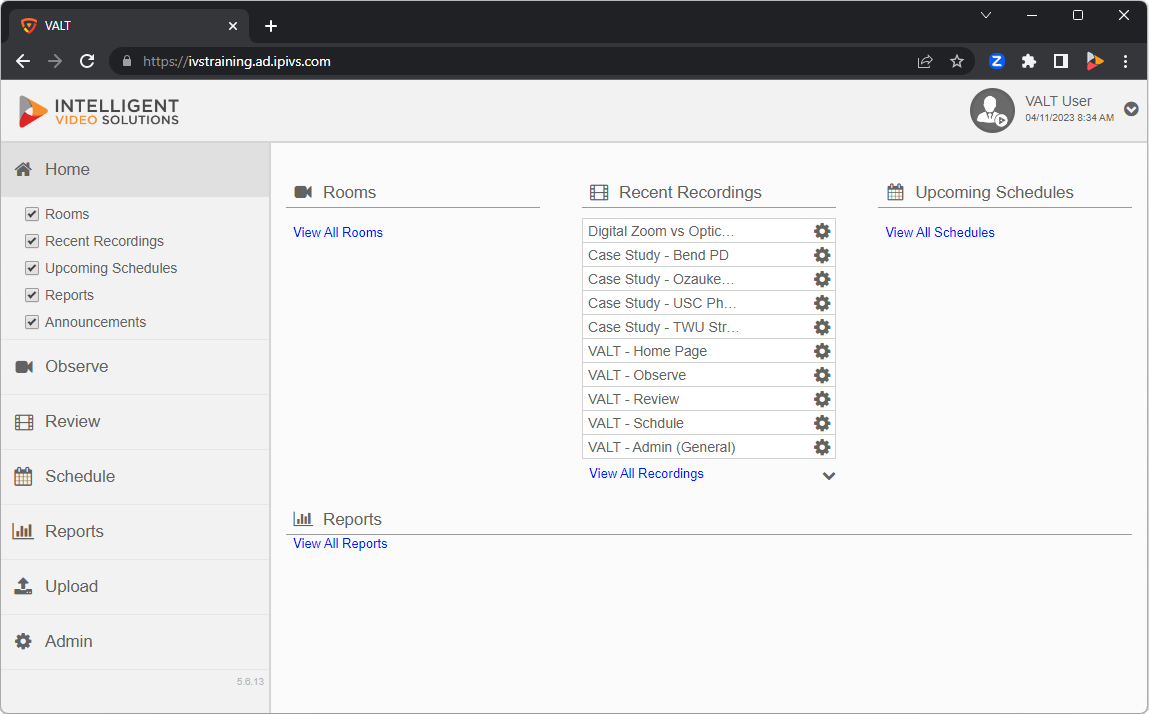
| + | {{Dashboard Widget with Title | title = VALT 5 | background-color = #FF8200 | text-color = white | content = |
| − | <tr>
| + | {{img - resize | file = VALT 5 6 13 Home Page.png | link = {{fullurl:VALT 5 - LDAP Configuration}} | width = 900px}} |
| − | <td style="padding: 0 10px">'''A:'''</td>
| + | }} }} }} |
| − | <td style="padding: 0 10px">Enter the IP Address or FQDN of your Active Directory or other LDAP compatible server in the Server field <br><span class="indent"> '''Note:''' If you are using LDAPS, enter the IP or FQDN as ldaps://192.168.0.10</span></td>
| |
| − | </tr>
| |
| − | <tr>
| |
| − | <td style="padding: 0 10px">'''B:'''</td>
| |
| − | <td style="padding: 0 10px">Enter a Service Account user with read access in the LDAP Bind User field <br><hr /> '''Note: The user must be entered as user@domain.com'''</td>
| |
| − | </tr>
| |
| − | <tr>
| |
| − | <td style="padding: 0 10px">'''C:'''</td>
| |
| − | <td style="padding: 0 10px">Enter the Service Account password</td>
| |
| − | </tr>
| |
| − | <tr>
| |
| − | <td style="padding: 0 10px">'''D:'''</td>
| |
| − | <td style="padding: 0 10px">Enter in the Base DN of the Service Account (Add note)</td>
| |
| − | </tr>
| |
| − | <tr>
| |
| − | <td style="padding: 0 10px">'''E:'''</td>
| |
| − | <td style="padding: 0 10px">Select either '''Active Directory''' or '''Open LDAP'''</td>
| |
| − | </tr>
| |
| − | <tr>
| |
| − | <td style="padding: 0 10px">'''F:'''</td>
| |
| − | <td style="padding: 0 10px">Click '''Save'''</td>
| |
| − | </tr>
| |
| − | </table>
| |
| − | | |
| − | | |
| − | *If the credentials were accepted and a connection was established, you will receive a message stating connected and you will see your LDAP Server in '''Green'''.<br>[[File:LDAP2.png]]
| |
| − | <br>
| |
| − | *If the connection fails, you will receive an error message stating '''Wrong Credentials'''.<br>[[File:LDAP3.png]]
| |
| − | | |
| − | ==Syncing Security Groups== | |
| − | :[[File:LDAP4.png]]
| |
| − | #Type a name into the LDAP Sync Schedules name field.
| |
| − | #In the Bind Script field, enter the DN for the security group without the DC components.<br>For Example: CN=VALT Users, CN=Users
| |
| − | #Select a group the users should be added to. A group must be specified.
| |
| − | #Select a sync interval if you would like to automatically import new users added to the group.
| |
| − | #Click Save to save the sync schedule or Import to perform an import and save the schedule.
| |
| − | | |
| − | ==Importing an Individual User==
| |
| − | :[[File:LDAP5.png]] | |
| − | #Type the distinguished name for the user into the LDAP field, omitting the DC components
| |
| − | #: '''Example:''' CN=testuser,OU=Users
| |
| − | #Select a Group from the Group to Add field.
| |
| − | #: '''Note:''' If you do not select a group, the user will still be important and must be assigned a group manually.
| |