Difference between revisions of "IVS HDMI Encoder - Setup and Configuration"
IVSWikiBlue (talk | contribs) |
IVSWikiBlue (talk | contribs) |
||
| Line 6: | Line 6: | ||
# IPC Manager Software (only if configuring multiple encoders) | # IPC Manager Software (only if configuring multiple encoders) | ||
}} | }} | ||
| + | |||
| + | {{Top of Page}} | ||
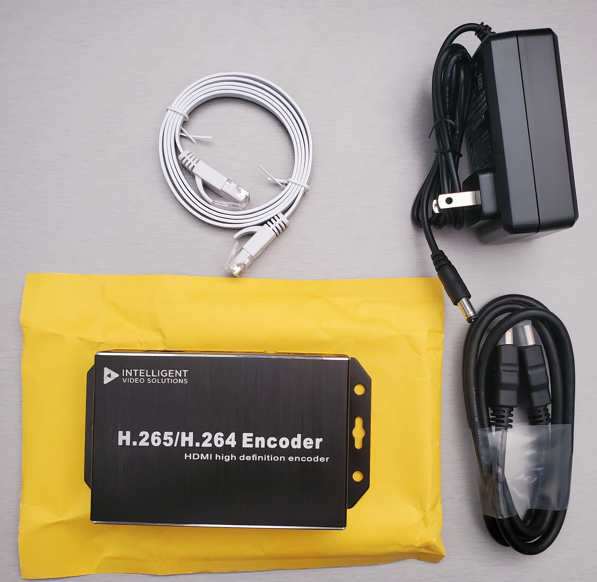
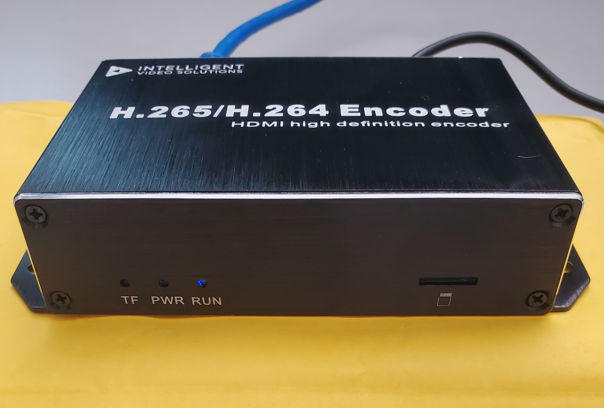
{{Section | title = <h1>Powering up the Encoder</h1> | color = #DDDDCC | content = | {{Section | title = <h1>Powering up the Encoder</h1> | color = #DDDDCC | content = | ||
| Line 17: | Line 19: | ||
# At this point we are ready to reconfigure the networking on your computer to connect to the encoder | # At this point we are ready to reconfigure the networking on your computer to connect to the encoder | ||
}} | }} | ||
| + | |||
| + | {{Top of Page}} | ||
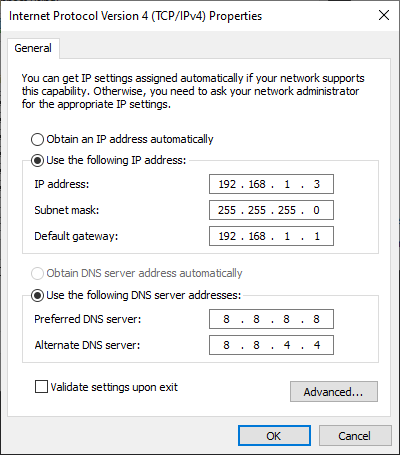
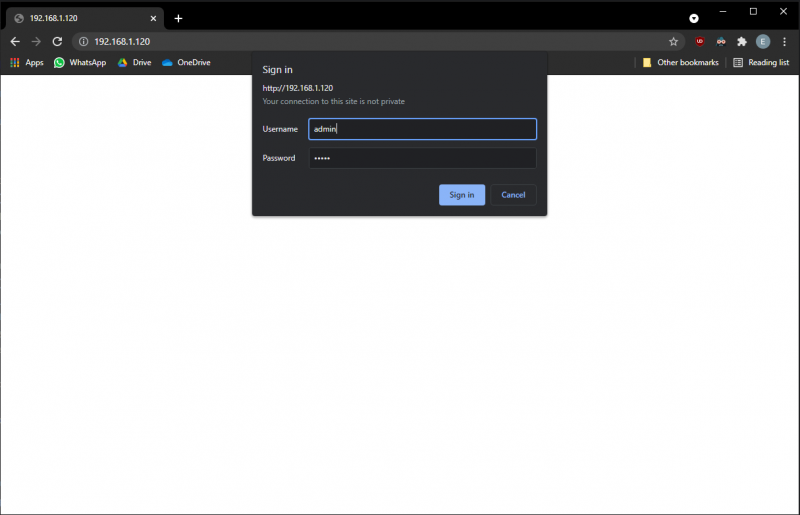
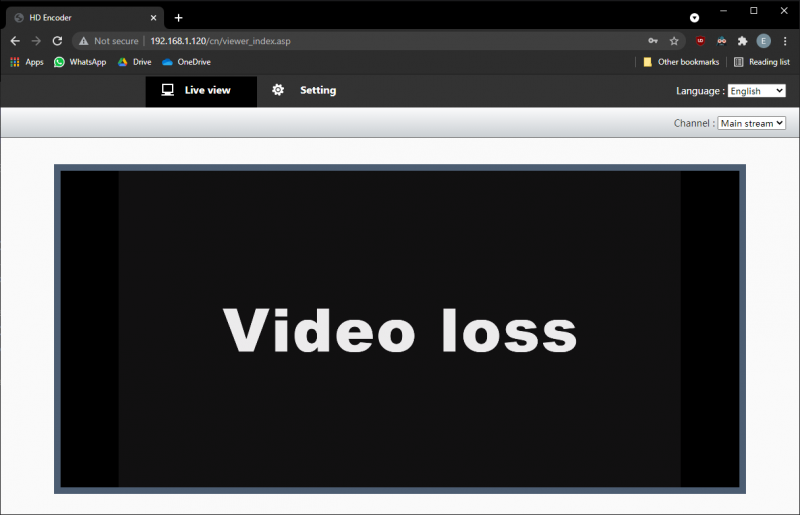
{{Section | title = <h1>Connecting to the Encoder</h1> | color = #CCDDDD | content = | {{Section | title = <h1>Connecting to the Encoder</h1> | color = #CCDDDD | content = | ||
| Line 35: | Line 39: | ||
}} | }} | ||
| − | =Configuring the Encoder= | + | {{Top of Page}} |
| + | |||
| + | {{Section | title = <h1>Configuring the Encoder</h1> | color = #DDDDCC | content = | ||
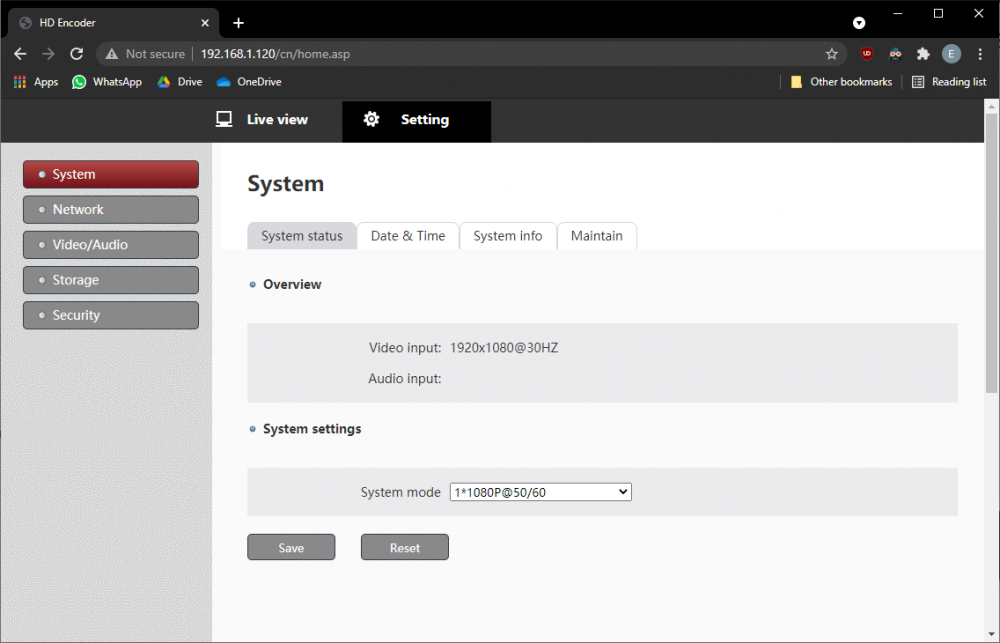
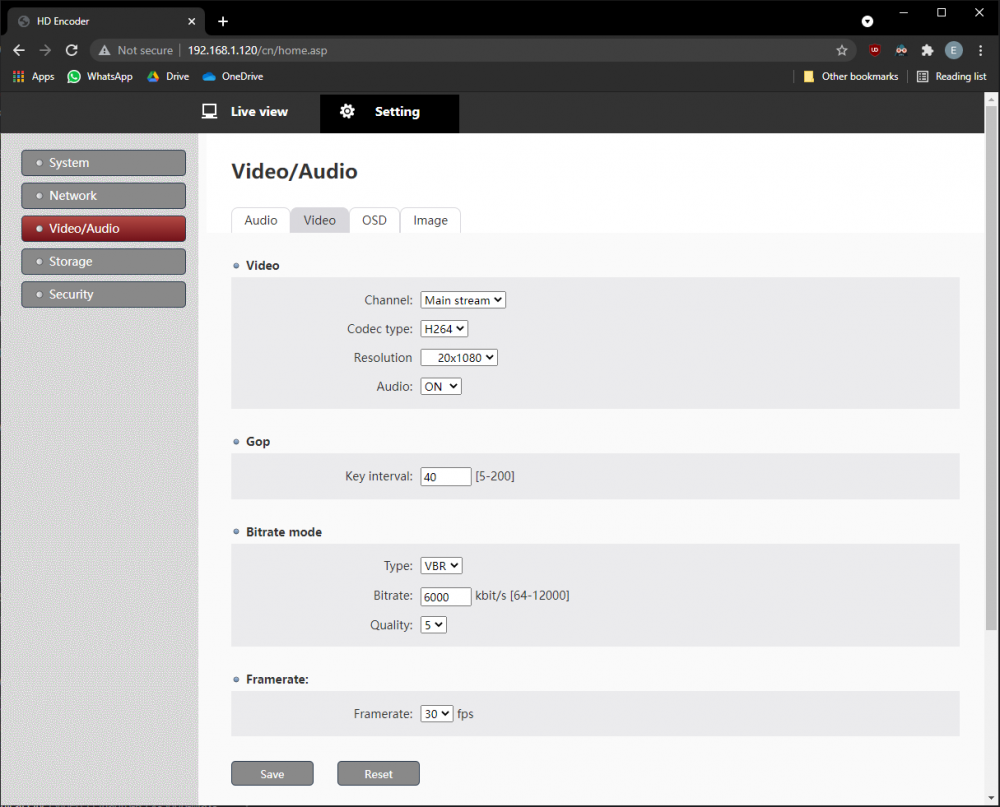
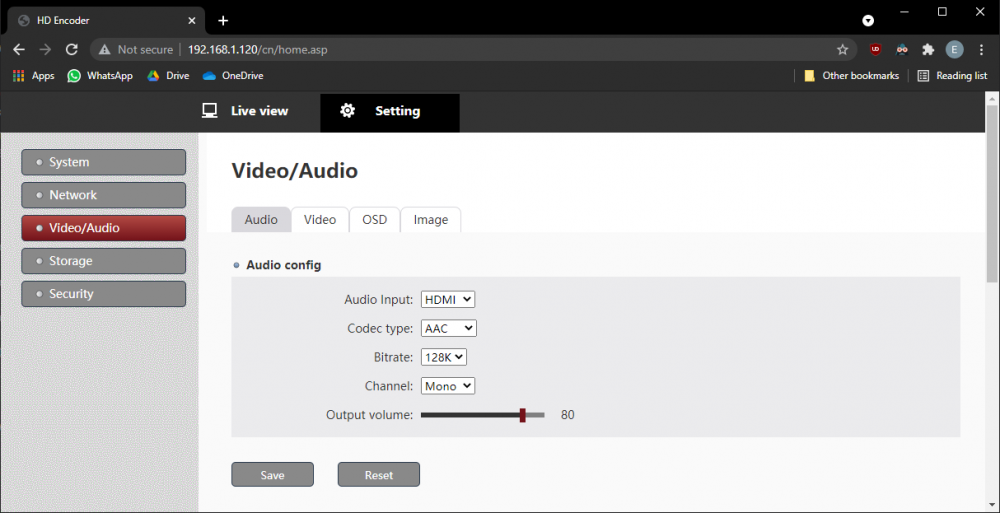
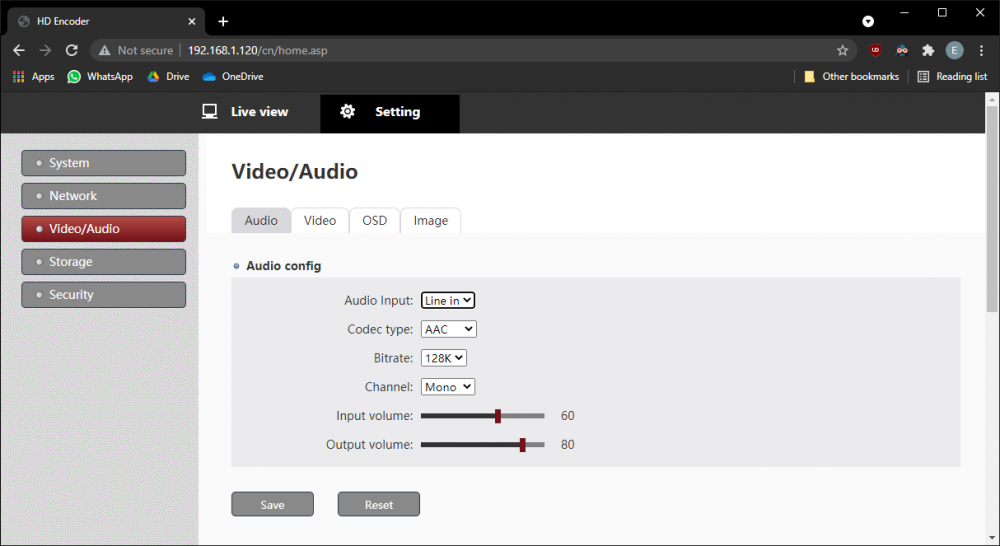
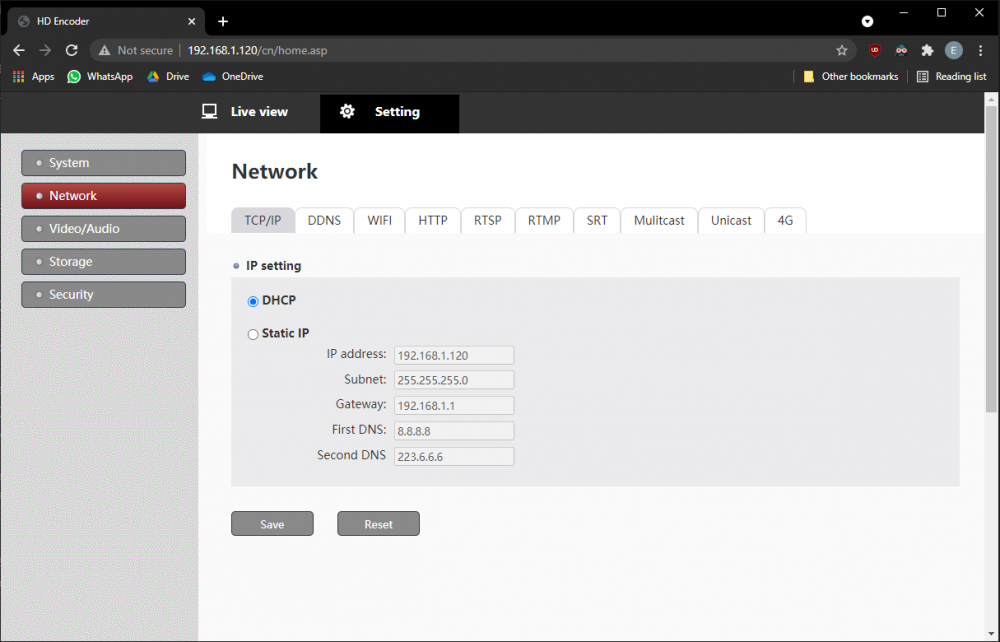
# From the encoder Web Interface, select the Settings tab at the top. You will be taken to the settings menu, which is organized into tabs. | # From the encoder Web Interface, select the Settings tab at the top. You will be taken to the settings menu, which is organized into tabs. | ||
==Adjust the System Mode== | ==Adjust the System Mode== | ||
| Line 93: | Line 99: | ||
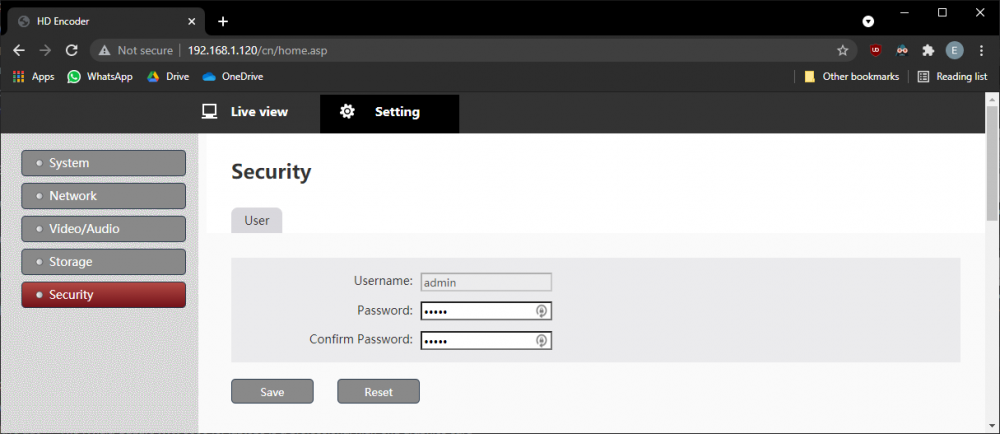
# Adjust the password to be "admin51" and confirm it. | # Adjust the password to be "admin51" and confirm it. | ||
# Click "Save" to preserve your changes | # Click "Save" to preserve your changes | ||
| + | }} | ||
| − | =Firmware Upgrade= | + | {{Top of Page}} |
| + | |||
| + | {{Section | title = <h1>Firmware Upgrade</h1> | color = #CCDDDD | content = | ||
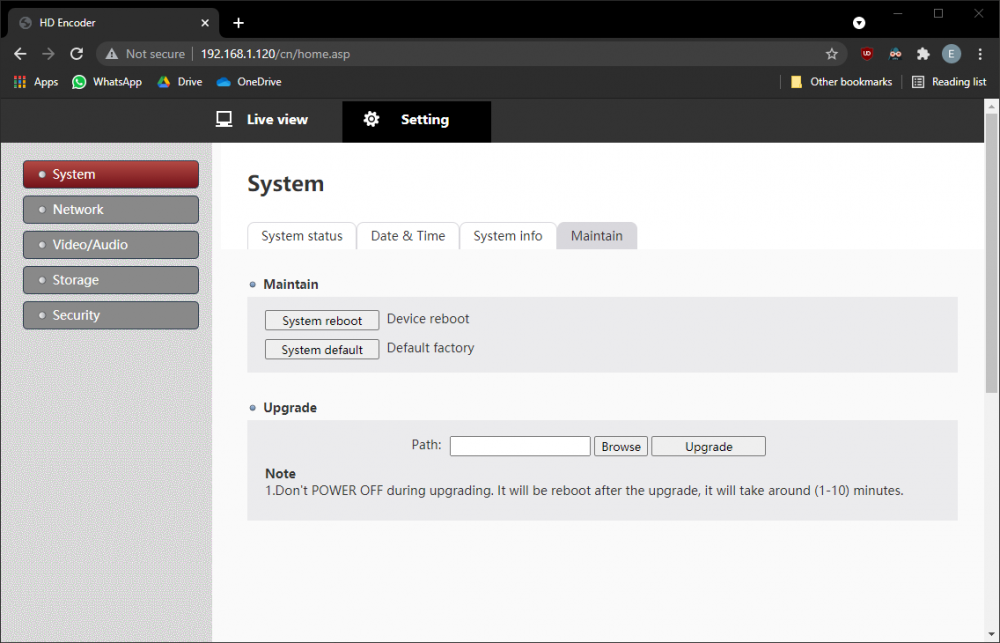
# Select the "System" Tab and then click the "Maintain" Menu from the right pane. | # Select the "System" Tab and then click the "Maintain" Menu from the right pane. | ||
# You should see the menu pictured below | # You should see the menu pictured below | ||
| Line 101: | Line 110: | ||
# Click "Upgrade" and wait for the process to complete with an "Upgrade Successful" popup. | # Click "Upgrade" and wait for the process to complete with an "Upgrade Successful" popup. | ||
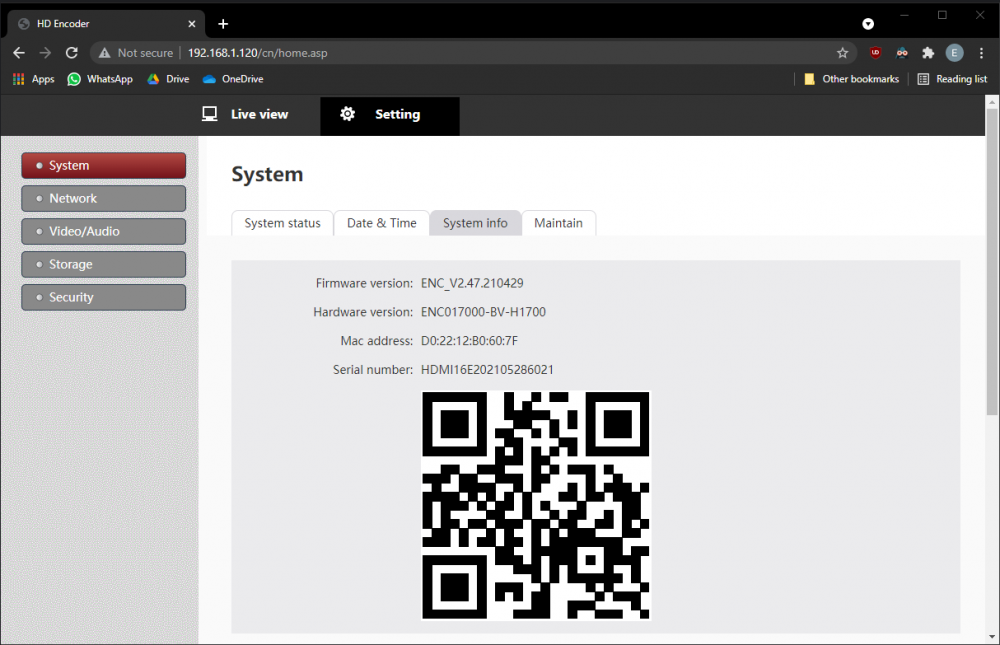
# Click the "System info" Menu and check that the firmware upgrade has gone through. | # Click the "System info" Menu and check that the firmware upgrade has gone through. | ||
| + | }} | ||
| + | |||
| + | {{Top of Page}} | ||
| − | =Adding the Encoder in VALT= | + | {{Section | title = <h1>Adding the Encoder in VALT</h1> | color = #DDDDCC | content = |
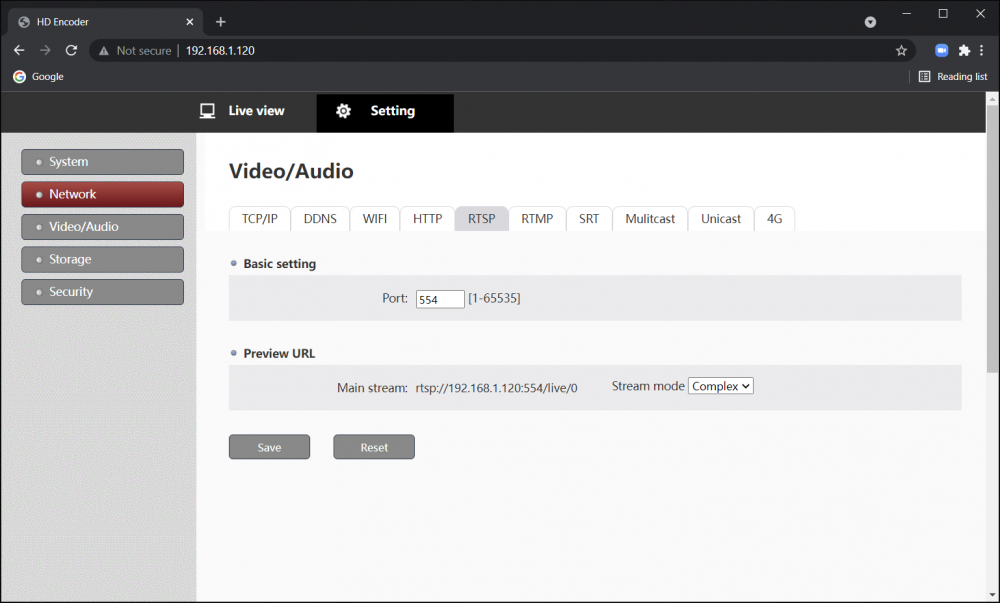
# On the encoder, Select the "Network" Tab and then click the "RTSP" Menu from the right pane. | # On the encoder, Select the "Network" Tab and then click the "RTSP" Menu from the right pane. | ||
# You should see the menu pictured below | # You should see the menu pictured below | ||
| Line 114: | Line 126: | ||
# Select a room to assign the encoder to | # Select a room to assign the encoder to | ||
# Click "Save" | # Click "Save" | ||
| + | }} | ||
| + | |||
| + | {{Top of Page}} | ||
