Difference between revisions of "BEAM User Guide 1.2.0"
IVSWikiBlue (talk | contribs) (Created page with "=Starting Beam= 1) Touch the IVS Beam App icon. 300x400px 2) You should be prompted to log in. If you are not, touch the words Log Out in the upper right c...") |
(No difference)
|
Revision as of 08:55, 29 January 2018
Contents
Starting Beam
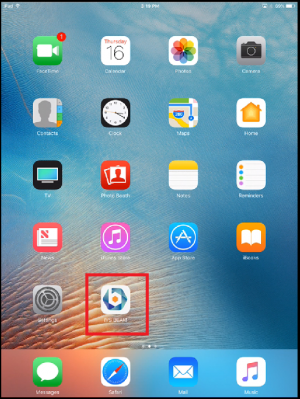
1) Touch the IVS Beam App icon.
2) You should be prompted to log in. If you are not, touch the words Log Out in the upper right corner. This will ensure that your recordings are associated with your username.
3) Enter your username and touch Log In.
- Important: Your username is case sensitive.
Beam User Interface
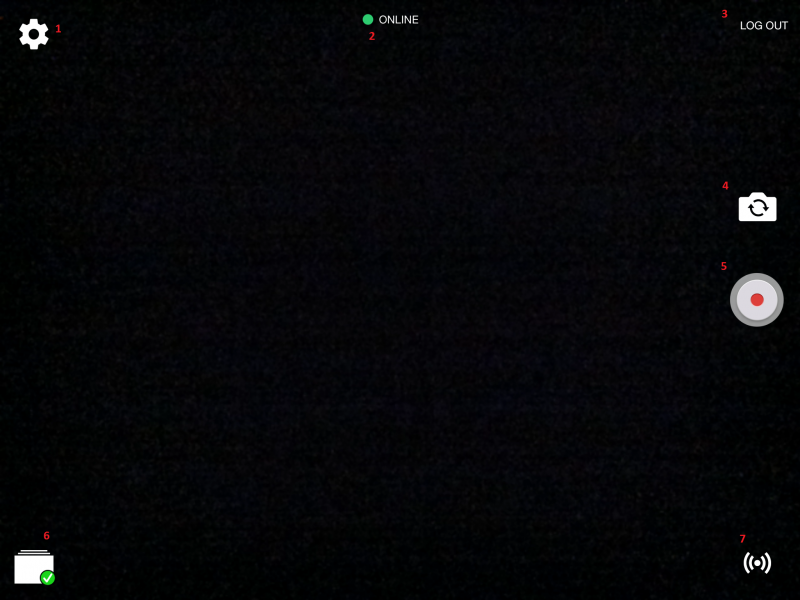
- ) Touch the gear to open the settings.
- ) Displays the current status of communication with the server.
- ) Touch to log out and log in as another user.
- ) Touch to toggle between the front and rear cameras of your device.
- ) Touch to start recording.
- ) Touch to see recordings stored on this device and change sync settings.
- 7. ) Touch to place the device into streaming mode.
Recording
1) Touch the recording button
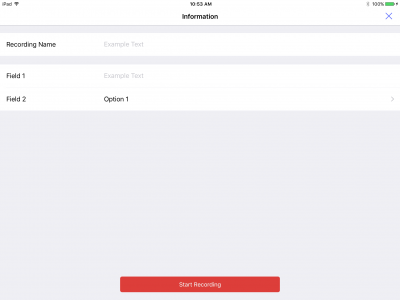
2) You will be prompted to enter a name for the recording as well as for any custom fields that have been defined for your user.
3) Touch Start Recording
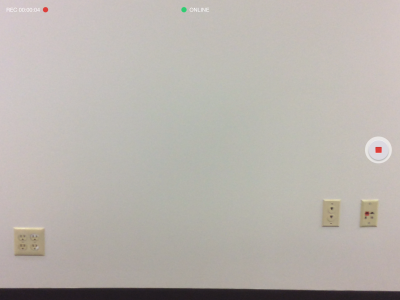
4) Your recording time will be displayed in the upper left corner of the screen.
4) Touch the stop button to stop recording.
5) Your recording will be stored locally on your device. If you have Auto Sync enabled, the recording will be automatically uploaded to the server.
File Synchronization
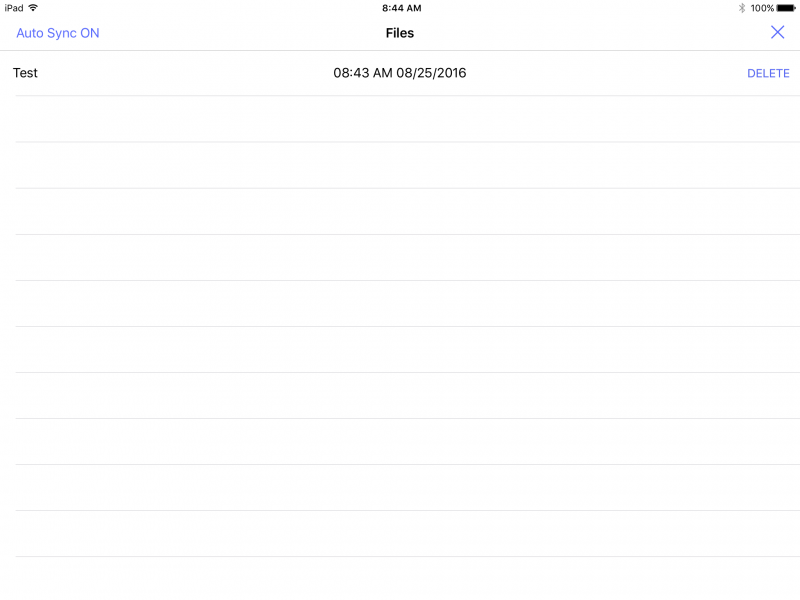
This screen will list any recordings that have been made, but not uploaded to the server. These recordings can be deleted by touching the word DELETE.
In the upper left corner of the screen, the current sync settings are displayed. Touch it to toggle sync on and off.
Turn Auto Sync Off Automatic Sync is currently enabled. Touch to disable. Turn Auto Sync On Automatic Sync is currently disabled. Touch to enable.
Touch the X in the upper right corner to return to the main UI.
Changing Settings
1) Touch the gear in the upper left corner of the screen.
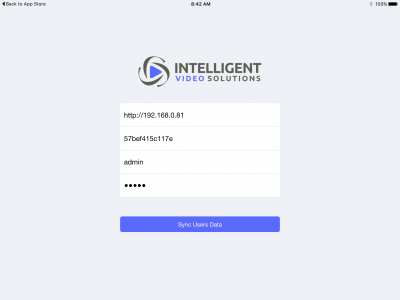
2) The current configuration will be displayed. Update the Server Address, Device UID, username and password as necesary
Server Address Enter the IP address or FQDN of the server. It must be entered as http://192.168.0.81 or https://192.168.0.81 if you are using SSL Device UID You can obtain this by pulling up the iPad device on the server. Username Password
- Note: If you are utilizing SSL, you must have a cert signed by a trusted CA in order to connect an iOS device.
3) Touch Sync User Data
4) You will now be prompted to enter your username. This should be the username of the individual that will be utilizing the device, as that is the user the videos will be stored under. The user can log out and another user can log in at any time.
5) Enter the username
6) Touch Login
