Difference between revisions of "LDAP Configuration"
IVSWikiBlue (talk | contribs) |
IVSWikiBlue (talk | contribs) (→Syncing Security Groups) |
||
| Line 11: | Line 11: | ||
==Syncing Security Groups== | ==Syncing Security Groups== | ||
| − | [[File:LDAP4. | + | :[[File:LDAP4.png]] |
#Type a name into the LDAP Sync Schedules name field. | #Type a name into the LDAP Sync Schedules name field. | ||
#In the Bind Script field, enter the DN for the security group without the DC components.<br>For Example: CN=VALT Users, CN=Users | #In the Bind Script field, enter the DN for the security group without the DC components.<br>For Example: CN=VALT Users, CN=Users | ||
Revision as of 08:39, 26 August 2016
Connecting to the LDAP Server
- From another computer go to the client interface (using chrome, firefox, or other standard web browser)
- Log in (default username: “admin” password: “admin”)
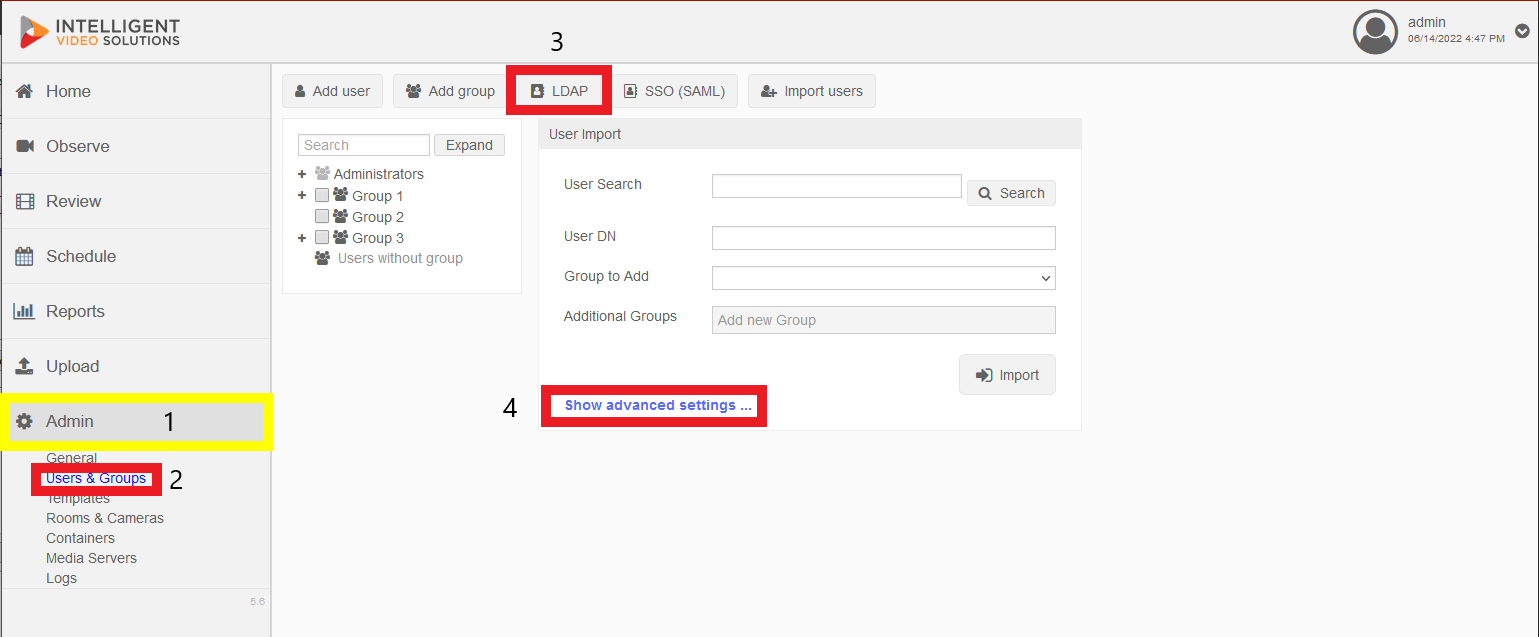
- Click on Admin -> Users & Groups -> LDAP
- Click Show Advanced Settings
- Enter the IP Address or FQDN of your Active Directory or other LDAP compatible server in the server field.
- Note: If you are using LDAPS, enter the IP or FQDN as ldaps://192.168.0.10
- Enter a user with read access to the directory in the LDAP Bind User field. The user must be entered as user@domain.com.
- Enter the password in both the password and repeat password field.
- Click Save
If the credentials were accepted and a connection was established, you will receive a message stating connected.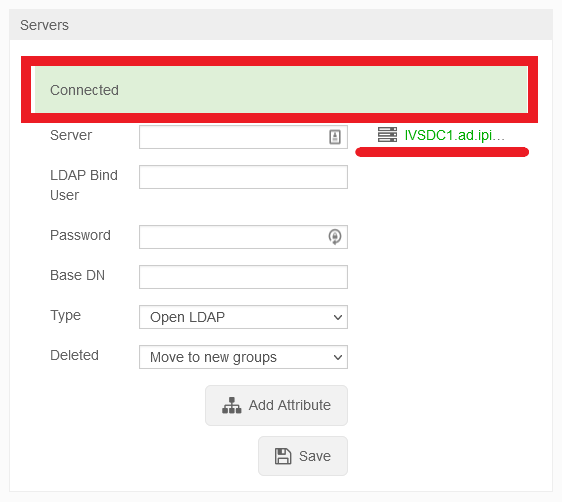
If the connection fails, you will receive an error message.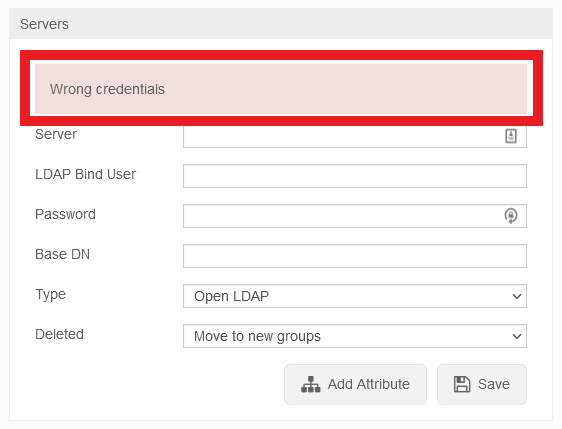


Syncing Security Groups
- Type a name into the LDAP Sync Schedules name field.
- In the Bind Script field, enter the DN for the security group without the DC components.
For Example: CN=VALT Users, CN=Users - Select a group the users should be added to. A group must be specified.
- Select a sync interval if you would like to automatically import new users added to the group.
- Click Save to save the sync schedule or Import to perform an import and save the schedule.
Importing an Individual User
- Type the distinguished name for the user into the LDAP field, omitting the DC components
- Example: CN=jdoe,CN=Users
- Select a Group from the Group to Add field.
- Note: If you do not select a group, the user will still be important and must be assigned a group manually.