Difference between revisions of "IVS BEAM Recording"
IVSWikiBlue (talk | contribs) |
IVSWikiBlue (talk | contribs) |
||
| Line 1: | Line 1: | ||
| − | {{img | file = IPad10.PNG | width= | + | {{img | file = IPad10.PNG | width=600px}} |
1) Touch the '''Recording''' button. | 1) Touch the '''Recording''' button. | ||
| − | {{img | file = IPad11.PNG | width= | + | {{img | file = IPad11.PNG | width=600px}} |
2) You will be prompted to enter a name for the recording, as well as for any custom fields that have been defined for your user. | 2) You will be prompted to enter a name for the recording, as well as for any custom fields that have been defined for your user. | ||
| Line 11: | Line 11: | ||
4) Your recording time will be displayed in the upper left corner of the screen. | 4) Your recording time will be displayed in the upper left corner of the screen. | ||
| − | {{img | file = iPad12.PNG | width= | + | {{img | file = iPad12.PNG | width=600px}} |
4) Touch the '''Stop''' button to stop recording. | 4) Touch the '''Stop''' button to stop recording. | ||
5) Your recording will be stored locally on your device. If you have [[IVS Beam File Synchronization|Auto Sync]] enabled, the recording will be automatically uploaded to the server. | 5) Your recording will be stored locally on your device. If you have [[IVS Beam File Synchronization|Auto Sync]] enabled, the recording will be automatically uploaded to the server. | ||
Revision as of 16:46, 13 July 2022
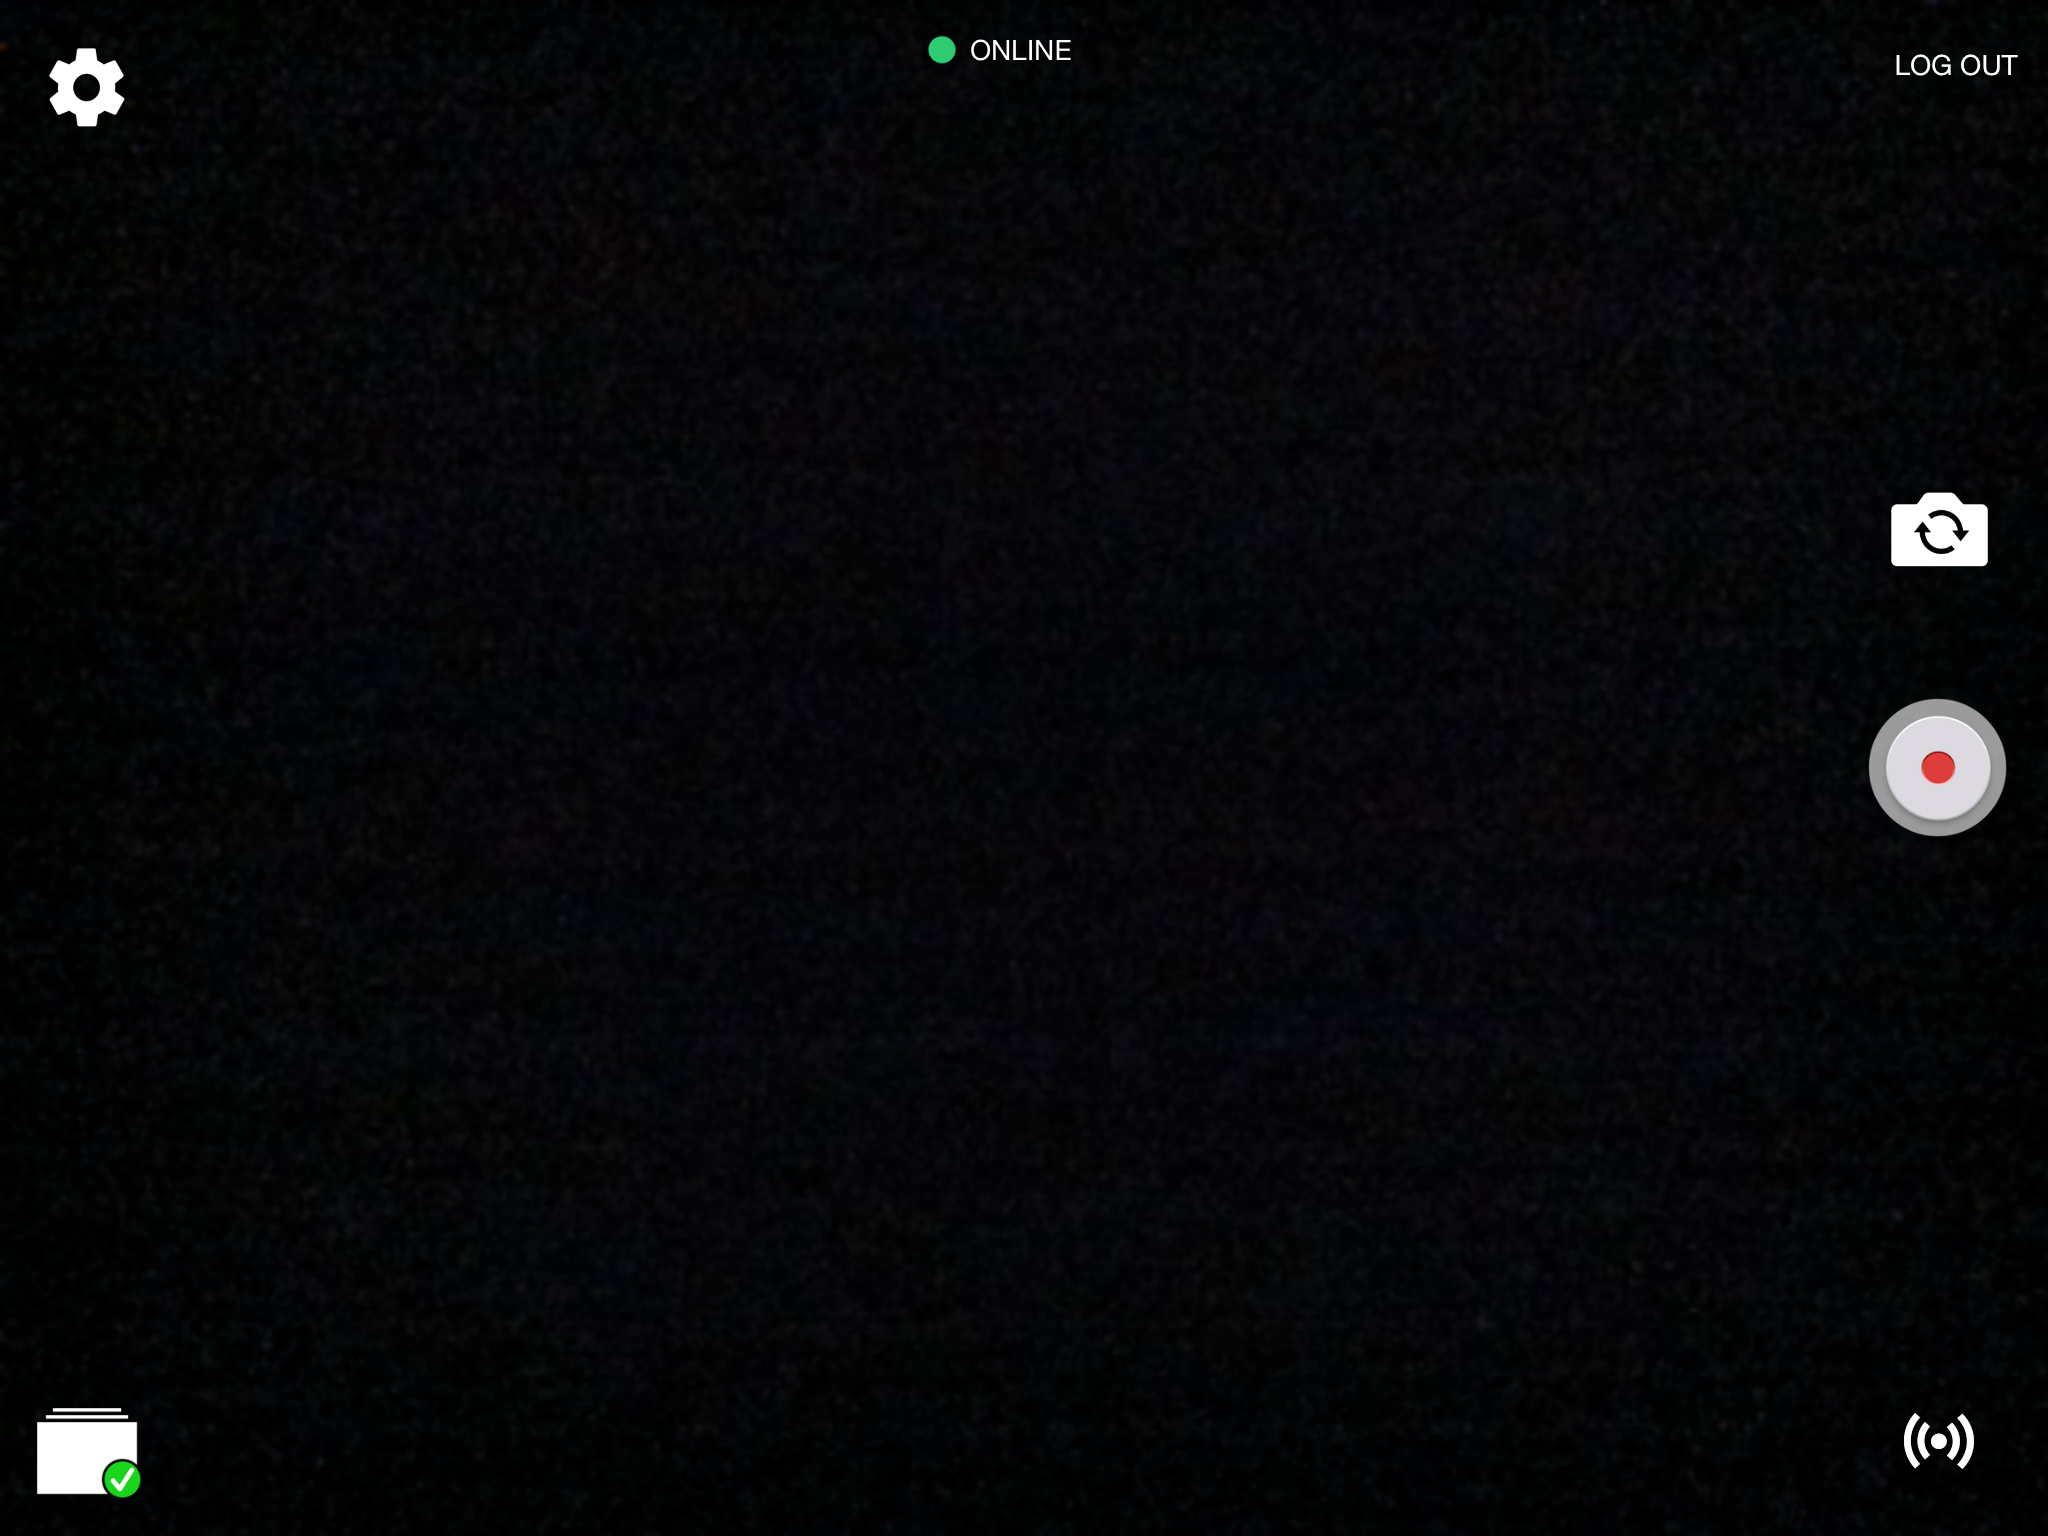
1) Touch the Recording button.
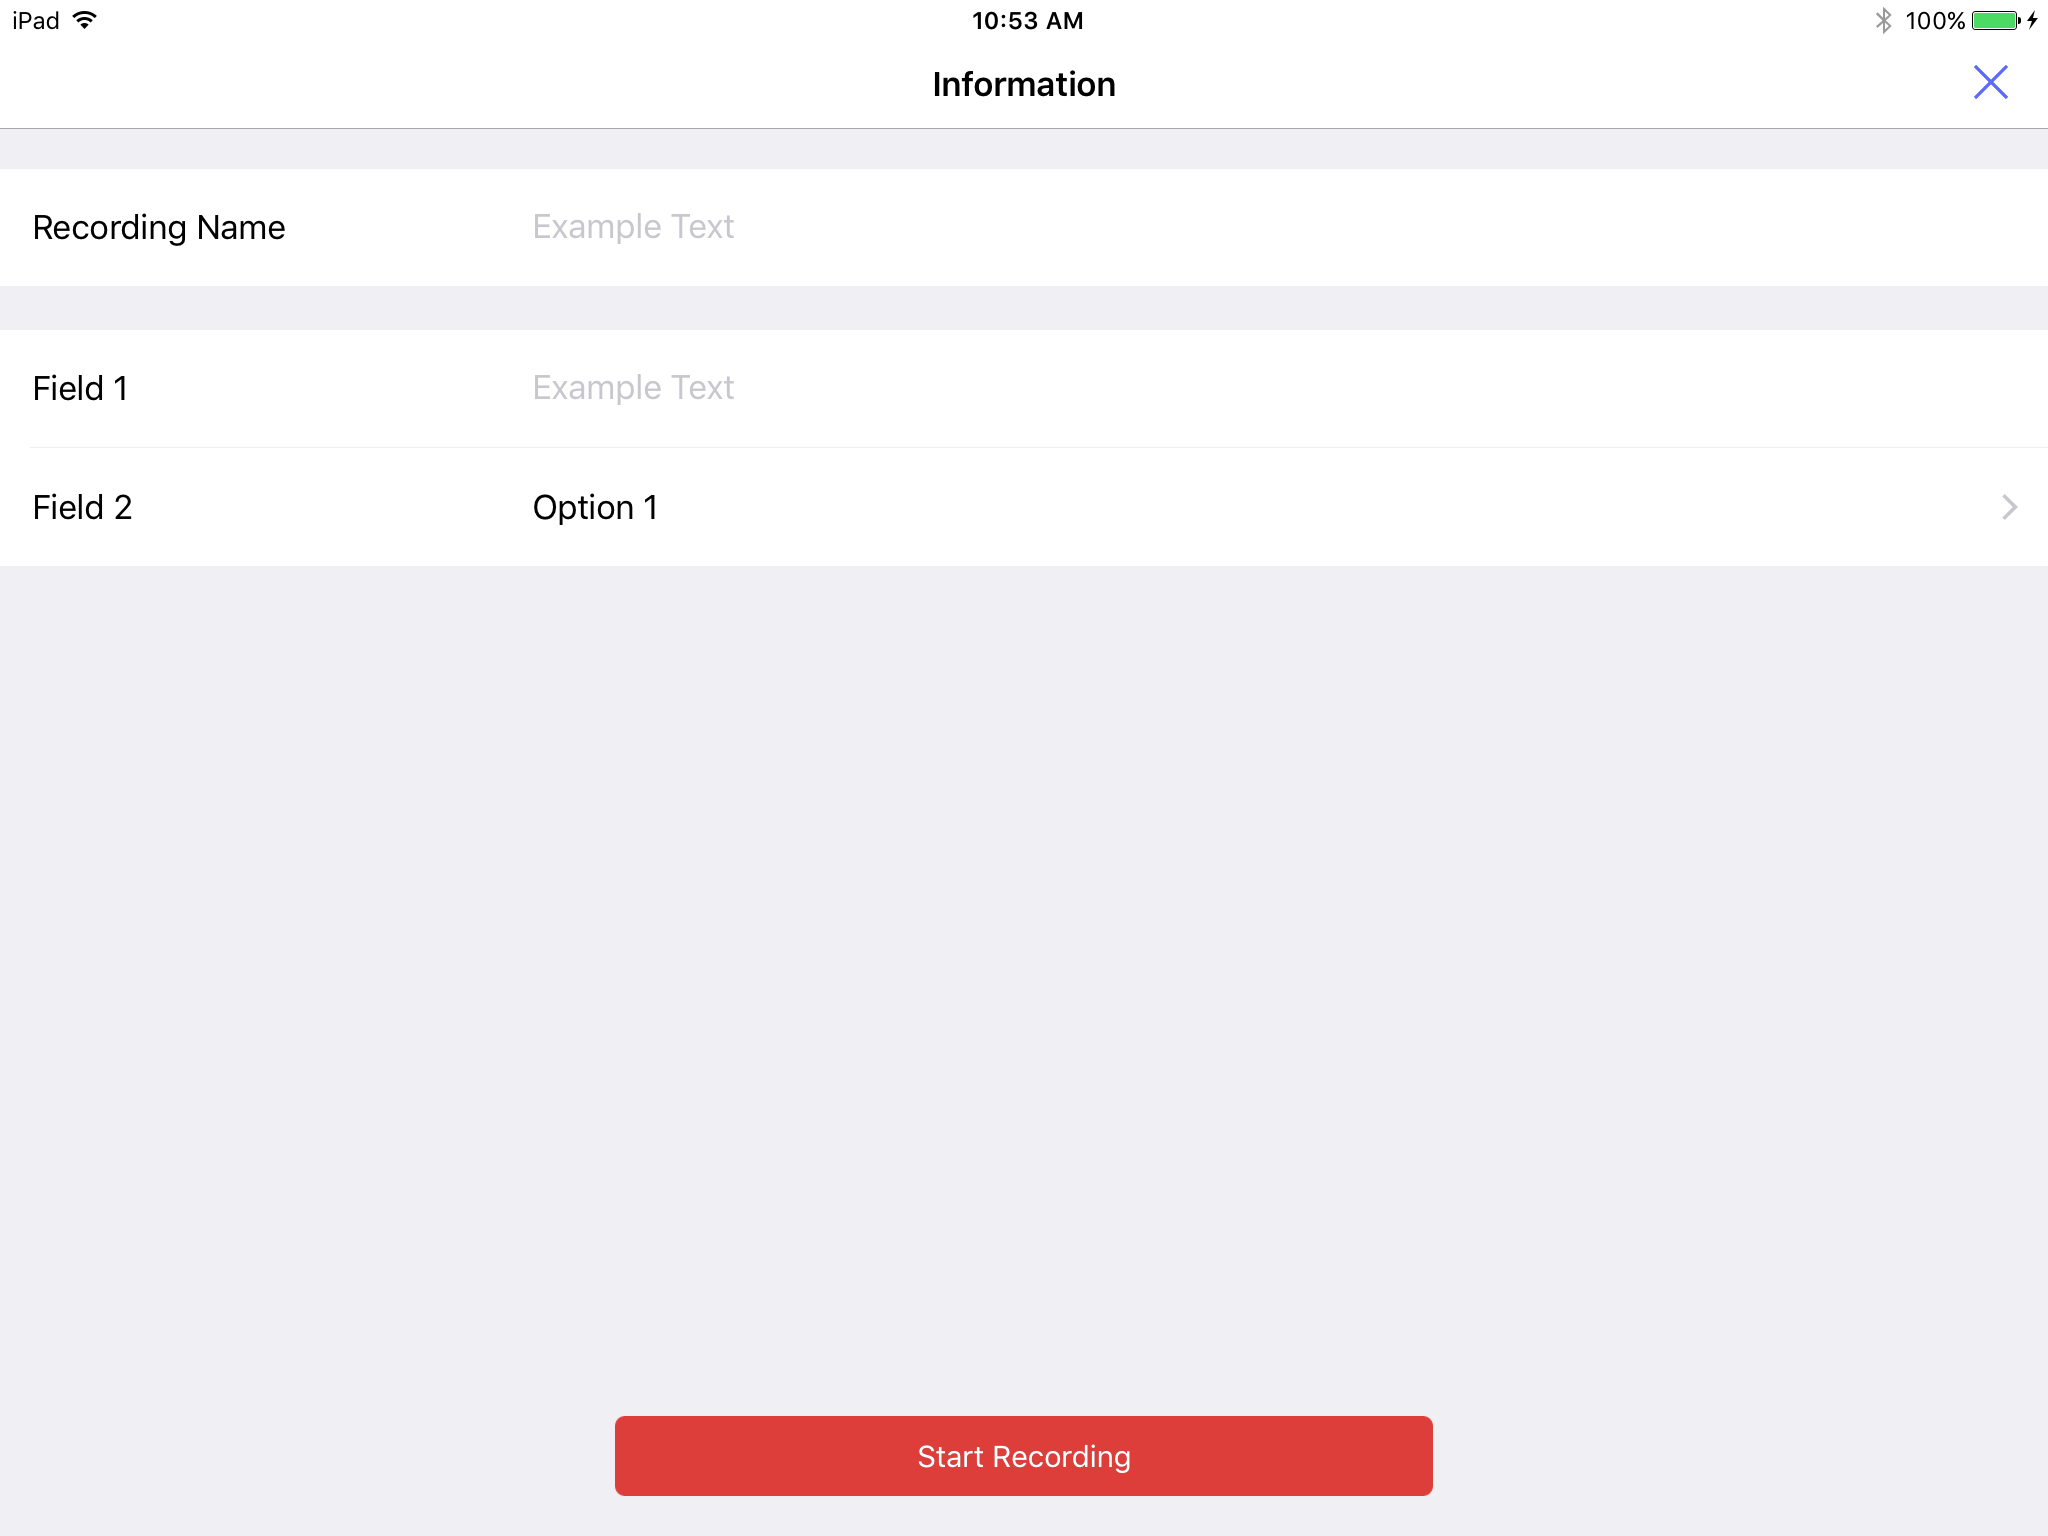
2) You will be prompted to enter a name for the recording, as well as for any custom fields that have been defined for your user.
3) Touch Start Recording.
4) Your recording time will be displayed in the upper left corner of the screen.
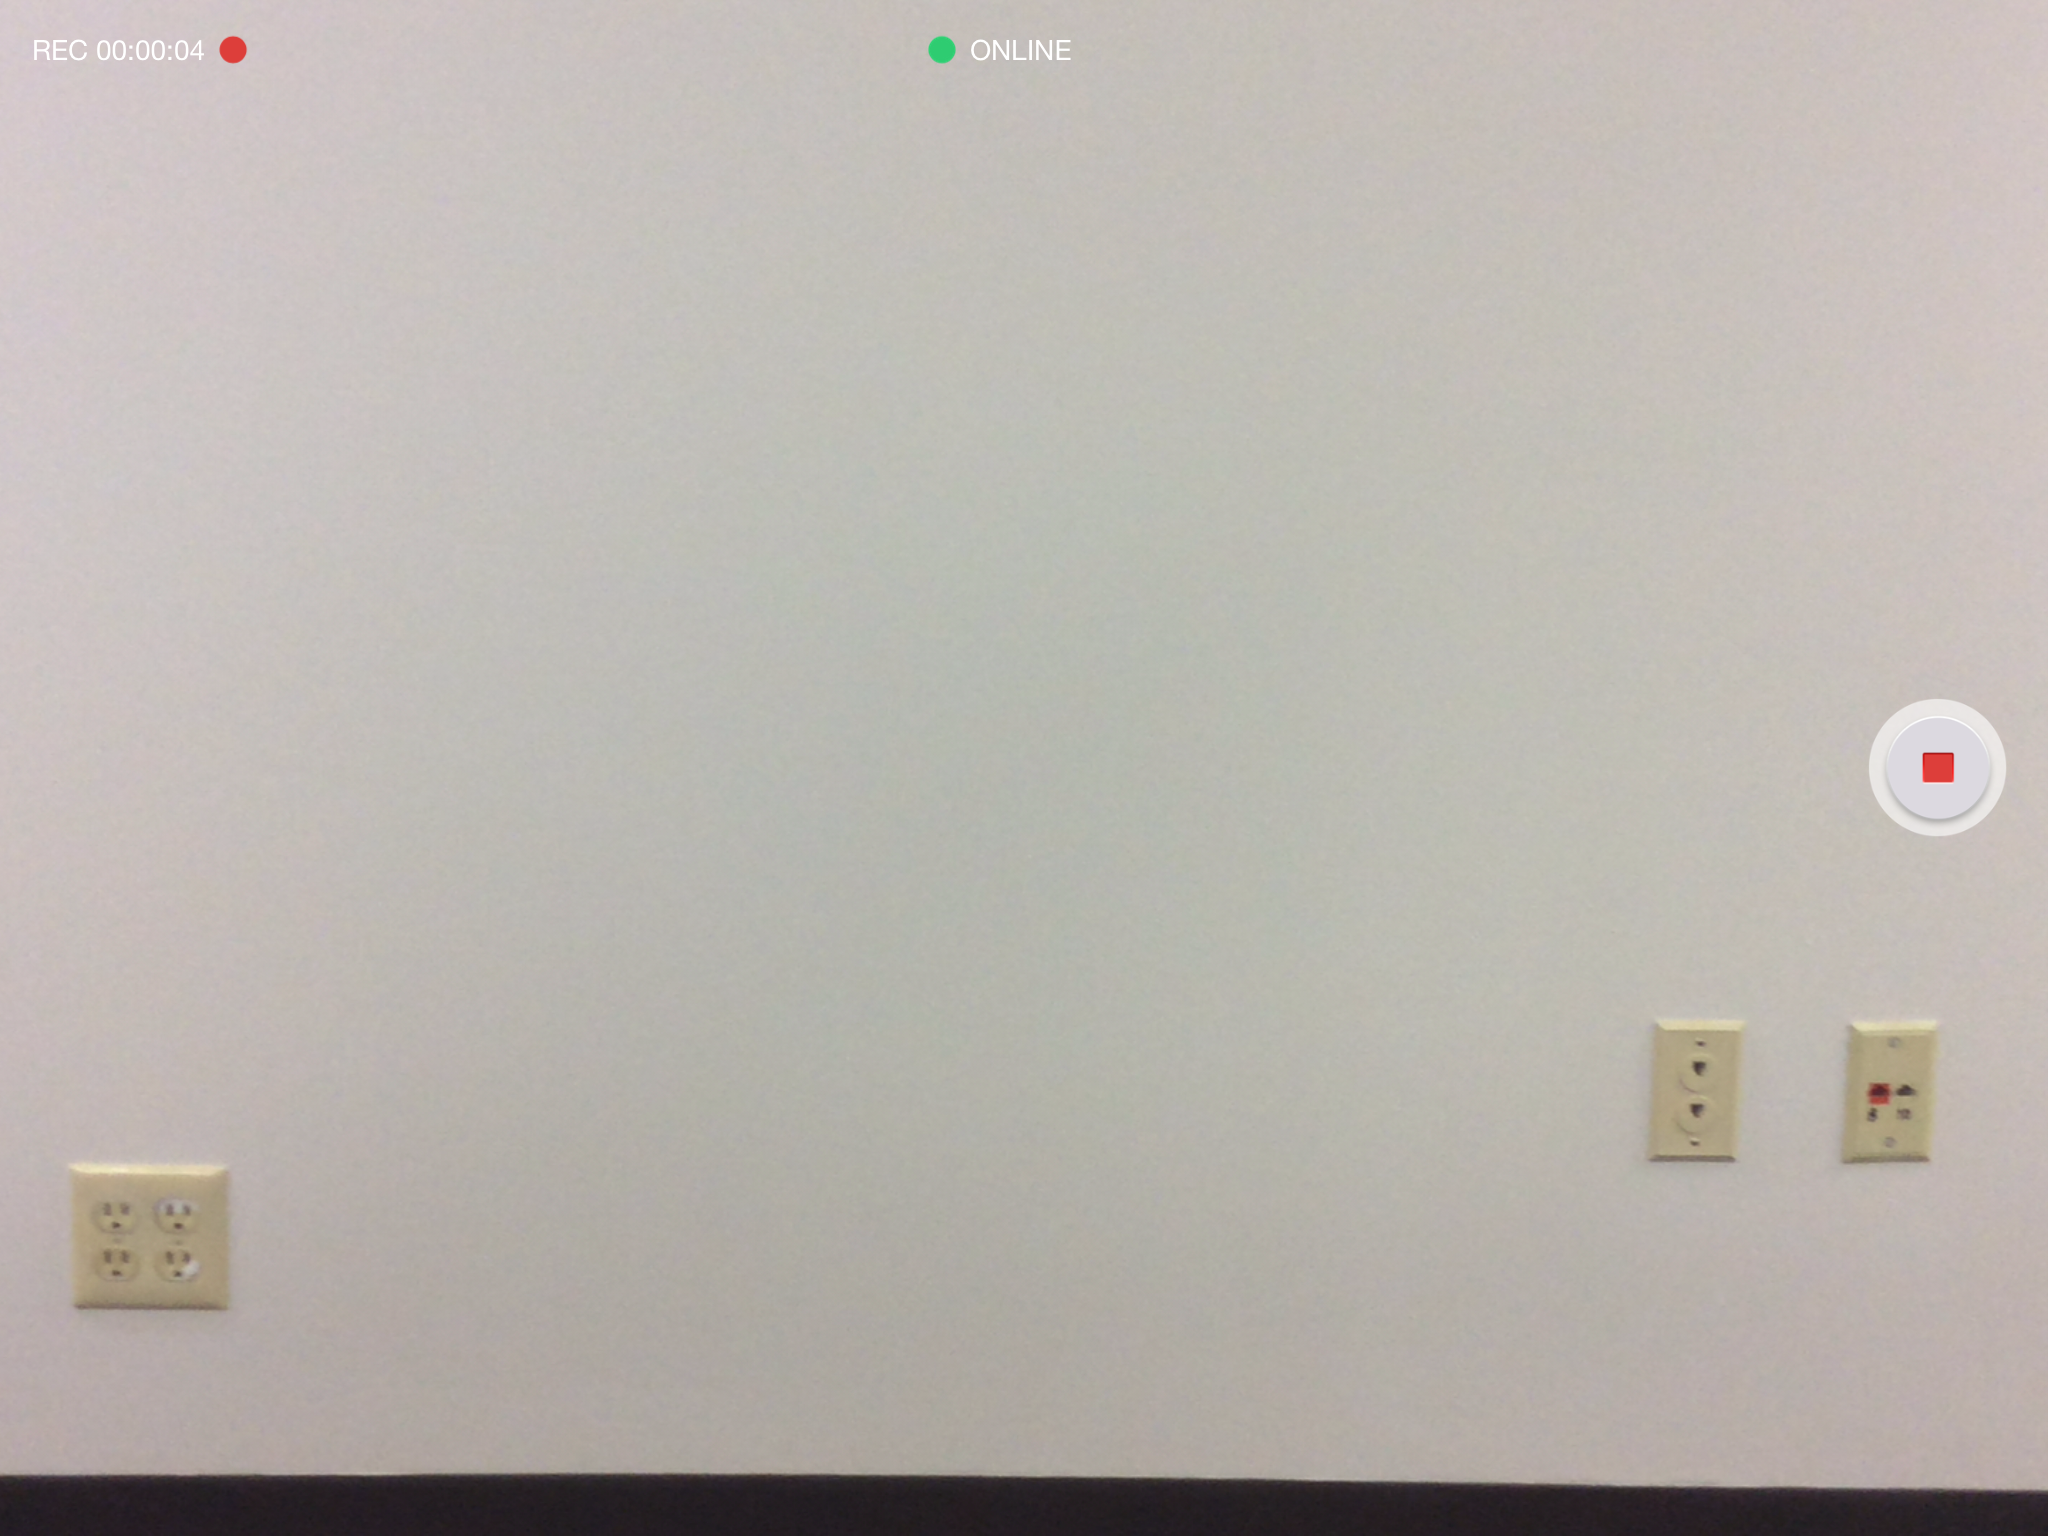
4) Touch the Stop button to stop recording.
5) Your recording will be stored locally on your device. If you have Auto Sync enabled, the recording will be automatically uploaded to the server.