LDAP Configuration
Revision as of 14:47, 15 June 2022 by IVSWikiBlue (talk | contribs) (→Connecting to the LDAP Server)
Connecting to the LDAP Server
- Navigate to the VALT software either through the IP Address or the FQDN using Chrome, Firefox, or other standard web browser
- Log in using your login credentials
- Note: (Default credentials: Username = admin | Password = admin)
- Click on Admin -> Users & Groups -> LDAP -> Show Advanced Settings
- Scroll down to Servers
- Enter in your LDAP Server information:
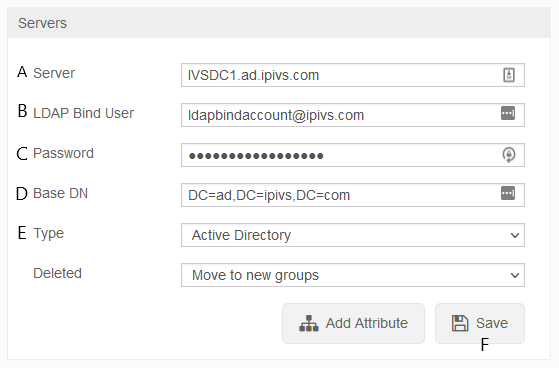
A: Enter the IP Address or FQDN of your Active Directory or other LDAP compatible server in the Server field
Note: If you are using LDAPS, enter the IP or FQDN as ldaps://myldapsserver.comB: Enter a Service Account user with read access in the LDAP Bind User field
Note: The user must be entered as user@domain.comC: Enter the Service Account password D: Enter in the Base DN of the Service Account
Note: Base DN must be entered in the form of DC=ad,DC=ipivs,DC=comE: Select either Active Directory or Open LDAP F: Click Save
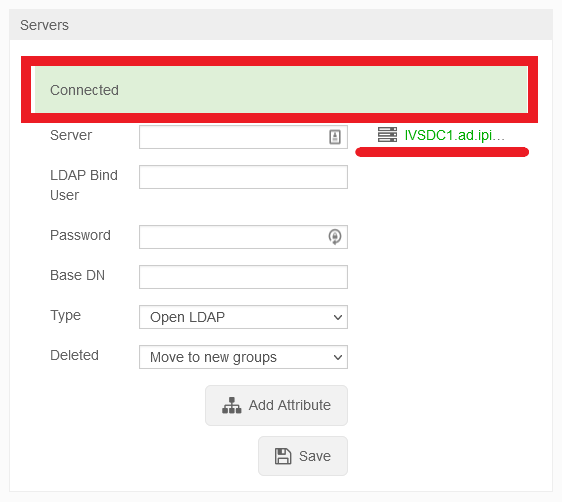
- If the credentials were accepted and a connection was established, you will receive a message stating connected and you will see your LDAP Server in Green:
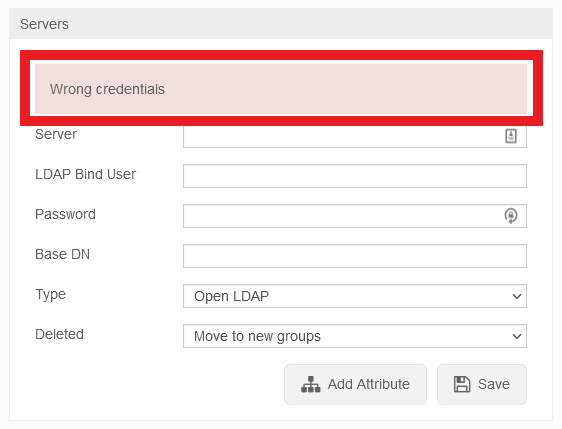
- If the connection fails, you will receive an error message stating Wrong Credentials:
Syncing Security Groups
- To sync users accounts, navigate to Sync Schedules
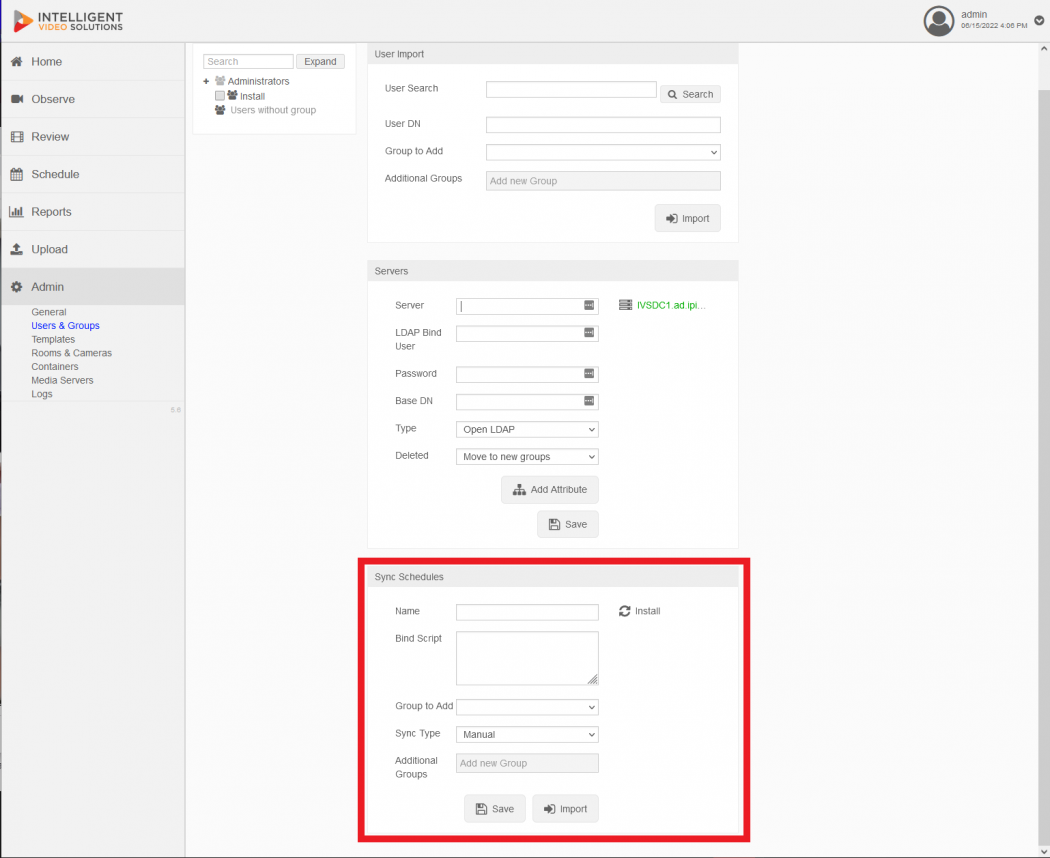
- Once here, start entering in the following information:
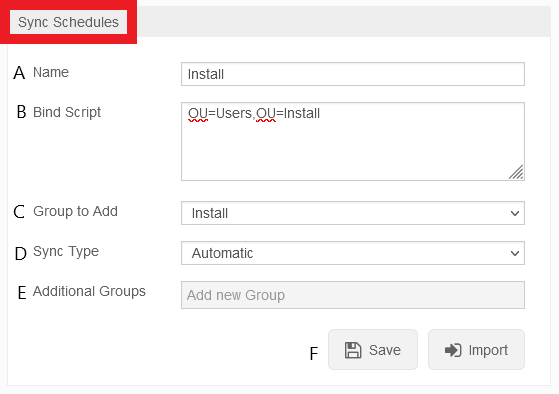
A: Enter in a name for the Security Group
Note: Try to keep these similar to the VALT groups you have createdB: Enter in the DN for the Security Group, omitting the DC components
Example: CN=Service Accounts,OU=Users,OU=InstallC: Select the VALT Group to have the users added to
Note: The VALT groups need to be created before you can link the Security Groups to themD: Choose either Manual or Automatic Sync Type
Note: Automatic syncs users every day at 7AM server time whereas Manual requires an Admin account to manually sync the usersE: Select any Additional Groups you would like the users added to F: Click Save - Test
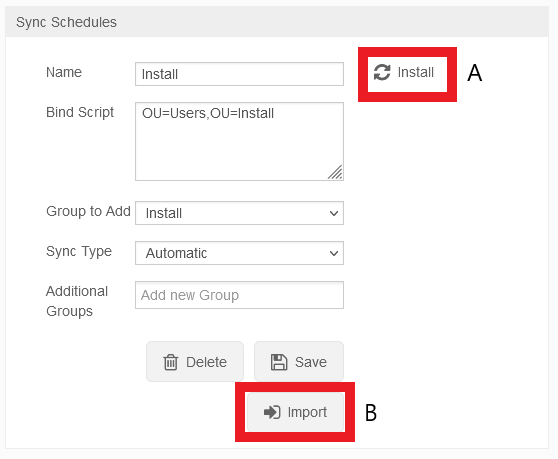
Importing an Individual User
- Type the distinguished name for the user into the LDAP field, omitting the DC components
- Example: CN=testuser,OU=Users
- Select a Group from the Group to Add field.
- Note: If you do not select a group, the user will still be important and must be assigned a group manually.
- If the credentials were accepted and a connection was established, you will receive a message stating connected and you will see your LDAP Server in Green:


